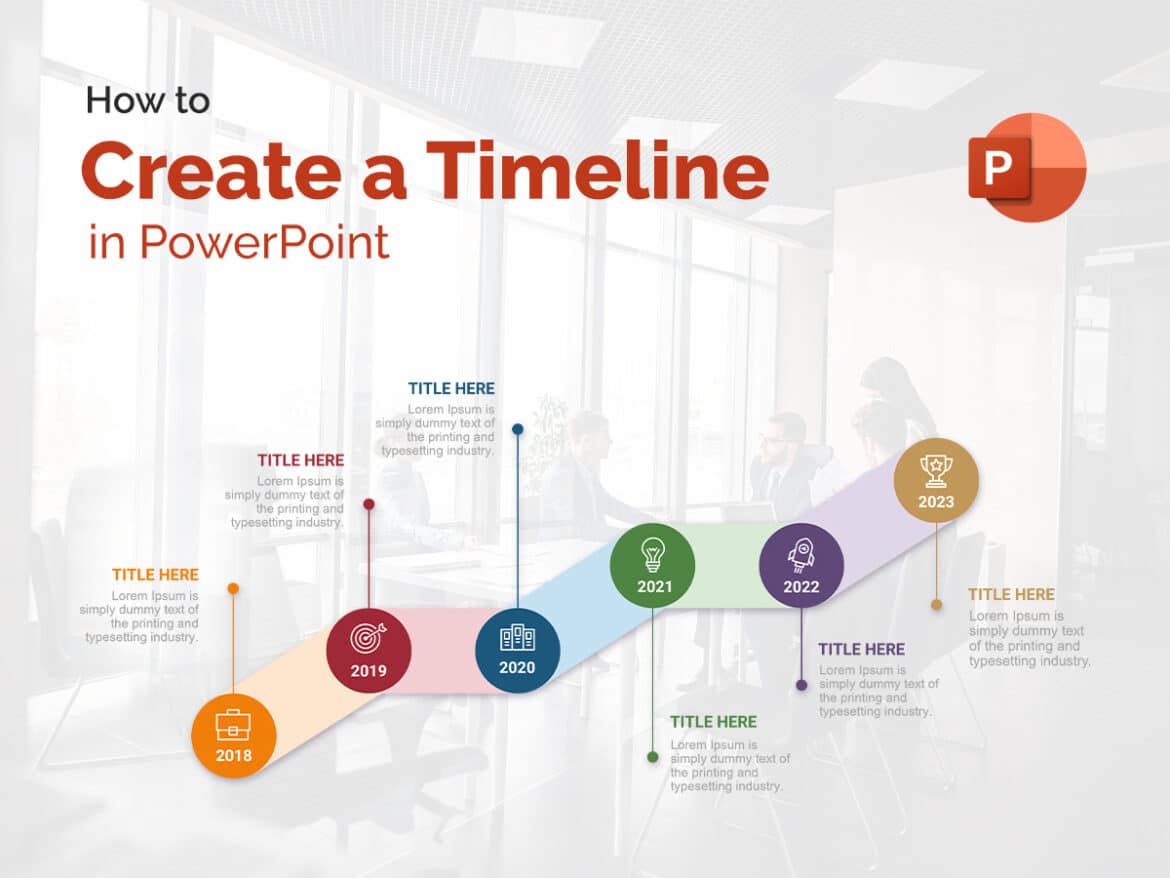
With a timeline in PowerPoint, you can present various data in an impressive way. PowerPoint offers numerous options for presenting chronological sequences clearly, professionally, and in a visually compelling manner.
How to create a timeline manually with shapes in PowerPoint
Open PowerPoint and select “Insert” → “Shapes” from the main menu.
- A selection of different graphic elements will open. For a timeline, an arrow from the “Lines” or “Block Arrows” section is best suited.
- Drag the arrow to the desired length while holding down the mouse button. For markers or intermediate stations, repeat the process with lines or smaller arrows. Use the arrow keys to adjust the position precisely, or copy existing markers by right-clicking → Copy → Paste to duplicate them in equal lengths.
Under “Format” → “Shape outline”, you can change the color, line thickness, or style (e.g., dashed). You can also specify exact dimensions using “Format shape”. For labels, use “Insert” → “Text Box” to add text boxes, which you can also position freely and customize in color.
- Tip: If you want to animate your timeline, select all elements, right-click, and select “Group”. This will make all components move together.
Create a timeline with SmartArt graphics
A much faster and more professional method is to use SmartArt graphics. To do this, follow these steps:
- Open the desired slide in PowerPoint.
- Select “Insert” → ‘SmartArt’ → “Process”.
- Search the list for layouts such as “Simple Timeline,” “Basic Timeline,” or “Circular Process.”
- Click on your preferred design and confirm with “OK.”
- You can enter the individual events or data directly in the text area on the left. PowerPoint will automatically insert the corresponding elements.
- Using “SmartArt Tools” → ‘Design’, you can add arrows, shapes, or additional events and change the order. Under “Format”, you can customize colors, fill effects, shadows, and fonts to match your corporate design or presentation style.
- Tip: If you want a particularly modern look, combine SmartArt elements with icons from “Insert” → “Symbols” or use 3D formats, which PowerPoint has supported since version 2023.
Templates and add-ins for timelines
If you regularly create timelines or need particularly complex presentations, you will benefit from templates or add-ins:
- PowerPoint templates: Go to “File → New” and search for keywords such as “timeline,” “project plan,” or “project schedule.” Many free designs are already optimized for milestones or project progress.
- Office Timeline Add-In: This popular add-in (available for free and as a pro version) integrates directly into PowerPoint and automatically creates attractive, scalable timelines from your data. The integration with Excel or Microsoft Project is particularly useful, allowing you to easily import existing schedules.
- Online templates (e.g., via Microsoft 365 or template portals) offer a variety of modern layouts with color schemes, icons, and professional animations.
Design, application, and practical tips
A compelling timeline is not only informative, but also visually appealing. Therefore, please note the following design recommendations:
- Colors: Use harmonious, contrasting colors to highlight important events. Do not use more than three main colors.
- Fonts: Clear, sans serif fonts (e.g., Calibri, Segoe UI, or Arial) improve readability.
- Symbols and icons: Small symbols help readers grasp content more quickly and create visual anchor points.
- Animations: Display events one after the other to draw your audience’s attention. Choose subtle effects such as “fly in” or “fade.”
- Layout: Keep spacing consistent and avoid overcrowding. Use multiple slides if necessary if your timeline is very long.

