11.2K
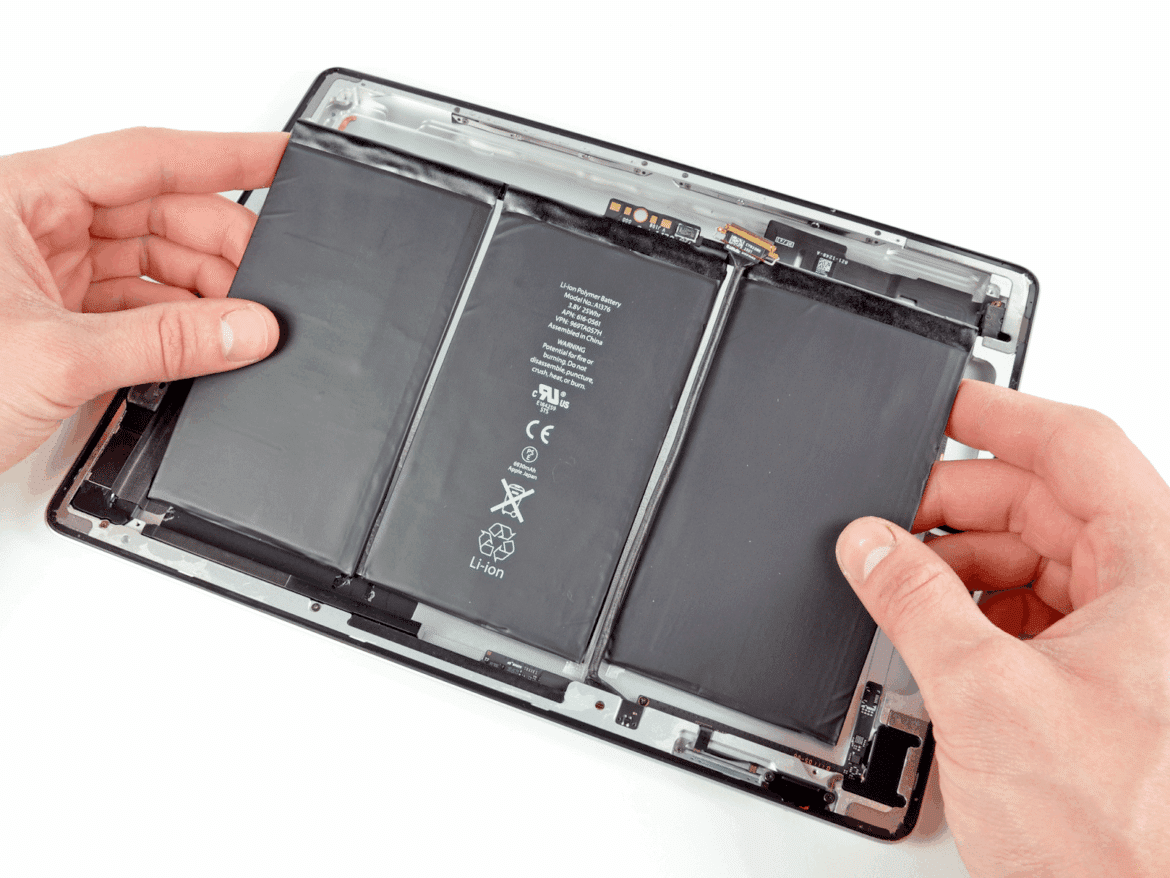
Replacing the battery on the iPad Air 2 is not difficult. If you do the replacement yourself, you can save money.
iPad Air 2 battery replacement: Tools and accessories needed
Batteries are not all the same. Therefore, when choosing the right battery, it is essential to observe the technical data. Only the capacity may differ.
- The model number of the factory-fitted battery is A1547 and the voltage is 3.76 V. For the watt-hours, look for the value 27.62 Wh. The capacity is 7,340 mAh.
- Any tools you need are a heat gun, a spudger and a pick, tweezers and a small Phillips screwdriver. In addition, a frame glue may be useful.
Replacing the iPad Air 2 battery: step-by-step instructions
You can replace the Apple iPad Air 2 battery yourself in just a few easy steps.
- First switch off the iPad Air 2. To do this, press the power button, which is located at the top right.
- Heat one corner of the display with a heat gun until you can slide a pick under it.
- Run the hair dryer from corner to corner and follow the movement with the plectrum to loosen the adhesive. You can remove adhesive residue with rubbing alcohol.
- If the display is loose, you need to lift it starting from the front camera and pull it towards the home button.
- Next, use the Phillips screwdriver. Use it to loosen the screws that connect the battery cable to the motherboard and put them aside. The same applies to the connecting cable between the display and the motherboard.
- The battery of the iPad Air 2 is glued and therefore you need to warm it slightly to remove it. Use the spudger or alternatively an old credit card to separate the battery from the case.
- The connection cable of the battery runs under the motherboard. To remove it, lift the battery slightly at the appropriate point and pull it out.
- Insert the new battery and place the battery connector back under the main board. Press the motherboard and battery back into place, although it is worth warming the glue a little first.
- Then screw in the screws for the battery cable and the display connector again.
- Finish by putting on the display, connecting the connectors to the mainboard. For gluing, it is recommended to use a suitable frame adhesive.
iPad Air 2: Signs of a faulty battery
Generally, there are a few signs that a defective battery brings with it. A shortened battery life can, but does not always have to be a sign, because it is also possible that a power-hungry app is the problem. Therefore, pay attention to these points:
- The iPad Air 2 gets very hot very quickly.
- The charging process only takes a few seconds or the battery does not charge completely.
- The iPad Air 2 shuts down unexpectedly when it should still have capacity.
