
756
If you don’t use OneDrive on Windows 10, you can disable the software’s autostart feature. In this practical tip, we’ll show you how to do this quickly and easily.
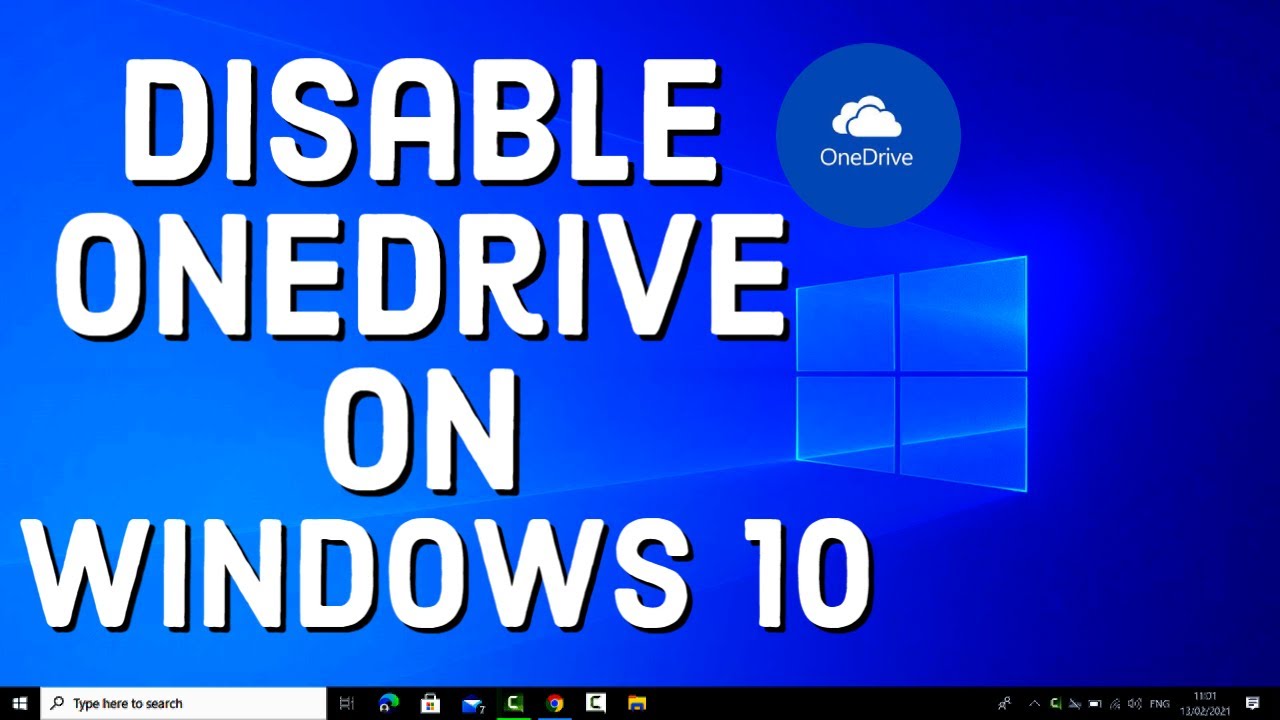
Windows 10: Disable OneDrive autostart
OneDrive autostart always consumes resources that you can confidently save if you don’t use OneDrive cloud storage at all.
- Click on the OneDrive icon in the lower right corner of the Windows taskbar and select “Settings” under “Help & Settings.”
- Go to the ‘Settings’ tab at the top and disable the option “Start OneDrive automatically when I sign in to Windows.”
- Click the “OK” button to save your settings. However, this only works if you have an active internet connection and have already set up OneDrive.
- Alternatively, you can open the Task Manager, switch to the “Startup” tab, and right-click to disable the automatic startup of OneDrive.
- A third option is to simply rename the “OneDrive.exe” file to “Drive.exe.” You can find this file in the path “C:\Users\Your Name\AppData\Local\Microsoft\OneDrive.”
- Finally, restart your computer and OneDrive will no longer open.
Windows 10: Completely uninstall OneDrive instead of deactivating it
As an alternative to deactivating it, you can also uninstall OneDrive.
- Open the Start menu at the bottom left and search for “Command Prompt.”
- Right-click on the search result and select the option “Open as administrator.”
- Enter the command “taskkill /f /im OneDrive.exe” without the quotation marks and confirm with the Enter key. OneDrive will now be terminated.
- The second command will then permanently uninstall OneDrive. The commands differ depending on whether you have a 32-bit or 64-bit system.
- 32-bit: %SystemRoot%\System32\OneDriveSetup.exe /uninstall
- 64-bit: %SystemRoot%\SysWOW64\OneDriveSetup.exe /uninstall
- Confirm this command with the Enter key to remove OneDrive from your computer.
Disable or uninstall OneDrive on Windows 11
There are several practical ways to disable OneDrive on Windows 11, from turning off autostart to completely removing it from the system. Here are the best practices:
- Disable OneDrive autostart: Open Task Manager with Ctrl + Shift + Esc. Go to the “Autostart” tab. Search for “OneDrive” in the list of programs. Right-click on ‘OneDrive’ and select “Disable.” This will prevent OneDrive from starting automatically when you boot up your computer.
- Disconnect OneDrive from your PC (unlink it): Click on the OneDrive icon (cloud) in the lower right corner of the taskbar. Open the settings (gear icon). Go to the “Account” tab and click “Unlink this PC.” OneDrive will no longer synchronize data.
- Completely uninstall OneDrive: Press [Windows] + [I] to open Settings. Navigate to ‘Apps’ > “Apps & Features.” Search for “OneDrive” in the list. Select “Uninstall.” This will completely remove OneDrive, including its integration with Explorer.
- Remove OneDrive from File Explorer (registry method): Press [Windows] + [R], type “regedit,” and confirm with Enter. Navigate to “HKEY_CLASSES_ROOT\CLSID{018D5C66-4533-4307-9B53-224DE2ED1FE6}”. Double-click “System.IsPinnedToNameSpaceTree” and change the value to 0. Restart your PC to remove OneDrive from Explorer.
- Group policies (Windows 11 Pro/Enterprise): Press [Windows] + [R], enter “gpedit.msc”. Navigate to “Computer Configuration > Administrative Templates > Windows Components > OneDrive”. Double-click “Prevent OneDrive from being used for data storage” and enable the policy.
- All of these methods work reliably depending on the desired scope – whether you want to block OneDrive only at startup, remove it from Explorer, or uninstall it completely.