
951
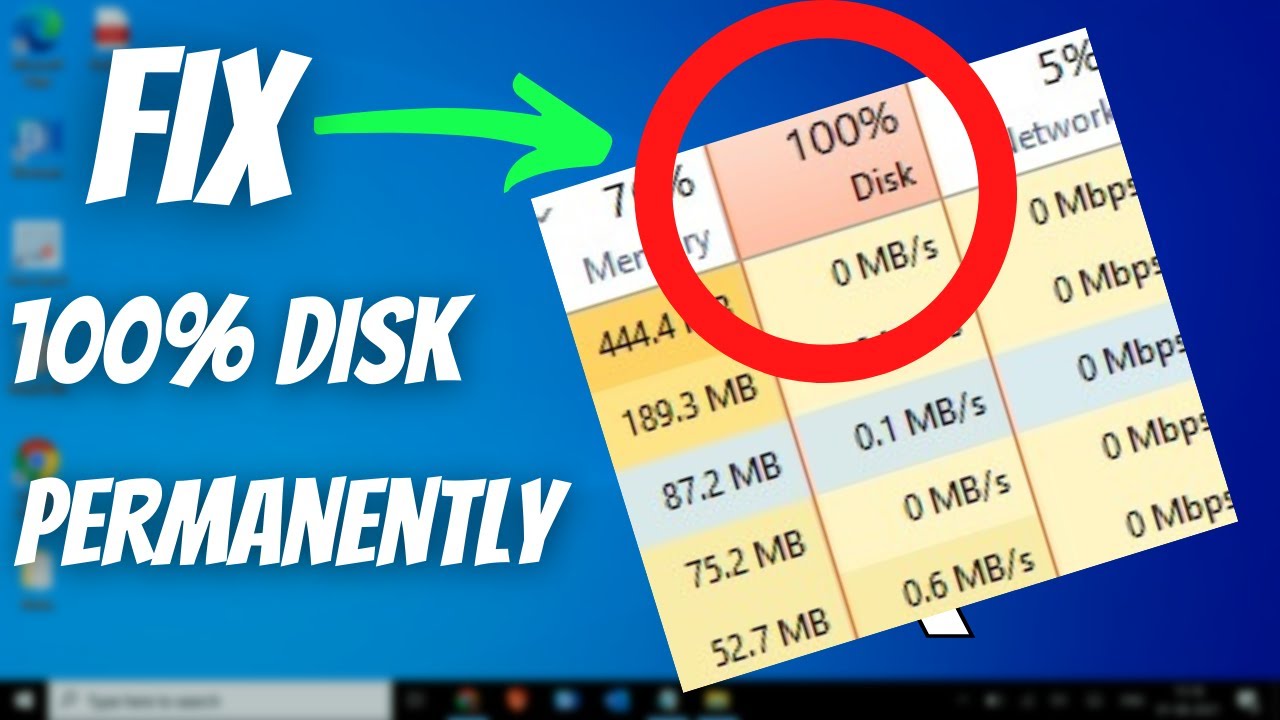
If your system running Windows 10 or Windows 11 shows consistently high disk usage (100%), this will significantly slow down your entire computer. However, this issue can often be resolved with a few targeted measures.
Windows 10: Common causes of 100% disk usage
Before you start troubleshooting, it is important to know the possible causes. Various processes and system services can cause your disk to be permanently busy. In the next section, we will show you the most common reasons for this behavior.
- Windows services such as Superfetch/SysMain or Windows Search
- TiWorker.exe (Windows Update)
- Antivirus programs (e.g., Windows Defender during real-time scanning)
- Autostart programs and background processes
- Virtual memory (Pagefile.sys)
- Defective or overloaded hard drive (HDD/SSD)
- Insufficient RAM
Step-by-step troubleshooting guide
Now that you know what can cause high disk usage, it’s time to find a solution. The following steps will help you systematically reduce the load and significantly improve your PC’s performance.
- Analyze Task Manager: First, open Task Manager by pressing [Ctrl] + [Shift] + [Esc]. Then go to the “Processes” tab, sort by disk usage, and check which processes are causing a particularly high load.
- Disable autostart programs: In Task Manager, go to the “Startup” tab and disable unnecessary programs by right-clicking → “Disable.”
- Change power options to “High performance”: Press [Windows] + [R], enter powercfg.cpl and select the “High performance” mode. On laptops, this may be found under “Show additional plans”.
- Disable or optimize Windows services: Disable Superfetch / SysMain: Press [Windows] + [R], enter services.msc and confirm with [Enter]. Find the “SysMain” service in the list, right-click on the service and select “Stop”.
- Then double-click to open the service properties, change the startup type to “Disabled” and click “OK”.
- Disable Windows Search: Open services.msc again and search for the “Windows Search” service. Right-click, then click “Stop” and double-click on the service. Set the start type to “Disabled.”
- Windows Update (disable for testing purposes): In services.msc, search for the “Windows Update” service. Then right-click and select “Stop.” Set the startup type to “Disabled” and later set it back to “Manual” or “Automatic” to receive updates.
- Adjust virtual memory: Open the Control Panel, then click on System and Advanced System Settings. In the “Performance” section, click on “Settings.” Then switch to the “Advanced” tab, then click on “Virtual memory” and “Change.”
- Uncheck “Automatically manage.” Select “Custom size” by setting the initial size to as much as your RAM (e.g., 8,192 MB for 8 GB RAM) and the maximum size to 1.5 times the RAM size (e.g., 12,288 MB). Finally, confirm with “OK” and restart your PC.
- Check system files: Open the command prompt as administrator (right-click on the Start menu –☻ “Command Prompt (Administrator)” or “Windows Terminal (Admin)”). Enter the command sfc /scannow and press [Enter]. If an error is found, you can also run the command DISM /Online /Cleanup-Image /RestoreHealth. These commands check the integrity of system files and repair them automatically if necessary.
- Check the hard disk for errors: Open the command prompt (as administrator) and enter the command chkdsk C: /f /r. Confirm the execution with “Y” when prompted, and restart the PC. The process may take some time depending on the size of the hard disk.
- Alternatively: Use tools such as CrystalDiskInfo, HD Tune, or Hard Disk Sentinel to graphically evaluate the health of your hard drive.
- Check or replace Windows Defender: The integrated Windows Defender performs regular real-time scans, which can lead to high hard drive activity, especially on older or weaker devices. You can disable Defender on a trial basis (e.g., via the Windows Security settings). Alternatively, use a lightweight antivirus program such as Bitdefender Free, Kaspersky Security Cloud, or ESET NOD32, which are more resource-efficient.
- Caution: Always use only one active antivirus program to avoid conflicts.
- Free up storage space: Open Disk Cleanup (search term: cleanmgr), select drive C: and let Windows delete temporary files, system leftovers and Recycle Bin contents. Uninstall any programs you don’t need via Control Panel ☻ Programs and Features and delete temporary files manually or with tools such as CCleaner