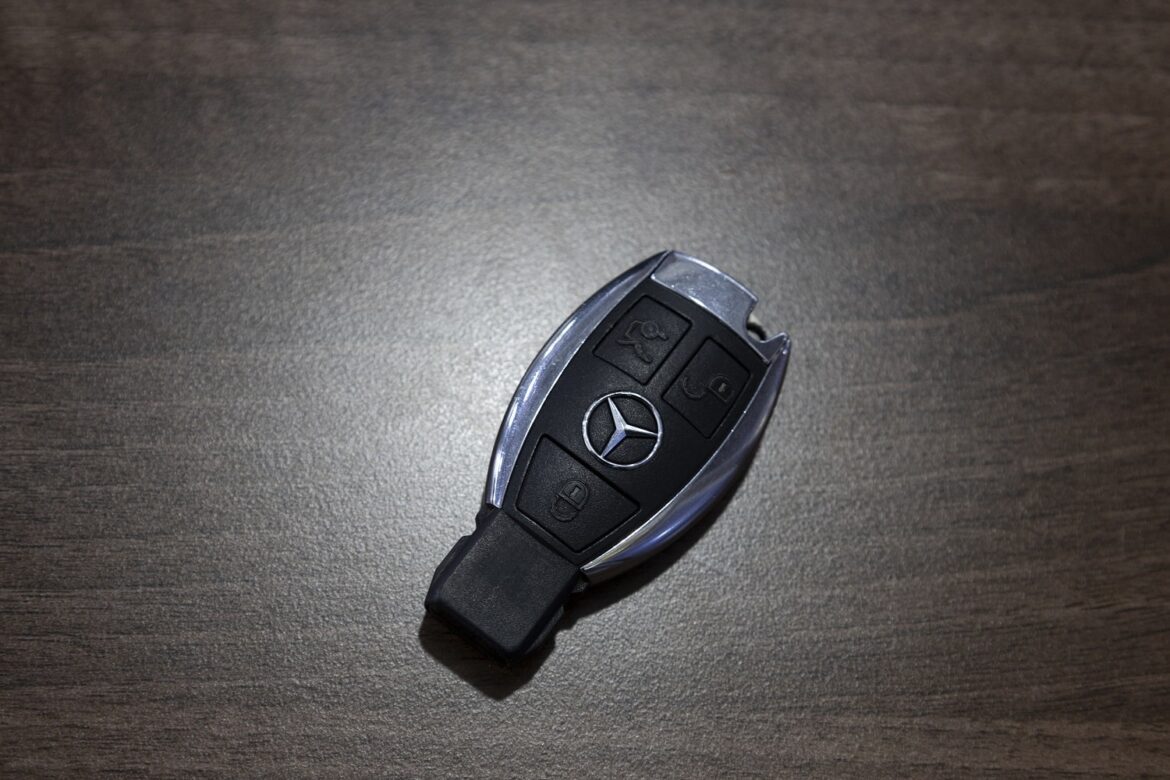
Learn how to replace the battery in your Mercedes key quickly and easily. Our guide will walk you through every step of the process and offer helpful tips on how to extend the life of your key battery.
Preparing to change the battery in your Mercedes key
Changing the battery in a Mercedes key may seem complicated at first glance, but with the right instructions, it is a simple process. In this section, you will learn everything you need to know about preparation and the tools required.
- Before you start replacing the battery, make sure you have the right size battery. Most Mercedes keys use a CR2025 or CR2032 button cell battery. You can find this information in your vehicle’s owner’s manual or on the back of your key.
- It is important to prepare a clean work area before opening the key. Dust and dirt can damage the sensitive contact points inside the key. Lay out all the tools you will need to make the process as smooth as possible.
- A small screwdriver or a special tool for opening electronic housings can be helpful in opening the key without damage. Be sure to work carefully to avoid scratching or breaking the housing.
- Make sure you are working in a well-lit area. This will make it easier to work accurately and minimize the risk of losing or misplacing important parts.
How to easily replace the battery in a Mercedes key: step-by-step instructions
Now that you are prepared, it is time to replace the battery in your Mercedes key. Follow these instructions to complete the process correctly.
- To open the key, look for a small notch along the edge of the key. Use your screwdriver or the special tool to leverage this notch and carefully pry the housing apart.
- Once you have opened the housing, you will see the button cell battery. Make a note of the position and direction in which the current battery is inserted so that you can insert the new battery correctly.
- Carefully remove the old battery from its compartment. Avoid touching the contact points with your bare hands, as skin oils can impair performance. Use a cloth or gloves if necessary.
- Insert the new battery in the same orientation as the old battery was removed. Make sure it is securely in place and that the contacts are clean and free of dirt to ensure optimal performance.
Mercedes key after battery replacement: reassembly and function test
After successfully inserting the new battery, it is crucial to reassemble the key correctly and test its functionality.
- Start by putting the two halves of the key back together. Make sure that all clips and hooks are properly engaged to ensure that the housing is securely closed.
- Test the key by pressing the lock and unlock buttons. Check that all functions work as expected. If you encounter any problems, check that the battery is positioned correctly.
- If the key does not work, open it again and make sure that the battery is inserted correctly and that the contact points are not dirty. Cleaning with a dry cloth may help.
- To be on the safe side, you should also test the range of the key to ensure that the signal is strong enough to unlock your vehicle even if you are standing a few meters away.
How to effectively extend the battery life of your Mercedes key
Proper care and maintenance of your Mercedes key can extend its life and reduce the frequency of battery changes.
- Keep your key away from heat sources and direct sunlight to prevent the battery from overheating, which could shorten its life.
- Avoid pressing the buttons unnecessarily when the key is not in use. Each press activates the electronics and consumes a small amount of power, which can add up over time.
- If you do not use your key for a long period of time, remove the battery or store the key in a place where it cannot be accidentally activated.
- Clean your key regularly with a soft cloth to remove dust and dirt that could get into the electronics and affect the contacts.

