If you want to connect your DVD player to your TV, all you need is the right cable and the appropriate input. The individual steps are quick and easy to follow.
Connecting a DVD player to a TV – the right cable
First, you should check which connections your TV and DVD player support.
- HDMI: All newer DVD players have an HDMI connection. HDMI transmits the image in HD or even 4K resolution, provided your TV supports this. If no cable was supplied, you can purchase a 1-meter cable for very little money.
- Scart: If you have an older DVD player, it will usually have a much larger Scart connection. For this, you will need a Scart cable. The image quality will only be SD standard, even if you insert an HD DVD.
- Note: Both cable types are relatively sensitive and should therefore not be reconnected too often. In addition, HDMI cables break easily when rolled up frequently and tightly.
How to find the right input
Once you have connected the DVD player to the TV, all you need to do is make the correct settings on the TV set.
- On most remote controls, you will find a button labeled “Source.” To receive via HDMI, simply select “HDMI”; for the Scart cable, select “AV” mode.
- Many TVs have multiple AV and HDMI inputs. If the image remains black on the selected source, try again with a different input.
Other connection types – what you need to know
Component video and composite video connections are still common on older DVD players and televisions and offer additional connection options. However, HDMI remains the recommended choice for the best picture and sound quality, as well as practical additional features such as HDMI-CEC.
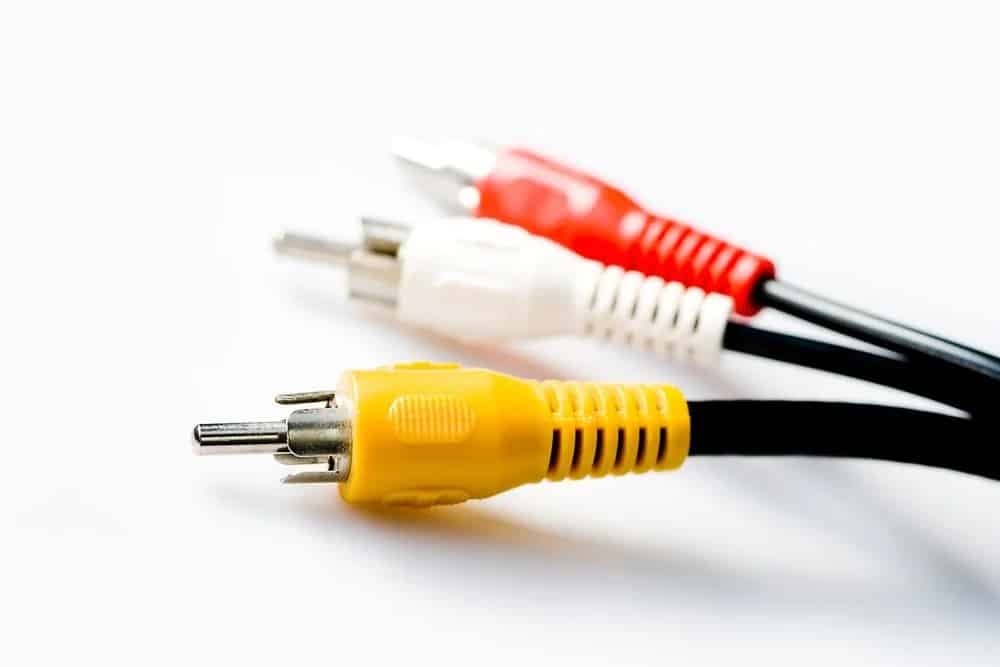
- Component video (YPbPr) transmits the video signal separately on three channels. The connector type usually has three-color RCA jacks. This connection offers significantly better image quality than composite and AV/RCA. However, it does not transmit audio, so the sound must be connected separately. This connection is particularly useful for older HD-compatible devices without HDMI.
- Composite video (CVBS) transmits image information on a single yellow clinch cable. The connection is very compatible, but limited to standard resolutions and prone to quality loss and interference.
Advantages of HDMI and HDMI-CEC
HDMI and HDMI-CEC offer various advantages that you should be aware of.
- Better picture and sound quality: HDMI transmits digital signals for high-definition images (up to 4K, UHD) and multi-channel sound (Dolby Digital, DTS) without any loss.
- One cable for everything: Eliminates the need for separate audio connections and complex cabling.
- HDMI-CEC: This allows you to use additional functions such as volume control and automatic power-on, control multiple devices with one remote control, one-touch play, system standby, or switch to the active source.
- CEC name and implementation may vary depending on the manufacturer; some devices require activation in the menu.
Common connection problems and solutions
There are many different connection problems that you can easily solve with a few tricks.
- If your TV is not displaying an image, the problem is often caused by a loose cable or the wrong input selection. You can quickly solve the problem yourself by plugging the cable in correctly and selecting the right source.
- If you cannot hear any audio from your TV, the audio cable is defective or you are using the wrong audio connection. Therefore, check the audio connection and note the difference between HDMI and AV.
- A pixelated or missing image is often caused by a damaged cable or poor cable quality. Replace the cable and use a high-quality cable.
- If the TV indicates that the correct signal is missing, you have not selected “Source” or “Input.” Use the corresponding button on the remote control to select the function.
- The problem is often caused by an incorrectly wound or kinked cable. Always handle the cable with care, do not kink it, and do not pull on it.

