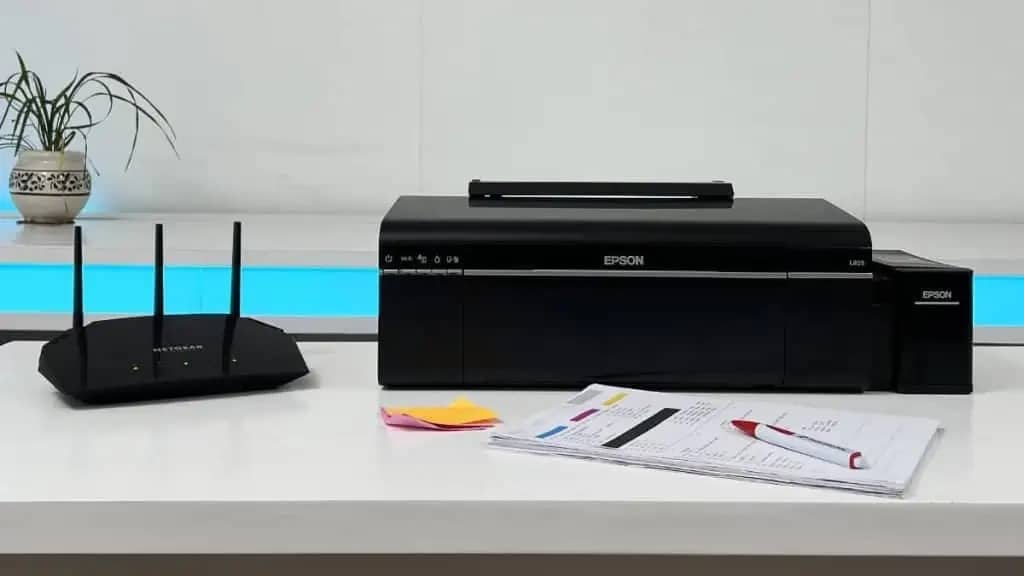
Connecting your Epson printer to Wi-Fi takes just a few simple steps. The steps vary depending on whether you are using a Windows computer or a Mac.
Connecting an Epson printer to Wi-Fi using the WPS button
To print wirelessly, your Epson printer must be connected to Wi-Fi. This is particularly quick using the WPS function, which is supported by many Epson printers. However, this requires your router to have a WPS button.
- If this is the case, first turn on your Epson printer. Navigate to the network settings in the menu – you will find these under “Wi-Fi setup” or “Network.”
- Then select “WPS button” or “Push Button Setup” in the Wi-Fi menu.
- Press the WPS button on your Wi-Fi router within two minutes.
- The printer will now connect to the network automatically without you having to enter your Wi-Fi password. A confirmation signal or a check mark on the display indicates that the connection has been established successfully.
- By the way, regardless of which method you use, the printer and PC/smartphone must be connected to the same Wi-Fi network for the printer to work correctly via Wi-Fi. Therefore, make sure that there is no connection via a guest network or a separate frequency band that is not supported.
Setting up a Wi-Fi connection to an Epson printer in Windows
If you want to set up the Wi-Fi connection manually on your Windows PC, proceed as follows:
- Open the Epson printer software or the installation program from the Epson website.
- Select “Set up printer” ☻ “Connect via Wi-Fi”.
- Follow the wizard to select your Wi-Fi network and enter the password. The printer will be automatically detected and connected to the network.
Setting up a Wi-Fi connection on macOS
If you are using a Mac instead of a Windows device, the process for connecting the printer to your Wi-Fi network is slightly different.
- Go to the official Epson website and download the latest macOS-compatible drivers for your printer model.
- Either use the WPS button or connect the printer manually to your Wi-Fi via the control panel.
- Go to System Settings ☻ Printers & Scanners. On macOS Sonoma, you may need to go to System Preferences ☻ Printers.
- Click the “+” sign. The printer should be detected on the network. Select it and click “Add.” macOS will automatically install the driver or prompt you to install it manually.
For smartphones: Wi-Fi setup via the Epson Smart Panel app
A particularly user-friendly option for many newer Epson models is to set up the Wi-Fi connection via the Epson Smart Panel app, which is available for iOS and Android.
- Download the Epson Smart Panel app from the App Store or Google Play Store. You will need to turn on your printer.
- Open the app and follow the instructions to add a new printer. The app will automatically detect compatible Epson devices nearby.
- The app will guide you step by step through the Wi-Fi connection process. Make sure your smartphone is connected to the same Wi-Fi network that the printer is supposed to use.
- If you are using Windows or Mac and your Epson printer cannot establish a Wi-Fi connection or the printer cannot be found on the network, you may need to perform a firmware update. This also helps if the Epson printer does not want to print for unknown reasons.

