
1.8K
To have the header only on the first page in Word, you need to go to the settings. There you will find an option that allows you to configure the header.
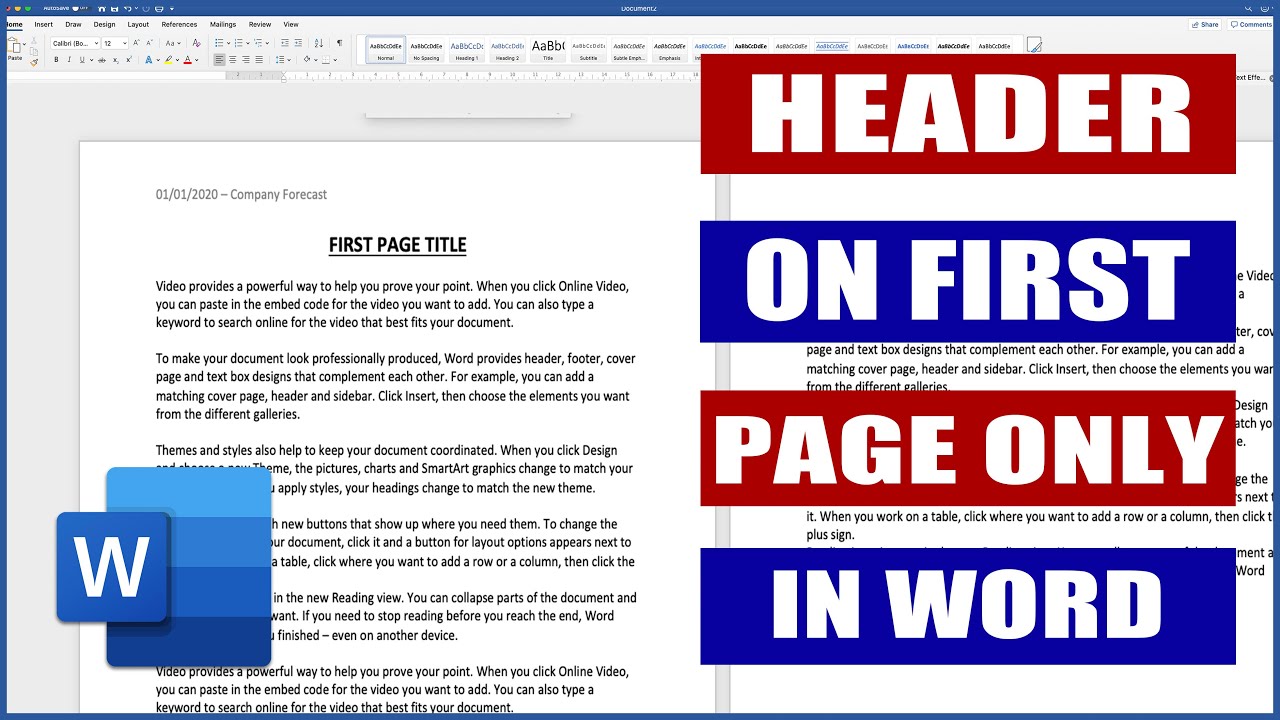
Word: How to set the header only on the first page
With Microsoft’s “Office Online,” you can create and edit Word documents for free in your browser. To display the header only on the first page, proceed as follows:
- First, open the document, if you haven’t already done so.
- Go to the “Insert” tab at the top and select “Header and Footer.”
- Use ‘Options’ to specify that the first page should be different. The corresponding command is “Different first page.”
- Now enter the text you want in the header of the first page. Leave the line blank on the other pages.
- In the offline program, first insert the header and footer and then define the header via the “Layout” tab. There you can set up your page.
Remove header completely after page 1
The “First page different” function ensures that the header still technically exists on the following pages, but is empty. If you want the header to be completely removed from the following pages, you must work with sections. This can be done as follows:
- Open your document and insert the desired header on the first page.
- Go to the end of the first page. Select Layout → Breaks → Next Page (under Section Breaks). Now the second page begins in its own section.
- Double-click in the header of the second page. In the header and footer tools, deactivate Link to previous. This makes the header of this page independent of the first page.
- Delete the entire content of the header in the second section and click on “Close header and footer” in the top right corner. Now all subsequent pages in the section no longer have a header.
- If you want to add a header again later, simply insert another section break and activate a new header there.