
1K
Permanently deleting markup in Word is a bit complicated, but possible. In our article, you will not only learn how to accept all changes and permanently remove comments, but also how to hide the markup if you want to keep track of it.
Method 1: Permanently remove markup in Word
This method is ideal for final versions that you want to print or share. Here’s how to permanently delete all changes and comments from the document:
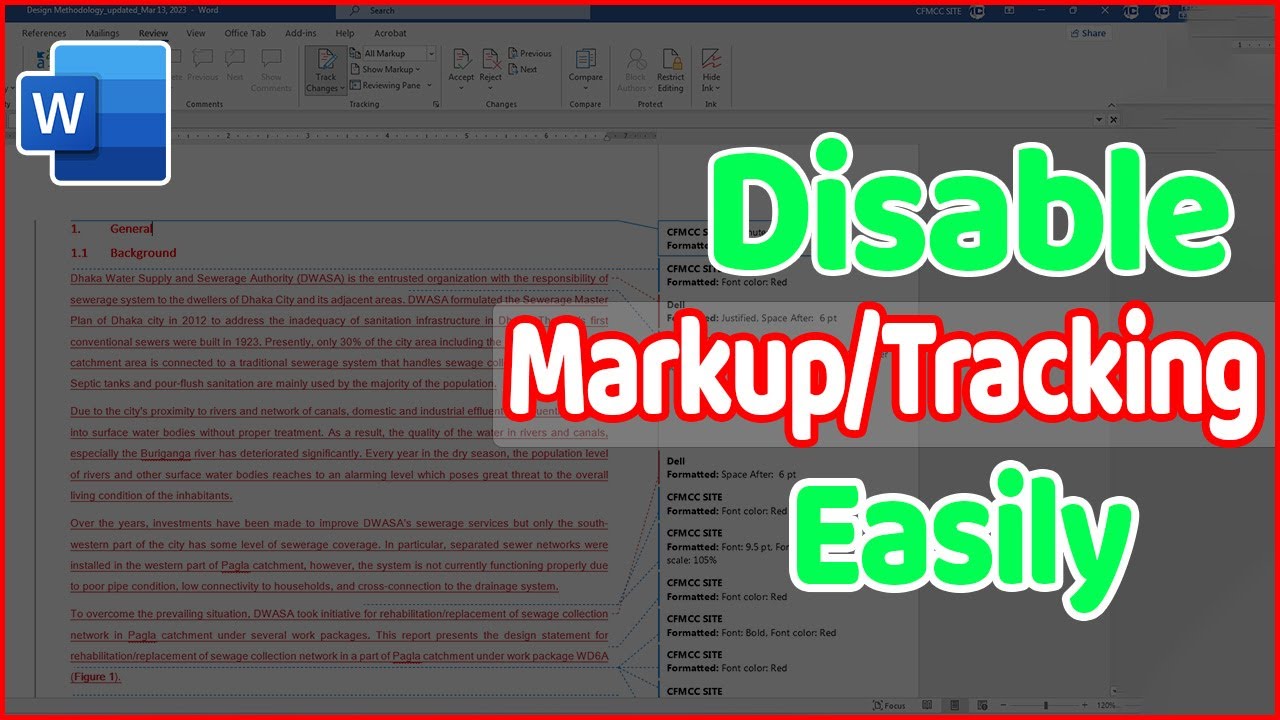
- To disable markup, you must first accept the changes. To do this, open your Word document and go to the Review tab.
- Click Changes → Accept (small arrow) → Accept All Changes in Document. All tracked changes will now be permanently incorporated into the text.
- Now click on Review → Comments → Delete (small arrow) → Delete all comments in document to permanently remove all comments.
- Then click the Track Changes button so that it is no longer highlighted. Future changes will now no longer be tracked.
- Save the document (Ctrl + S or File → Save). The markup is now permanently removed.
- If you want to make sure that all hidden changes and comments are really gone: Go to File → Info → Check for Issues → Check Document.
Method 2: Hide markup via Word options
If you do not want the changes to be displayed but still want to see what has been changed:
- Click on the Review tab.
- Then open the drop-down menu under Show Markup and select None.
- Note: This solution is document-specific. Unfortunately, it is not possible to tell Word to never show markups for every document.
Permanently disable tracking in Word: How it worked in older versions of Word
It used to be possible to permanently disable markup in Microsoft Word, but unfortunately this method no longer works in newer versions. If you still have an older version of Word, you could still try the following method:
- To do this, you need to find the “Normal.dotm” file on your computer. In Windows, this is usually located in the folder “C:\Users\
\AppData\Roaming\Microsoft\Templates”. In MacOS, it is located in “~/Library/Application Support/Microsoft/Office/User Templates”. - Then open Normal.dotm in Word and click on View → Markup. This will temporarily disable markup.
- Now save the file in “.dotm” format in any location and close Word.
- Rename the original “Normal.dotm” file to “NormalBACKUP.dotm”.
- Then move the newly created file to this folder and rename the new file “Normal.dotm.”
- Now start Word, and the check mark under Markup will be automatically deactivated.