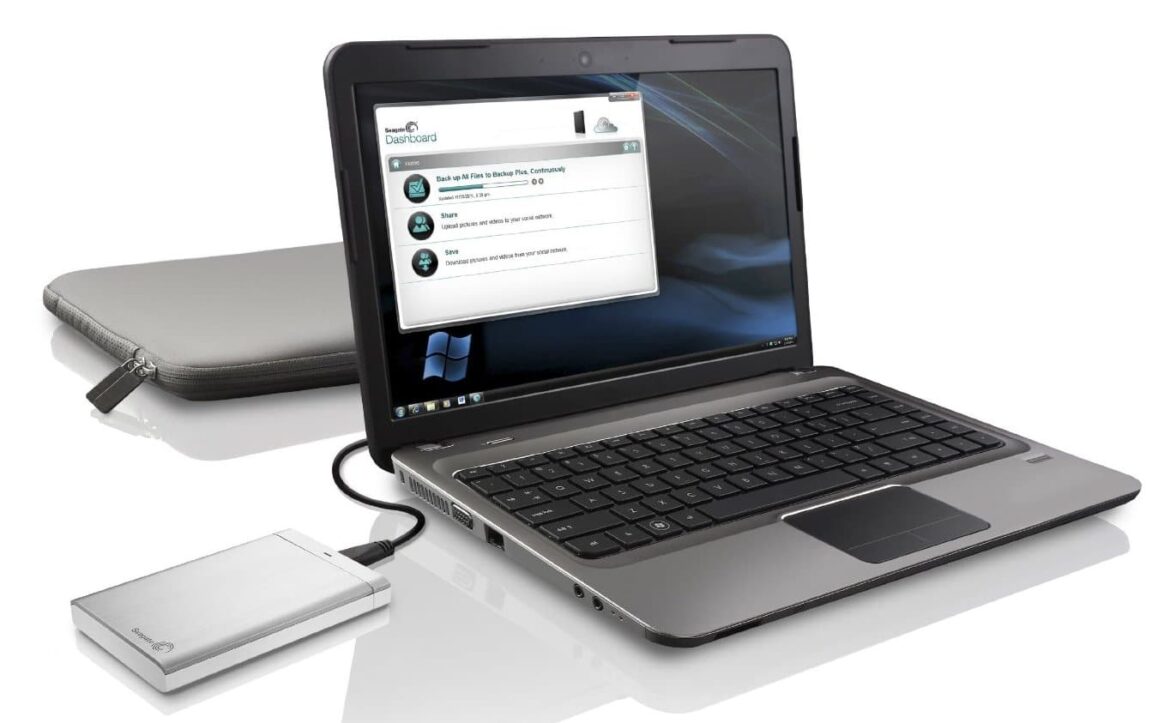
If your external hard drive is not recognized by Windows, there may be several reasons for this. We will show you simple solutions and helpful tips to fix the problem and make your data accessible again.
1. Windows does not recognize external hard drive – check connections
If your computer does not display the external hard drive at all, you should check that you are using the correct USB port and that there is sufficient power supply.
- Most external hard drives have a USB 3.0 interface. They should therefore be connected to a PC port with the appropriate design.
- You can’t go far wrong here, as USB standards 1.0, 2.0 and 3.0 are compatible with each other. This means that your hard drive will also be recognized by an older port, but will probably run significantly slower.
- It often helps to simply use a different USB port so that the hard drive is recognized. Restarting the PC may also fix the error.
- If available, try a different USB cable. Some USB cables are only intended for charging and do not allow data transfer.
- It often helps to disconnect USB devices that are not currently in use to free up the necessary USB resources in the system and avoid conflicts with other USB devices. This is because each USB controller in the system can only operate a limited number of devices.
- Depending on the hard drive you are using, it may be necessary to connect it to the power supply via a suitable power supply unit rather than just via USB to the PC.
- Missing driver updates may also be the cause. Check the Windows Device Manager for errors and update Windows to the latest version.
- If Windows recognizes your data carrier, you can use software to scan the hard drive for errors and often even fix them.
2. Display the hard drive in Disk Management
If your external hard drive is no longer recognized as usual, there may be several reasons for this. Therefore, first check whether Windows displays your external storage medium in Disk Management.
- Open Windows Disk Management by searching for Create and format hard disk partitions.
- Once you have opened Disk Management, you will see an overview of all connected drives and their respective partitions.
- If Windows has successfully recognized your external hard drive, it will be displayed here. Try to identify the disk you are looking for in the lower section using the size information displayed.
- A status indicator (at the top) shows you if there is a problem.
3. Assign drive letters
If Windows has recognized your external hard drive in Disk Management, you can at least rule out a possible USB cable defect and know that your external storage medium is otherwise working properly. Therefore, check whether your external hard drive has been assigned a drive letter. This is absolutely necessary.
- If your external hard drive has been detected, it will be listed in Disk Management. However, the drive may still be missing a drive letter, such as (E).
- To access your external hard drive, your hard drive needs a drive letter. Right-click on the primary partition of the hard drive (blue bar).
- Select the Change drive letters and paths command. You will see that no drive letter is displayed.
- Therefore, go to Add and select an available letter. Letters that are already in use will not be available for selection.
Your external hard drive now has a drive name and is accessible again.
4. Initialize the disk and create a volume
It may also be necessary to initialize the hard drive before using it for the first time. You can also do this via Disk Management.
- Search for the external hard drive in Disk Management. It should be labeled Unallocated.
- Right-click on the gray rectangle to the left of it. This will also show you the number of the disk, for example, “Disk 4.” Select Disk Initialization from the context menu.
- In the new window, you will be prompted to select the partition style. For data carriers larger than 2 terabytes, we recommend selecting GPT. You can often just accept the default setting. Confirm the process.
- Steps 2 and 3 can be skipped if a valid partition style is already set.
- Now right-click on the unallocated area in Disk Management and select New Simple Volume. Follow the instructions in the wizard to finish setting up the hard drive.
5. Format external hard drive for access
If this step does not have the desired effect, your hard drive may not be formatted correctly for your operating system. Remember that formatting will erase all data on the hard drive!
- Therefore, go back to Disk Management. Right-click on the primary partition of the disk and select Format.
- Give the hard drive a name and select a suitable file system (usually NTFS or exFAT). In most cases, you can leave the Perform quick format option enabled.
- Wait until the process is complete. You will then have access to your external hard drive again.
- If you accidentally deleted data during formatting, you can try to recover it using tools such as Recuva or Power Data Recovery. However, this does not always work.
6. In an emergency: Buy a new external hard drive at a low price
If none of this helps, your hard drive is most likely defective. However, you no longer have to spend a fortune on a new replacement model:
- Our list of the best products shows you the fastest and most affordable 2.5-inch external hard drives. You can get a data storage device with 1 terabyte of memory for less than $60.

