
663
This article shows you how to find your own SSID (the name of your Wi-Fi network).
Find your own SSID
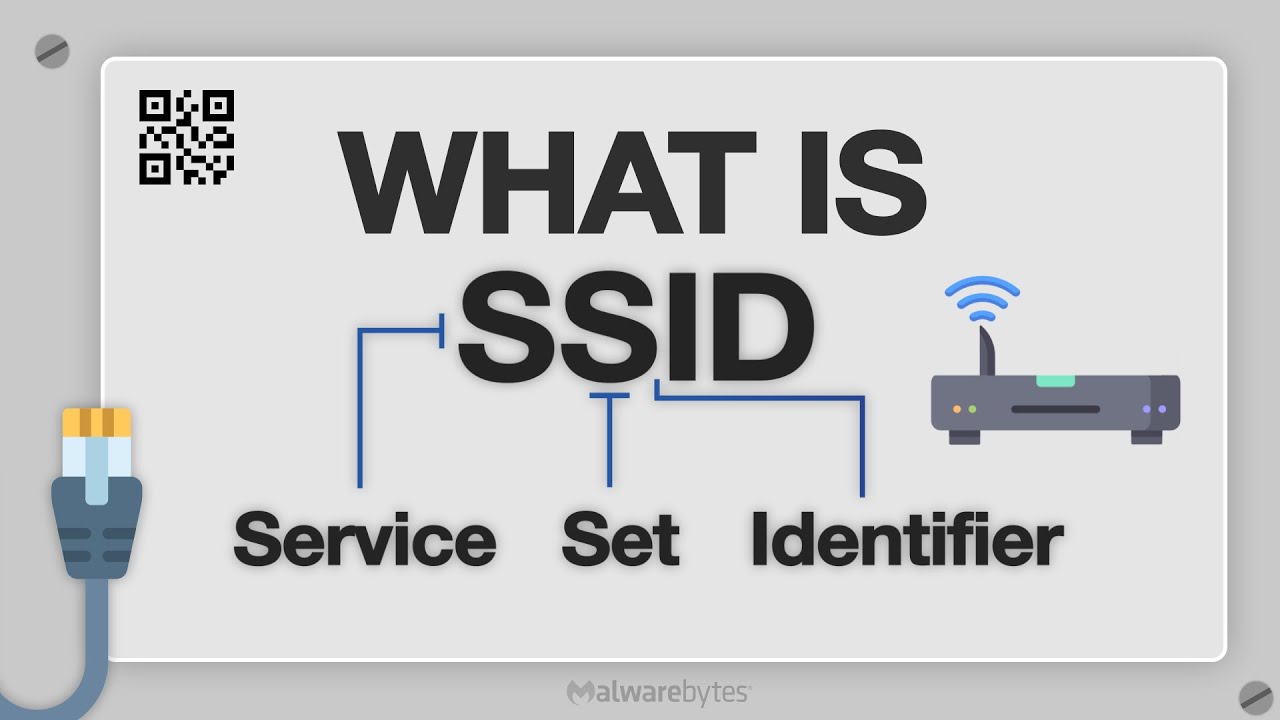
SSID is short for “Service Set Identifier” and refers to the name of your Wi-Fi network. How to find your SSID:
- Taskbar: If you are currently connected to the network and the network icon is located at the bottom right of the taskbar, you can easily find the SSID. Move your mouse over the icon and the name of the network will be displayed.
- Control Panel: Open the Control Panel and select the categories “Network and Internet” and “Network and Sharing Center” one after the other. Right-click on the Wi-Fi connection to open a small window. Here you will also see the SSID (see image).
- Router: The name of the network is usually also printed on the back of the router, unless it has been changed. The SSID often bears the name of the router model.
- Router: If you have changed the SSID and cannot access it, connect it to the computer via a LAN cable. You can then access the user interface and read or change the SSID.
Find out the SSID that is not visible
To connect to a Wi-Fi network whose SSID (network name) is not visible, proceed as follows:
- Prerequisites: You need the exact name of the network (SSID). You also need to know the correct Wi-Fi password. You should also know which encryption (e.g., WPA2 or WPA3) the network uses. You can usually obtain this information from your network administrator.
- Procedure in Windows 11: Click on the Wi-Fi icon in the taskbar. An entry such as “Hidden network” often appears at the end of the list. Click on it. Enter the name (SSID) of the network. Enter the password and confirm the connection.
- Alternatively, you can also set up a new connection manually in the “Network and Sharing Center”: Open the “Network and Sharing Center.” Select “Set up a new connection or network.”
- Select “Manually connect to a network.” Enter the SSID, encryption type, and password. Check the box next to “Connect even if the network does not broadcast its SSID.”