
1.7K
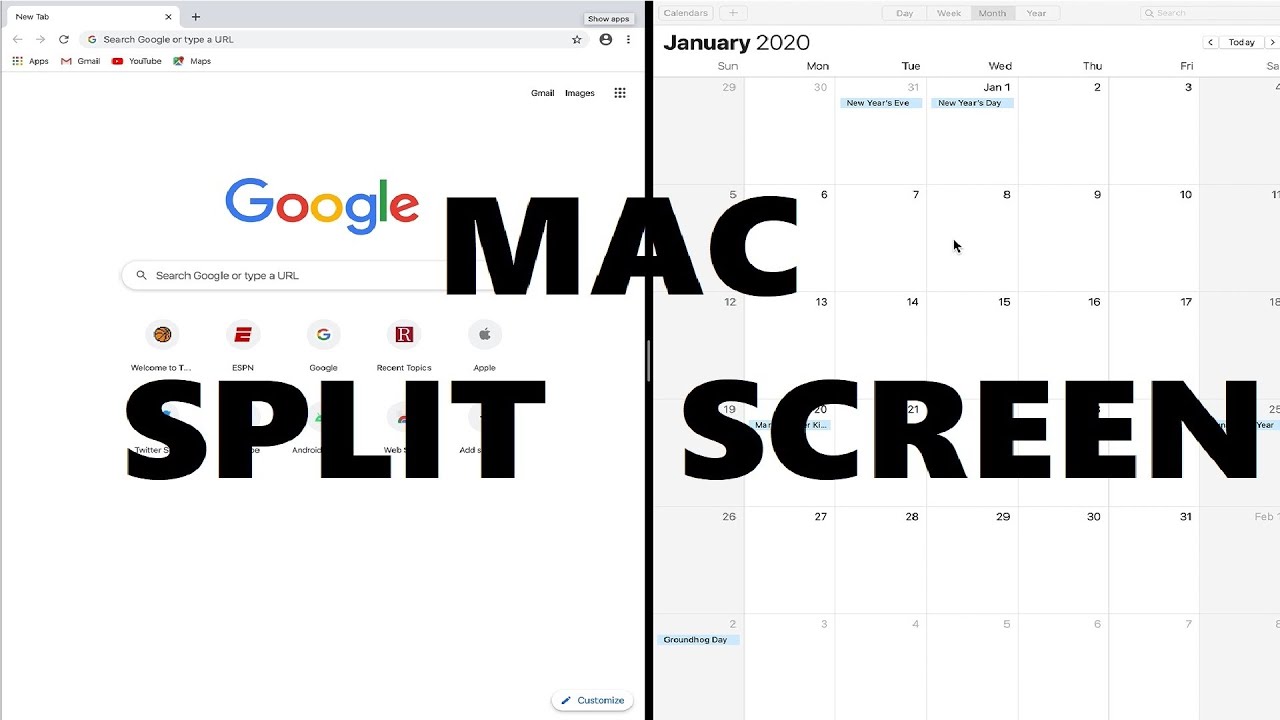
If you want to be as productive as possible, you should use split screen in your Macbook. This allows you to use two apps side by side in full-screen mode
Macbook: How to set up the split screen
To set up split screen, you need the right version of macOS. It must be the version OS X ElCapitan or newer. Check this by clicking on the Apple icon at the top left of the screen. Then click on the “About this Mac” button. In the window that appears, you can see if you have the correct version of macOS. The version number must start with 10.11 or higher.
Use the green button in the title bar to set up Split View:
- First open the two apps you want to use side by side.
- Then press and hold the green button.
- Select whether the window should be placed on the left or on the right in the menu that appears.
- Now select the window to be displayed next to the first window.
Macbook: Split View via Mission Control
If you want to set up Split View via Mission Control, follow the steps below:
- Open the two apps you want to use side by side.
- Click the green button in both windows to display them in full screen mode.
- Now swipe the trackpad from bottom to top with two fingers to open Mission Control.
- Drag one of the two apps over the other and decide whether you want to display it on the left or right.
- Once Split View has been set up, you can easily change the split on the screen. To do this, use the bar in the middle of the screen. Move it to the left or right until you are happy with the result. You can also simply drag images or text from one screen to the other.