
2.6K
If you want to disable the on-screen keyboard in Windows 10 or 11, you can do so in the settings. The deactivation is done in a few steps
Disable the on-screen keyboard in Windows: Here’s how to do it
If the on-screen keyboard is enabled in Windows 10 or 11 but you don’t need it, you can disable the virtual keyboard in just a few steps. To do this, proceed as follows:
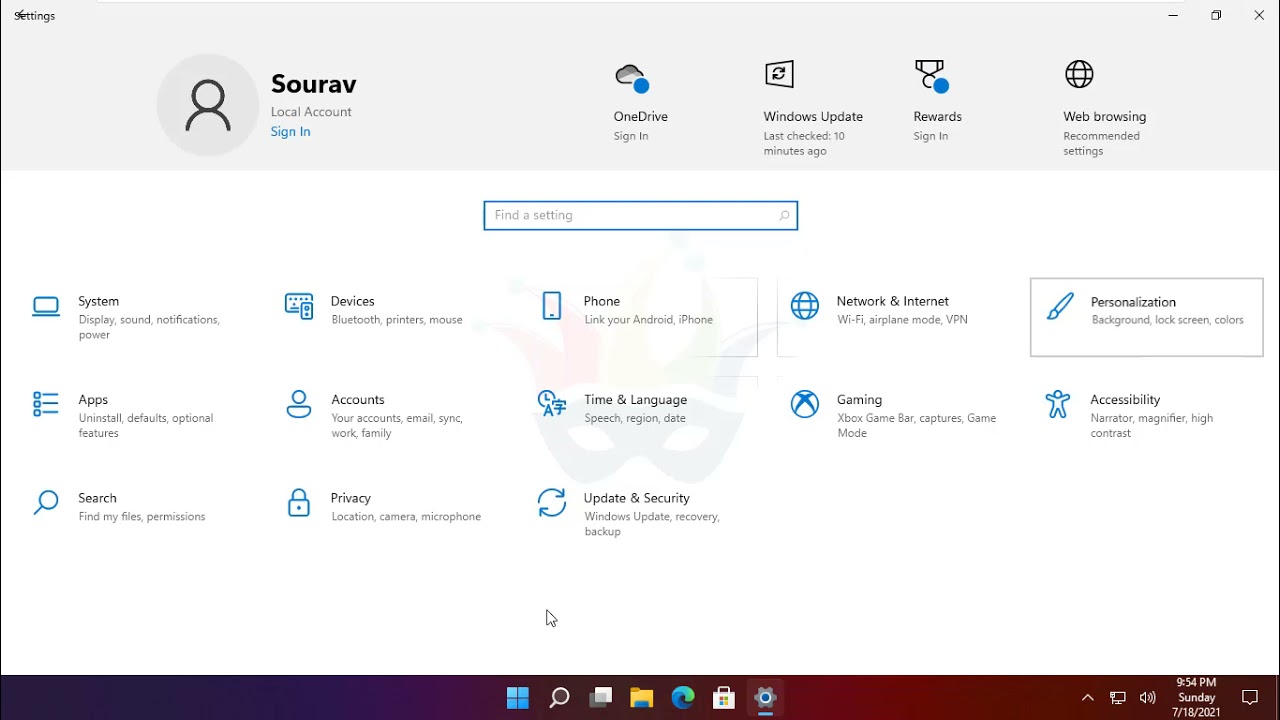
- Open the settings via the Windows Start menu and select the entry “Ease of use”.
- Click on the menu item “Keyboard” in the left bar.
- You can disable the on-screen keyboard by turning off the slider at “Use on-screen keyboard”.
Disable on-screen keyboard at login
Sometimes you may find that the virtual keyboard is launched every time Windows boots up. To change this, you need to open the on-screen keyboard settings.
- With the on-screen keyboard open, click on the “Options” button at the bottom right-hand edge.
- Click in the new window on the blue entry “Control start of on-screen keyboard when logging in”.
- Here you can remove the tick from “Use on-screen keyboard”.
- Confirm with “Apply” and “OK”.
