402
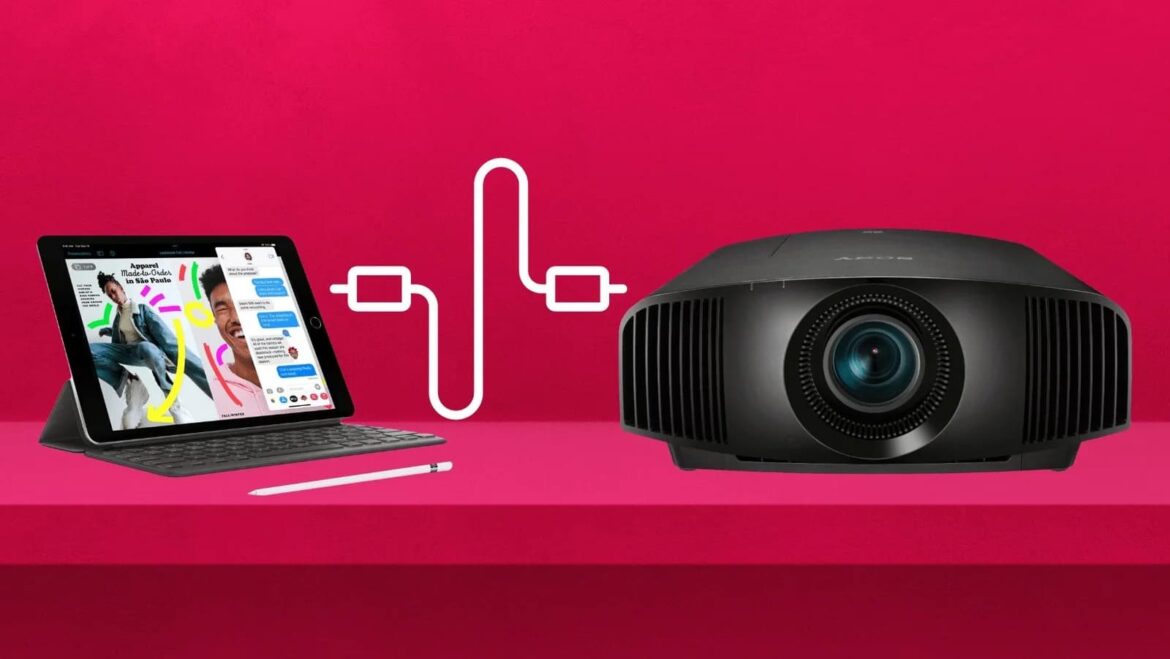
Using your iPad to project content onto a projector is a practical solution for presentations or watching movies on a big screen.
Connect your iPad to the projector via cable
A wired connection between the iPad and projector ensures stable transmission and high image quality. This is especially important if you want to show long presentations or movies and want to make sure there are no interruptions.
- Lightning to HDMI adapter: Most iPads use a Lightning connector. Use the Lightning to HDMI adapter here. Make sure it is a certified adapter to avoid any incompatibilities or image problems.
- USB-C-to-HDMI adapter: Newer iPad models have a USB-C port. In this case, you can use a USB-C-to-HDMI adapter. A standard HDMI cable then connects the adapter to the projector.
- Projector settings: As soon as the cable is connected, switch the projector to the corresponding HDMI channel. Many models automatically recognize the signal, but it may be helpful to manually select the source in the projector menu.
Connect iPad to projector: wirelessly with AirPlay
AirPlay offers the freedom to use the iPad without a cable connection. This option is particularly useful for iPads that are integrated into a Wi-Fi environment.
- Using Apple TV: To use AirPlay, connect the projector to an Apple TV. The Apple TV is connected to the projector via HDMI cable and acts as an interface for the AirPlay signal.
- QActivate AirPlay on the iPad: Swipe down from the upper right corner of your iPad to open the control center. Select “Screen Synchronization” and then select the Apple TV from the device list. If you have multiple devices, make sure you select the correct Apple TV.
- Ensure a Wi-Fi connection: For AirPlay to work, both the iPad and the Apple TV must be logged into the same Wi-Fi network. A stable connection is especially important for videos, since a poor Wi-Fi connection can cause jerkiness or delays.
