3.4K
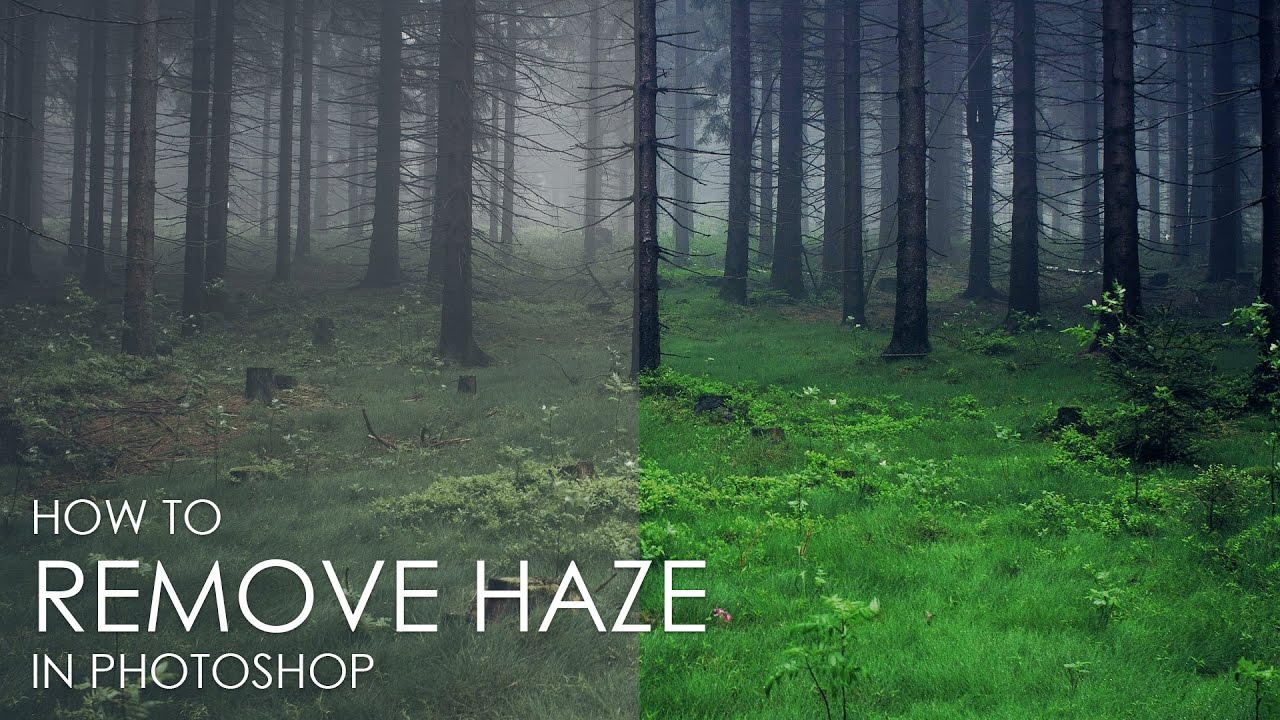
If you want to remove haze from a photo in Photoshop, you have several options. We will therefore show you two of the possibilities in this tutorial.
The easiest way to remove haze in Photoshop
- You can remove haze with just a few simple steps. This works with the latest Photoshop CC version as well as with the older versions of the programme.
- Open the image in Photoshop and duplicate the layer with your photo.
- On the duplicated layer, change the mode from “Normal” to “Multiply” or “Copy Into Each Other”.
- Play a little with the opacity of the layer duplicate to achieve sharpness and contrast.
To achieve finer tunings
If you want the result to be finer and more detailed, you can achieve this with a little more adjustment.
Open the image in Photoshop, duplicate the layer with your photo and create a smart object by right-clicking on the layer and selecting “Convert to Smart Object “
First sharpen this smart object via “Filter” – “Sharpen Filter” – “Sharpen”, but only a little.
In the next step, navigate to “Image” – “Adjust” – “Gradation Curves” and drag over it to increase the contrast a little.
Finish by changing the fill method to “Soft Light” or “Interlace”, depending on how strong you want the effect.