
1.6K
UAC virtualization performs an important function under Windows. However, User Account Control can also be deactivated
UAC Virtualization: What does the User Account Control do?
UAC virtualization was introduced by Microsoft in 2007 with the release of Windows Vista. User Account Control is a core function designed to protect your PC from potential threats.
- With appropriate administrator rights, important program files and registry settings in Windows are protected against unauthorized access and changes.
- UAC virtualization separates the files and settings of individual users; only users with administrator rights can access protected system configurations. Windows achieves this by assigning rights to administrators only, with which changes can be made in folders such as “Programs”, “Program data”, “Windows” and “Users”.
- The permissions for registry keys also prevent standard users from making settings that could affect other users.
- UAC virtualization therefore plays a crucial role in protecting user files.
How to deactivate UAC virtualization
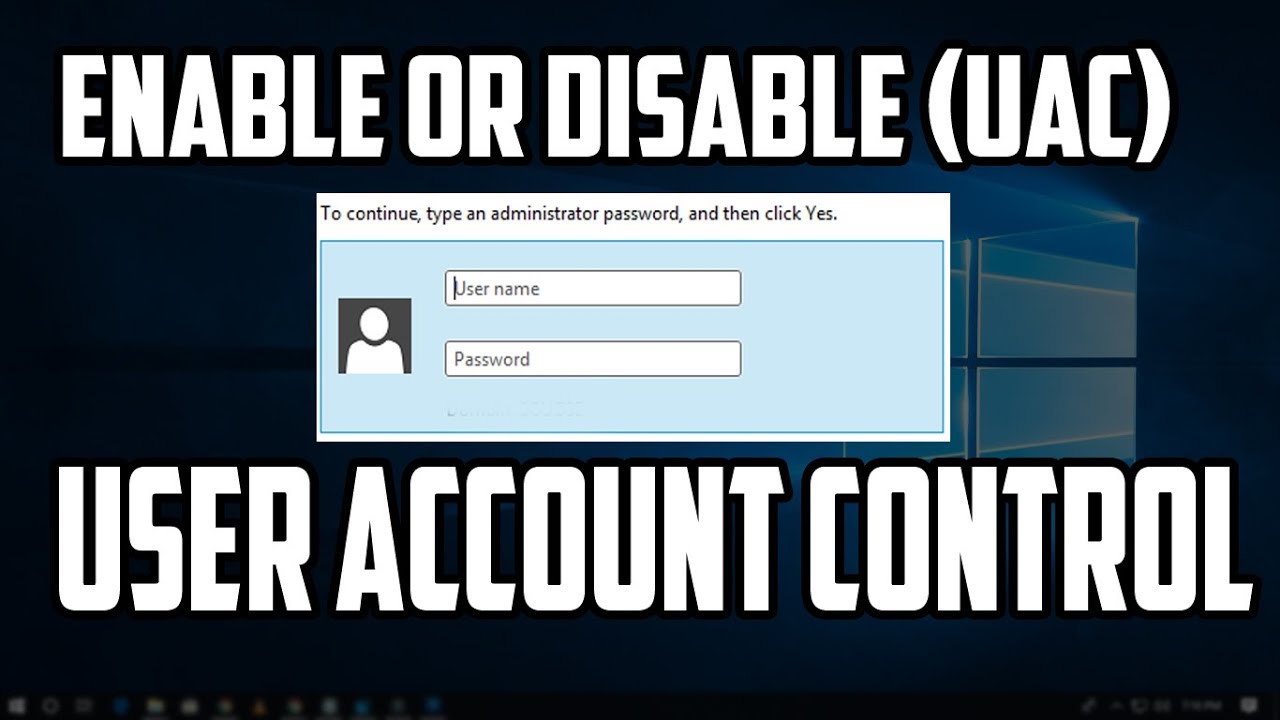
UAC virtualization always asks for the user’s consent when programs want to make changes to the system. This may be the case, for example, if you want to install a new program. To protect important system files, it is advisable to leave User Account Control activated.
- If there are software problems with an application, it may also make sense to temporarily deactivate UAC. One scenario could be, for example, that various programs interact with each other and are disrupted by UAC.
- If you make a lot of changes to your system and are increasingly annoyed by the constant queries, you can also quickly deactivate UAC virtualization under Windows 11 and 10.
- Use the key combination of the Windows key and “X” to open the settings.
- Type “Change user account control settings” in the search field at the top left and click on the corresponding item.
- In the “User Account Control Settings” window that now opens, you will find a slider with four settings that you can use to define UAC virtualization more precisely.
- The default setting is “Only notify when apps make changes to the computer. “
- You can lower the UAC virtualization by moving the slider one step down to “Only notify when apps make changes to the computer (do not hide the desktop). “
- If you move the slider all the way down to “Never notify”, you will no longer be informed about changes to the system. So if apps try to install software and make changes to the computer, Windows will no longer issue a message. The same applies if you change Windows settings yourself. The user account control settings directly indicate this option as “Not recommended”.