
If you want to take a screenshot with Windows 10, the right key combination or a tool will help you. In this practical tip we show you all the variants.
Take a screenshot with Windows 10 – this is how it works
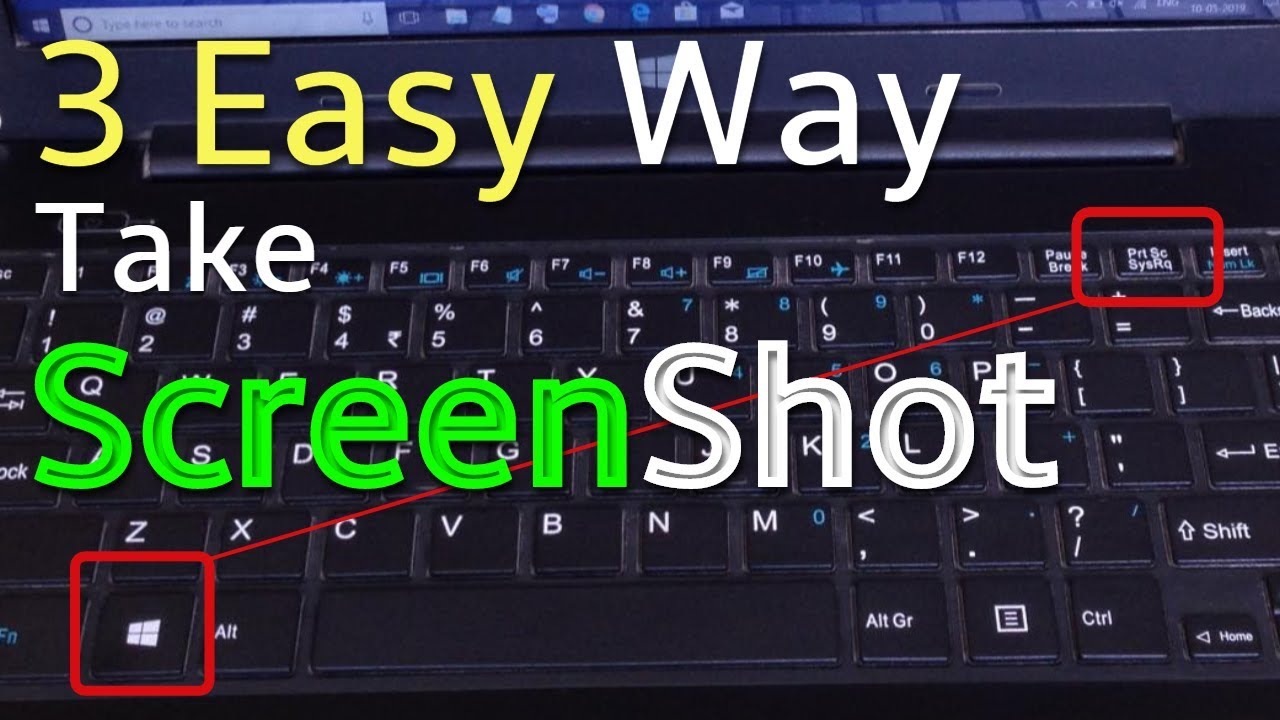
You can take a screenshot in Windows 10 quickly and easily.
- Press the [Windows] and [Print] keys on your keyboard.
- You will now find a folder called “Screenshots” in your Pictures folder. Here is the screenshot you just took.
- Once you have “copied to clipboard” the screenshot, you can now open an image program such as Paint and paste it by pressing the [STR] + [V] keys.
- Snipping Tool: Once you have started the programme, you can take a screenshot using the simple menu navigation.
- Cut and Sketch works similarly, but also has a handy key combination: With [Windows key] + [Shift] + [S] you can directly mark the area you want to save as an image.
Snipping Tool Plus: Create a screenshot without a key combination
If you don’t want to take screenshots with keyboard shortcuts, there are other ways.
- The well-known “Snipping Tool Plus” also works under Windows 10.
- Download the free tool and unzip the zip file.
- Click on the EXE file contained therein.
- In the tool itself, select whether you want to create a full-screen screenshot, a free section or a right section.
- You can then save the screenshot to your hard drive using the Save icon.
- Depending on which browser you use, there are the following add-ons:
- For Google Chrome: Awesome Screenshot, FireShot
- For Mozilla Firefox: Aweseome Screenshot Plus, FireShot
- Installing the add-ons is easy: depending on which browser you use, all you have to do is press the “Add” button.
- You will then find the corresponding tool in the top right-hand corner of your bar. Click on the add-on and select which area you want to photograph.
- These tools have the advantage of taking a picture of your screen where content like your search bar and your open tabs are not visible
- A new tab will open where you can edit your screenshot. Alternatively, once you have saved your screen capture to your device, you can access any other image editing programme.
- These extensions can also be easily removed and uninstalled. You can see how to do this in the following video.
- Download and install “Microsoft Snip”.
- In the programme interface, select “Capture”. Now you can click on any window with the crosshairs or create a screen section by holding the mouse button down.
- The image automatically ends up on the clipboard and can also be saved to the hard drive or shared online.
Use browser add-ons: Edit screenshots without Paint
If you want to take a picture of an entire page and not just the area on your screen that you are currently viewing, an add-on for your browser is a good alternative.
Microsoft Snip: New Tool for Screenshots
Microsoft itself also offers its own screenshot tool for Windows.
Windows 10: Create screenshot with Snipping Tool or “Cut and Sketch “
Alternatively, you can take a screenshot under Windows 10 with the pre-installed programmes Snipping Tool or Cut and Sketch. You can find both programmes by first pressing the Windows key and then typing in the programme name.