If you want to take a screenshot in Windows 10, you can either use a tool or the correct keyboard shortcut. The screenshot feature is already pre-installed.
How to take a screenshot in Windows 10 – using a keyboard shortcut
In Windows 10, you can easily take a screenshot yourself. You don’t need any tools or software, because Windows already offers this feature. All you have to do is use the right keyboard shortcut.
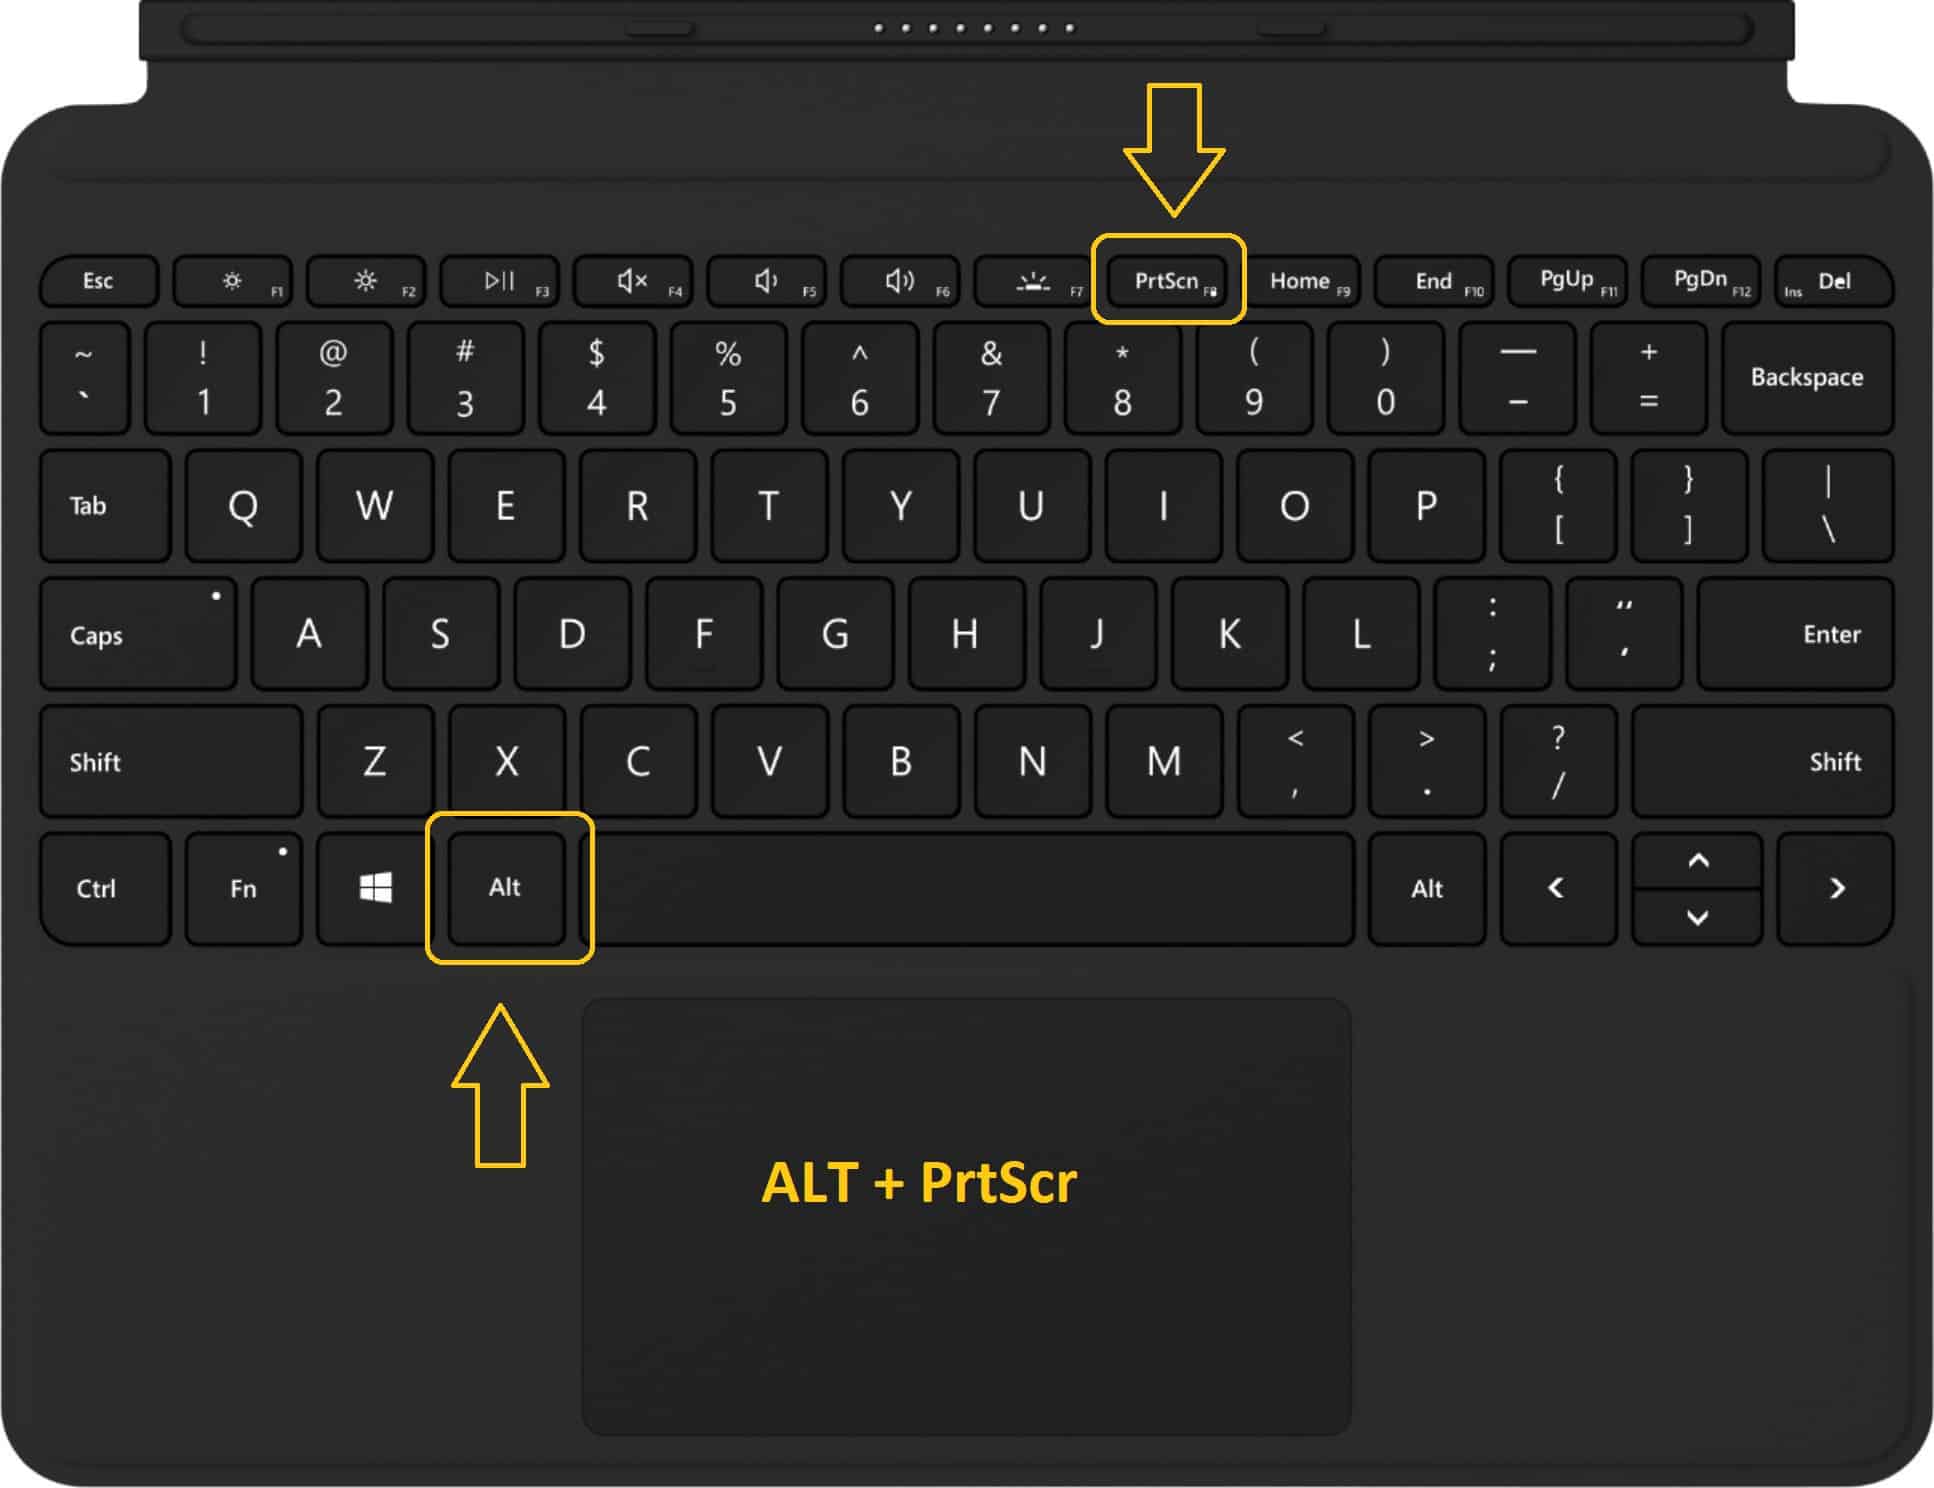
- Press the [Windows] and [Print Screen]keys on your keyboard. Depending on your PC or keyboard, this key may also be called [Print] or [PrintScreen] or [PrntScr]. It is almost always located in the top-right corner.
- You will now find a folder named Screenshots under Pictures. This is where the screenshot you just took is located. This function captures the entire screen. If you are using multiple monitors, this creates a large composite image, which you can crop as desired using Paint or other image editing programs.
- Alternatively, simply click the [Print] button. This saves the screenshot to the clipboard and allows you to paste it directly into the image editing tool of your choice using [STR] + [V].
Take a screenshot with Snipping Tool or “Snip & Sketch”
Alternatively, in Windows 10, you can take a screenshot using the pre-installed programs Snipping Tool or Snip & Sketch . You can find both programs by first pressing the Windows key and then typing the program name into the search bar.
- Snipping Tool: Once you’ve launched the program, you can take a screenshot using the simple menu navigation. Click “New” to take a screenshot. First, select the capture mode under “Mode” to choose how you want to take the screenshot. You can then save the image as usual.
- Snip and Sketch: Using the keyboard shortcut [Windows key] + [Shift] + [S] you can directly select the area you want to save as an image. Choose how you want to take the screenshot in the upper section. The image is saved to the clipboard and can be loaded into any image editor using [Ctrl] + [V].
Snipping Tool Plus: Take a screenshot without using keyboard shortcuts
If you don’t want to take screenshots using keyboard shortcuts, there are other tools available.
- The well-known “Snipping Tool Plus” also works on Windows 10.
- Download the free tool and unzip the file.
- Then click on the EXE file contained within.
- In the tool itself, you can then choose whether you want to take a full-screen screenshot, a free-form selection, or a rectangular selection.
- You can then save the screenshot to your hard drive using the Save icon.
Use browser add-ons: Edit screenshots without Paint
- Depending on which browser you use, the following add-ons are available:
- For Google Chrome: Awesome Screenshot, FireShot
- For Mozilla Firefox: Awesome Screenshot Plus, FireShot
- Installing the add-ons is easy: Depending on which browser you use, you simply need to click the “Add” button.
- You will then find the corresponding tool in the top-right corner of your toolbar. Click on the add-on and select the area you want to capture.
- These tools have the advantage of taking a screenshot of your screen without showing elements like your search bar and open tabs
- A new tab will open where you can edit your screenshot. Alternatively, you can also use any other image editing program once you have saved the screenshot to your device.
- These extensions can also be easily removed and uninstalled.
Microsoft Snip: New Tool for Screenshots
Microsoft itself also offers its own screenshot tool for Windows.
- Download and install “Microsoft Snip”.
- In the program interface, select “Capture”. Now you can click on any window with the crosshairs or create a screenshot by holding down the mouse button.
- The image is automatically copied to the clipboard and can also be saved to your hard drive or shared online.