163
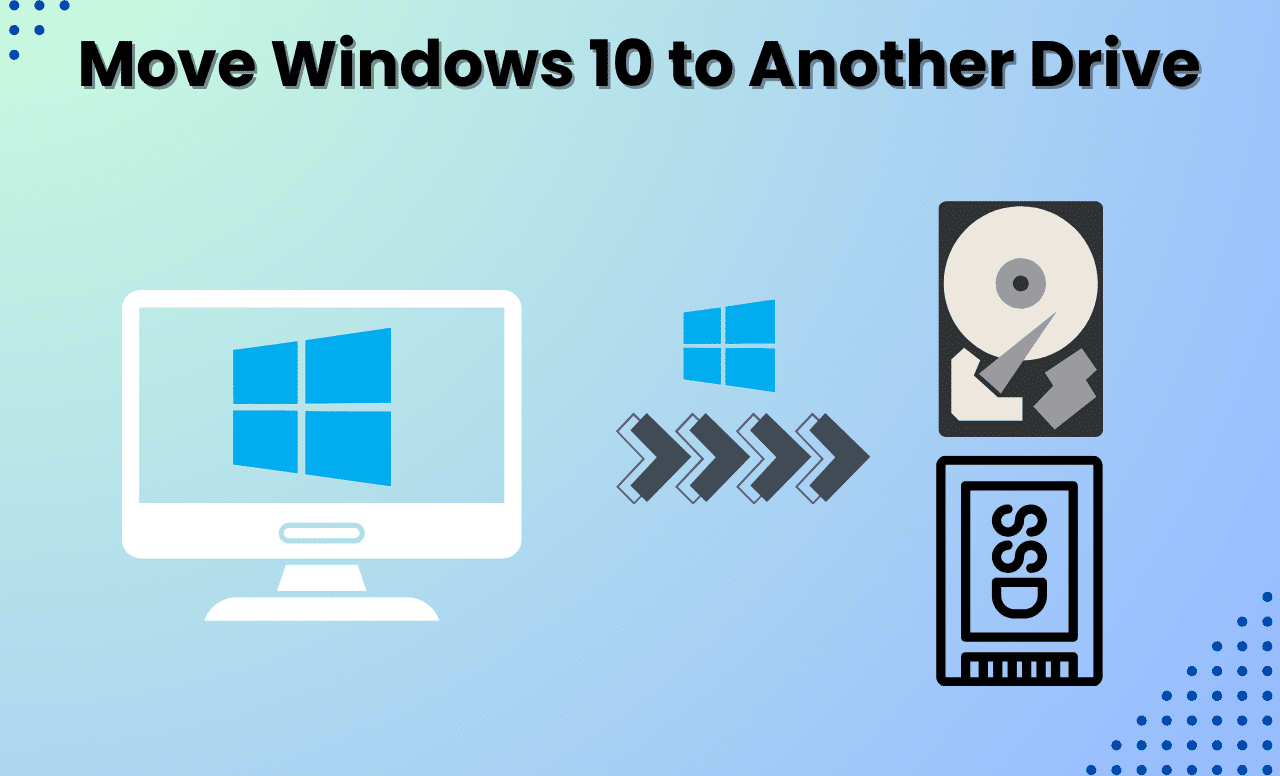
Migrating Windows 10 to a new hard drive is a task that requires precision and foresight—but with the right tools and clear instructions, the migration can be completed without data loss or boot-up issues.
Transferring Windows 10 to a New Hard Drive: Preparations for a Smooth Migration
The key to success lies in meticulous preparation. Do not skip this step, or you risk error messages or a system that won’t boot later on.
- Check hard drive compatibility: Initialize the new hard drive in advance using the Disk Management tool (Windows key + X > Disk Management). Select the same partition style (MBR or GPT) as on the old hard drive to avoid boot problems. The new hard drive does not necessarily have to be larger than the old one. What’s important is that the space occupied by the system partition fits on the target drive. Tools such as EaseUS Partition Master or AOMEI Partition Assistant can help you shrink or expand the partition as needed.
- Back up all critical data: Create a full backup of your old hard drive using tools such as Macrium Reflect Free or Windows’ built-in backup feature. Save it to an external storage device. Warning: The cloning process will overwrite all data on the destination hard drive. Therefore, be sure to back up any existing files on the new drive beforehand if it has already been used.
- Choose the Right Software: Modern tools such as EaseUS Partition Master or AOMEI Partition Assistant offer specialized features like “Migrate OS.” These automatically optimize the transfer of the operating system and ensure that the new hard drive remains bootable. Manufacturer-specific tools (e.g., Samsung Data Migration for SSDs) are ideal if you’re sticking with the same brand—they often adjust partitions and firmware settings more precisely.
Step by Step: Cloning, Installing, and Optimizing
Now it’s time to get hands-on: From physically connecting the hard drive to the first successful boot—here’s how to put the plan into action.
- Connect the destination drive using a SATA cable (desktop PC) or a USB-to-SATA adapter (laptop). Open Disk Management to check whether the drive is recognized.
- If necessary, format the hard drive using the same file system (usually NTFS) as the source.
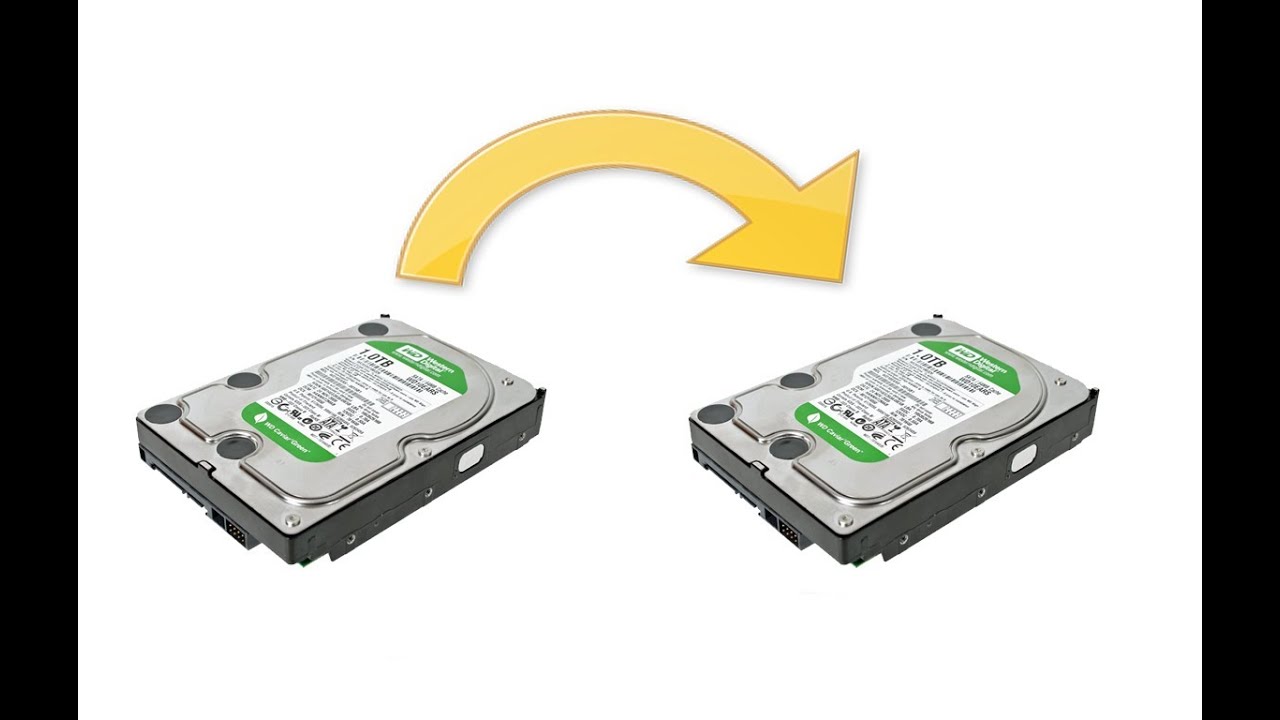
- Open your cloning software (e.g., EaseUS) and select the “Migrate OS” or “System Clone” function. This copies only the system partition and avoids unnecessary data.
- Disable the “Sector-by-Sector Copy” option if the destination drive is smaller. The software will automatically adjust the partitions as long as there is sufficient storage space.
- Confirm the operation and wait until the software completes the process. Do not interrupt it—this could damage both hard drives.
- Turn off the PC, disconnect all cables, and remove the old hard drive. Install the new one—for laptops, it’s best to use an antistatic screwdriver to prevent damage.
- Start the PC and repeatedly press F2/F12/Del to enter the BIOS/UEFI. Set the new hard drive as the primary boot drive.
- If Windows won’t start, boot from a Windows installation medium (USB/DVD) and repair the boot configuration via “Troubleshoot > Startup Repair”.
- Check your Windows activation. Windows 10 typically ties the license to the hardware. If significant changes have been made (such as replacing the hard drive), manual reactivation may be necessary via Settings > Update & Security > Activation .
- Optimize the new hard drive.& nbsp;Run TRIM for SSDs via the Command Prompt (“defrag /O /U /V” in admin mode) to maintain performance. Use the Disk Cleanup tool to delete unnecessary temporary files created during cloning.
- Dispose of the old hard drive securely. Overwrite sensitive data with tools such as DBAN before selling or recycling the drive. Simply deleting files is not enough—deleted files can be easily recovered.