6
If you don’t have room for a large TV or are looking for a more affordable solution, watching TV on your PC via DVB-T is a good alternative. Here we’ll show you what you need to bear in mind when receiving DVB-T signals.
What you should bear in mind before buying a DVB-T receiver
To watch DVB-T TV on your computer, you’ll usually need additional hardware – but before you buy it, you should bear the following points in mind:
- DVB-T is a broadcast standard that has not yet been sufficiently rolled out in all regions of Germany. As USB sticks with small antennas – and therefore poorer reception quality – are usually the only option for PCs, your reception area should have adequate coverage. You can find a map of the network roll-out here, for example – look out for the keyword ‘indoor antenna’. Outside major cities and conurbations, reception is still limited.
- With DVB-T, you will not be able to receive all the channels you are familiar with from cable or satellite TV. Public service and local channels, in particular, are widely available. Most commercial channels, such as “ProSieben” or “RTL”, can also be received in the majority of regions. But please note: the “RTL” group, for example, is planning a phased withdrawal from the DVB-T network, meaning channels such as “RTL” or “VOX” may soon no longer be available.
- Your PC does not need to meet any extensive software or hardware requirements. Most systems work via a USB stick, to which not only the antenna is connected, but which also comes with the necessary software. Installation usually starts automatically via AutoPlay. You do not need a TV card either.
Find the right DVB-T hardware for your PC
- The functionality should always be similar; do also pay attention to customer reviews.
- If you’re unsure about the signal strength in your area, make sure that your DVB-T stick can later be connected to a more powerful DVB-T indoor aerial or even an outdoor aerial – this would be the case with this model, for example.
Setting up TV reception on your computer
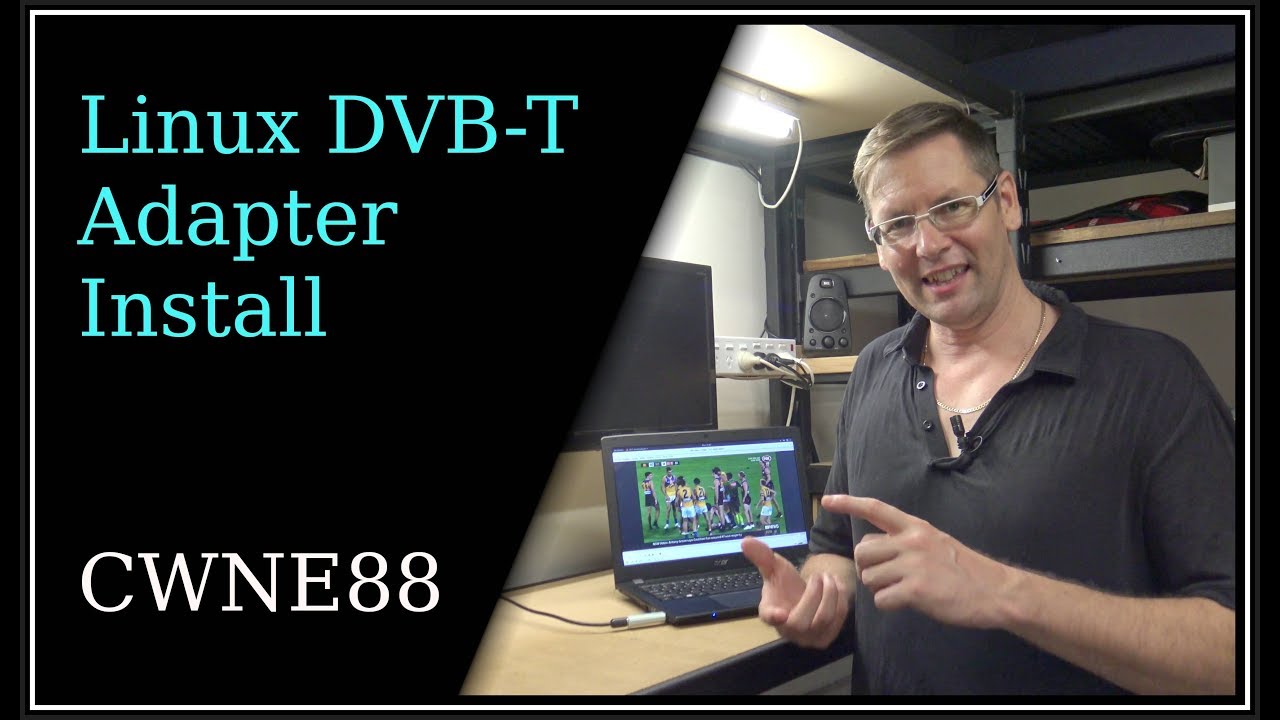
Depending on which product you have chosen, the user interface of the accompanying software will look different. However, the principles of setting it up are always the same:
- Plug the dongle into a free USB port or insert any software CD that may have been supplied. You’ll have the reception programme installed in no time.
- If you haven’t done so already, you’ll be prompted to connect the aerial once you’ve launched the software.
- Click on ‘Channel Search’ to start a scan, which will provide you with a list of all the channels available in your area within a few minutes. You can reorder the list just as you would on the television itself.
- Click on a programme to start playback. Additional features such as teletext are also available. With some programmes, you can even record.
- If, for example, you have installed “Windows Media Centre”, you can also configure TV reception via your DVB-T aerial here. To do this, simply select “Digital” and then “DVB-T” as the reception type.
- If the software supplied with your model is of little use, you can switch to this helpful freeware or use the well-known “VLC Player”.