
493
You can take a screenshot on your iPad in just a few seconds. This allows you to save the screen content as an image and share it with friends – for example, by sending it via Messenger. Our guide shows you exactly how to do this.
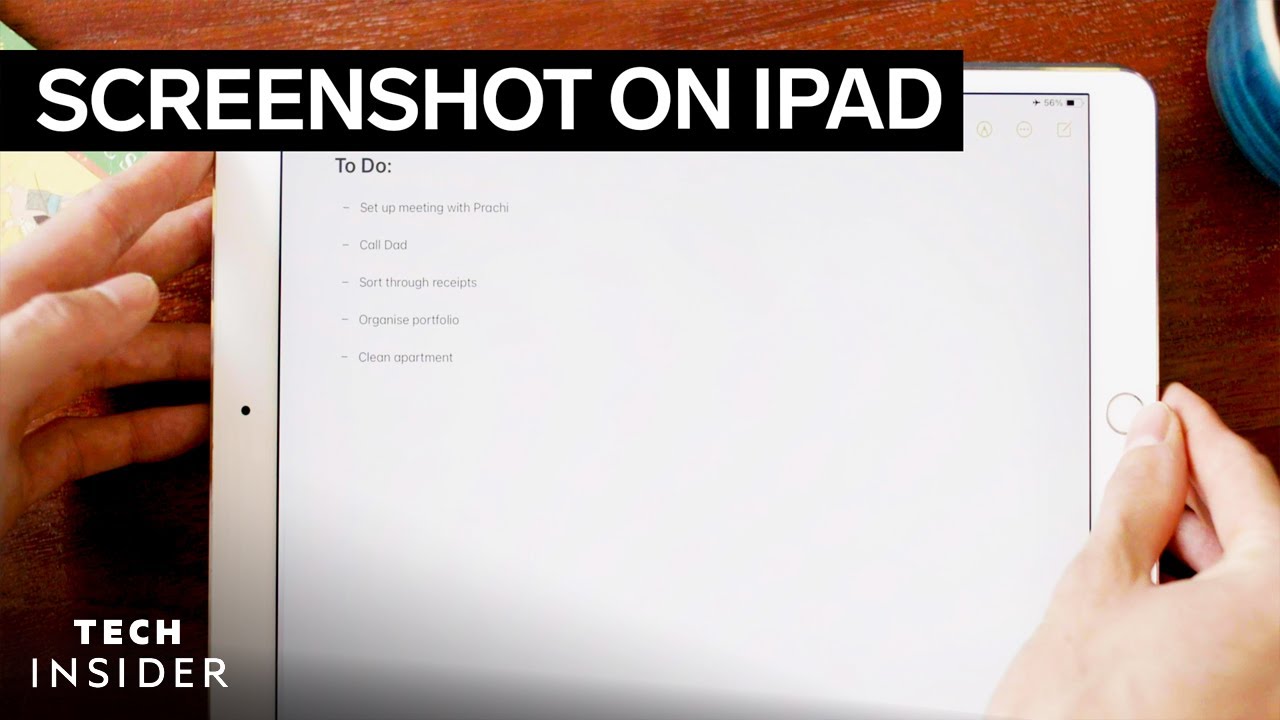
Taking a screenshot on your iPad
- To take a screenshot on your iPad, press the Home button and the Power button at the same time.
- As soon as you release both buttons, the screenshot will be taken.
- The screen content will then be saved as an image on your iPad. When you open your photos, you will find the screenshot there and can send it via email or Messenger, for example.
Alternative: Taking a screenshot on the iPad with AssistiveTouch
You can also take a screenshot with a single tap:
- If you have activated the function of the same name in Settings under “General” > ‘Accessibility’ > “AssistiveTouch,” you can also take a screenshot with a tap.
- In the AssistiveTouch field, select “Device” > ‘More’ and you can now take a screenshot by tapping “Screenshot.”
- Of course, the AssistiveTouch field is not visible in the image.