3
Upgrading to TPM 2.0 can significantly improve your PC’s security and is even a requirement for Windows 11. We’ll show you how to install the Trusted Platform Module 2.0 on your computer and what you need to bear in mind.
Why is upgrading to TPM 2.0 necessary?
- Windows 11 requires this as a fundamental security component for encrypting sensitive data and protecting against unauthorised access.
- This is a specialised chip on your motherboard that can securely store cryptographic keys. This ensures that your data remains protected even if someone gains physical access to your computer.
- In addition to encryption, the TPM also plays a role in verifying the integrity of your system. It ensures that no unauthorised changes have been made to the software or hardware, which is particularly important for businesses.
Does your PC already have TPM 2.0?
Before you buy an aftermarket module, you should check whether your current system already has TPM 2.0.
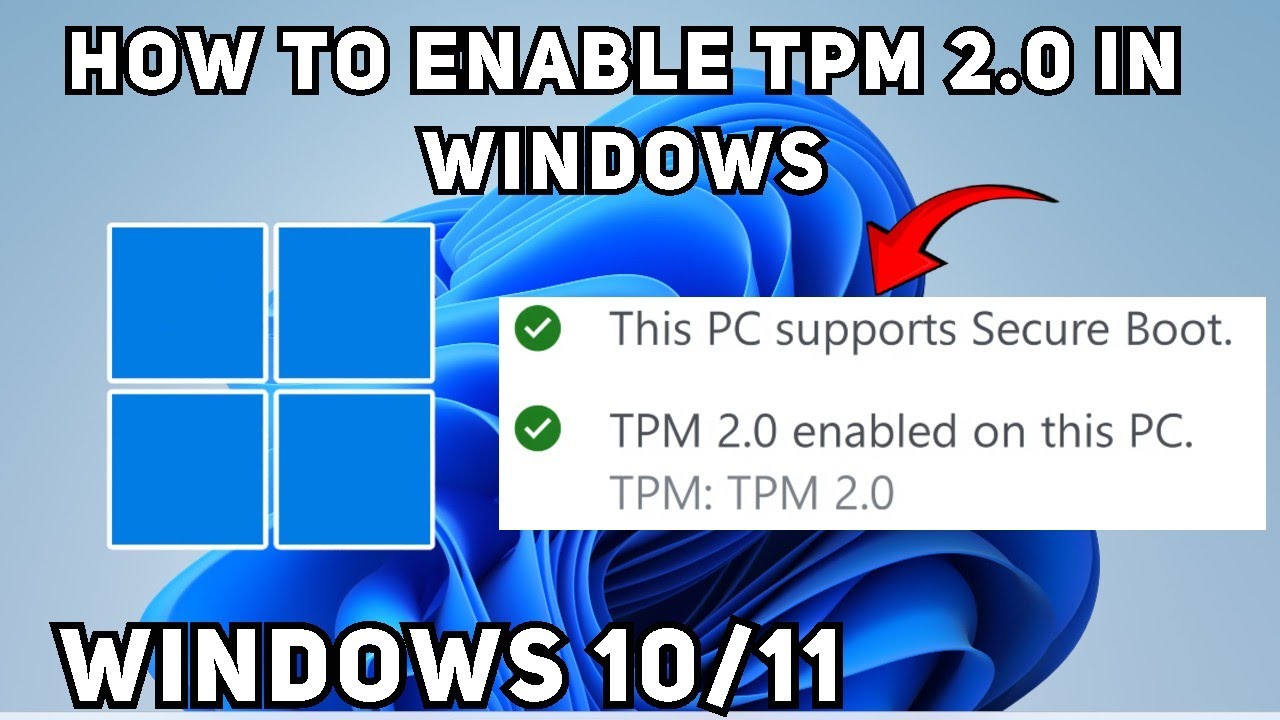
- To do this, open Windows Security via the Start menu and click on ‘Device Security’ in the tab on the left. Here, under ‘Security chip details’, you will find information on whether TPM is enabled on your device and which version is installed.
- If the TPM module is disabled, you will need to enable it. You can do this via your computer’s BIOS. You should be able to enable the TPM module in the “Security” section.
- If there is no TPM chip or only an older version is displayed, you should consider how to retrofit the chip. There are various options for this, depending on which computer and motherboard you are using.
- Many modern laptops and desktops now have TPM 2.0 built in, although it may be disabled. Simply enabling it in the BIOS/UEFI is often enough to make your system compatible with Windows 11.
How to retrofit TPM 2.0
If your PC does not have TPM 2.0, you can retrofit it.
- For desktop PCs, many motherboard manufacturers offer TPM modules that are easy to install. These modules are plugged directly into a dedicated slot on the motherboard and are then ready for use straight away.
- Please note, however, that TPM modules are not universally compatible. Before purchasing, you should ensure that the chip is compatible with your motherboard.
- Another option is to purchase a new motherboard that supports TPM 2.0. This may be particularly worthwhile if your current system is already quite old and needs upgrading anyway.
- Retrofitting is somewhat more difficult with laptops, as these usually do not have dedicated modules. In such cases, the only option is often to purchase a new device that meets the new standards.
Retrofitting complete: Setting up the Trusted Platform Module correctly
Once you have successfully retrofitted TPM 2.0, you should ensure that it is set up correctly.
- Restart your PC and access the BIOS menu to ensure that TPM 2.0 is enabled. You may need to enable this under ‘Security’.
- Once TPM 2.0 is enabled, you can check in Windows Settings whether your system now meets all the requirements for Windows 11. If this is the case, you can proceed with the update to Windows 11.
- Take this opportunity to enable other security features as well. For example, you can use BitLocker to encrypt your hard drive.