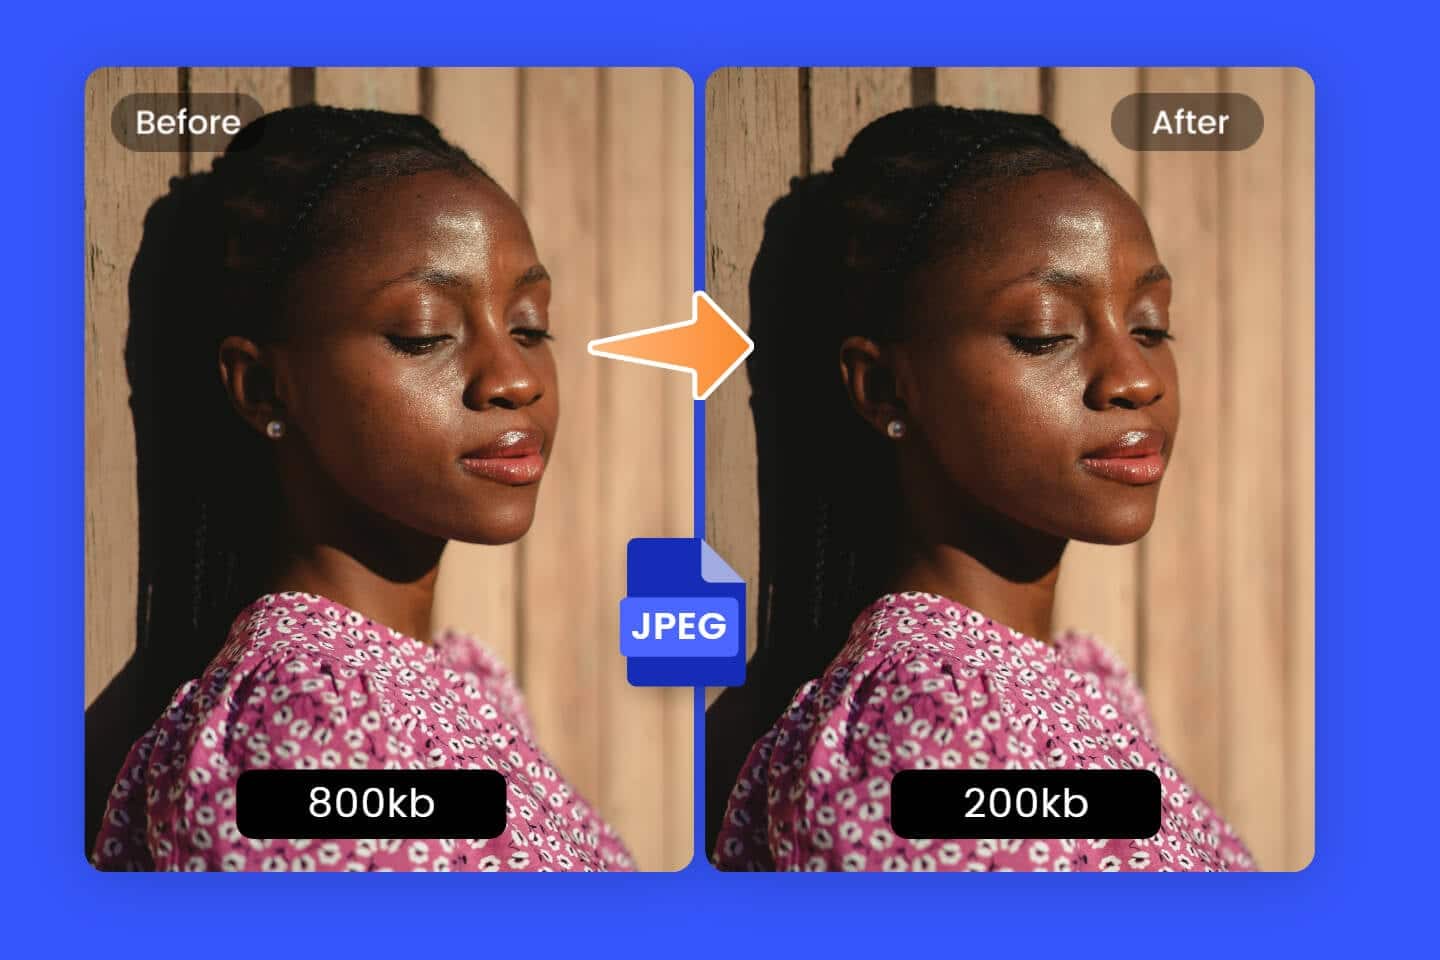
Compressing images is an effective way to save storage space and reduce website loading times. We’ll show you how to reduce the size of your images on Windows and Mac without any loss of quality, and which other tools can help you do this.
Compressing images on Windows: Use Paint
If you want to compress and reduce the size of images without installing any additional software, Paint – which is included with Windows – offers a simple solution:
- Locate the image you want and right-click on it with the right mouse button.
- Under the option Open with , now select Paint .
- In the menu bar, under the ‘Picture’ section, click the Resize and Skew button. You can also press [Strg] + [W] .
- Now enter a new percentage under Resize. With 50, you halve the size of the image and thus reduce it. Make sure the button between “Horizontal” and “Vertical” is selected to maintain the aspect ratio.
- You can also select the Pixels option and then set a new image size in pixels.
- Click File > Save and select a format for the new file. It’s best not to overwrite the original file in case you need the image in higher resolution again.
Compressing images on a Mac: Here’s how
If you’re using a Mac or a MacBook, you can compress your images quickly and easily using the built-in Preview app – without any additional software. The following steps will guide you safely through the process and include all the important tips:
- Open the image: Open the desired image in Finder, right-click on it and select Open With > Preview.
- Edit multiple images: Select multiple images to open them together and edit them simultaneously, for example to resize them.
- Resize: Click Tools in the menu bar and select Resize (or Adjust Size, depending on your version of macOS). In the dialogue box, you can change the image’s dimensions.
- Maintain aspect ratio: Ensure that the Maintain aspect ratio tick box is selected so that the image’s aspect ratio is preserved. Enter a new width or height in pixels, or reduce the size by a percentage.
- Set quality and format: Go to File > Export to select the desired format (e.g. JPEG, PNG, HEIC). For JPEG, you can use the slider to adjust the quality and thus the file size. Please note that reducing the quality too much may affect the image sharpness.
- Save: Save the compressed image via File > Save As or Save As. Give the file a new name or save it to a different folder so as not to overwrite the original. If Save As is not immediately visible, hold down the Option key whilst clicking on File.
- Check compression: After saving, check the new file size by right-clicking on the image in the Finder and selecting Get Info.

Other ways to reduce image size
When reducing the size of images, you’re always striking a balance between file size and image quality. The difference may not always be visible, but you should still examine the result closely and try other alternatives:
- Image editing programmes: You can resize photos much more easily using image editing programmes than with Paint. Tools such as XNView MP, IrfanView or GIMP are free to use and offer many additional features for managing and enhancing your images.
- Specialised programmes: If you frequently need to resize images, it may be worth using software specifically designed for this purpose. Programmes such as Riot, TinyPic or Image Resizer are extremely lightweight and can resize your images in a matter of seconds.
- Compression programmes: Although it may sound logical at first, compressing images with WinRAR and similar compression programmes is generally not particularly effective. That said, the quality does not suffer during compression, and you can easily share larger collections of images.
- Online: Alternatively, you can reduce the size of your images online. On websites such as TinyPNG, Squoosh, ILoveIMG and CompressJPEG, you can upload your images and then have them resized according to various criteria. However, please be aware of the data protection policies of these services and, if in doubt, do not upload any private photos.
- Android: On your Android smartphone or tablet, you can use the editing function in the Gallery app.