
There are a few things to bear in mind when cleaning and caring for a Dutch Oven. Otherwise, serious errors can occur even before the first use
Dutch Oven before first use – clean and care properly
A Dutch Oven is almost indestructible, it’s not for nothing that the pot is one of the must-have utensils for most die-hard barbecue fans. If you look after and clean your Dutch Oven properly, the cast-iron pot will last you for many years.
- Proper care starts even before you use your Dutch Oven on the barbecue or open fire for the first time. Before the pot is hung over the fire for the first time, it is first baked on. This is important so that a stable patina forms. The protective layer not only acts as a non-stick coating, it also protects the cast-iron pot from rust.
- Experts recommend using either an open fire or a grill for the searing process. Alternatively, however, you can also burn your Dutch Oven in the oven or on a gas hob, for example.
- Burning in outdoors has its advantages, however. On the one hand, the patina on the barbecue or open fire should be more even. On the other hand, it offers the opportunity to turn the branding into a rustic event. Above all, this variant has the unbeatable advantage that you have no unpleasant odors in the house. The amount of smoke produced during the approximately two-hour process should not be underestimated
- Tip: If you notice that the non-stick coating of your Dutch Oven is deteriorating over time, you should bake it again.
Before using for the first time – how to season the Dutch Oven
Before searing, first prepare your Dutch Oven by greasing it evenly. To do this, use either oil, coconut oil or a special care paste.
- If you rub your pan with cooking oil, use one with a high smoke point. This includes sunflower oil, for example, while rapeseed oil is completely unsuitable for high temperatures. Once you have greased the pan well and, above all, greased it evenly, it is ready for the grill.
- A temperature of around 200 degrees is required for searing. The Dutch Oven is placed upside down on the grid during the approximately two-hour process. Place the lid next to it. After about an hour, turn the lid over
- You can easily tell that the baking process is over when the smoke subsides. Then allow the pan to cool down slowly. As soon as the pan has cooled down, grease it evenly once more before putting it away.
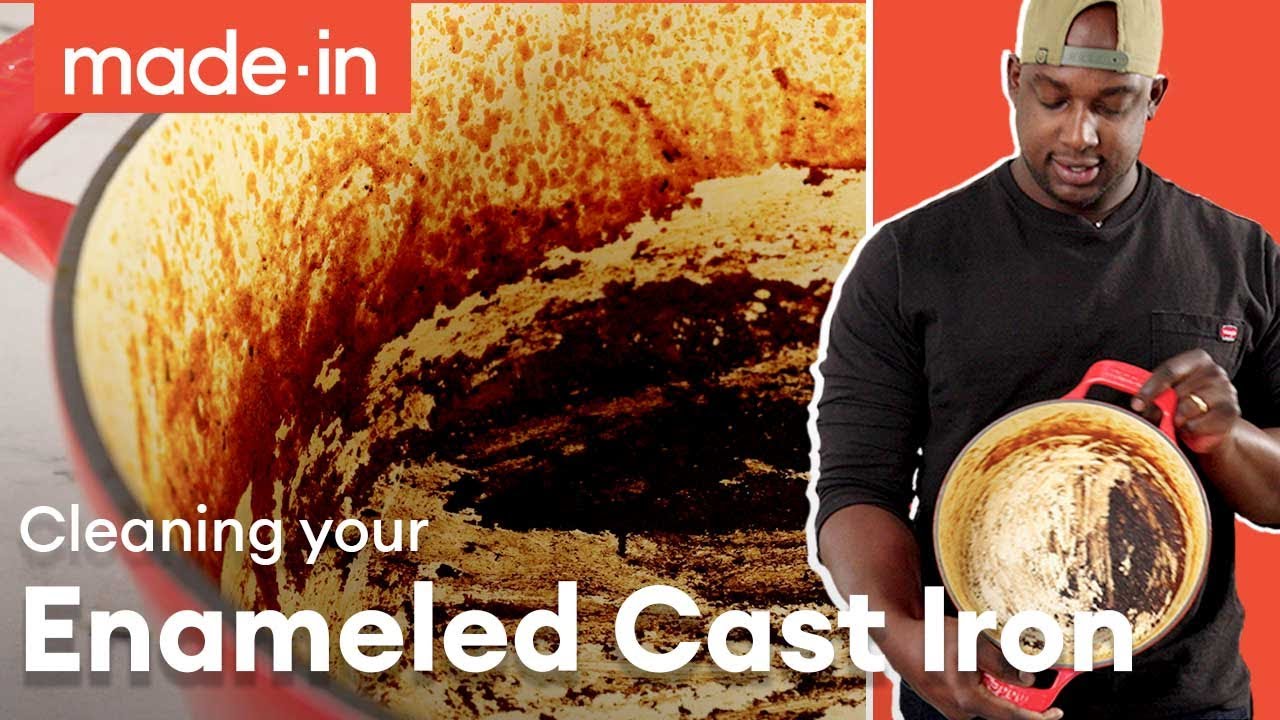
Cleaning and maintaining the Dutch oven – how to do it
The storage location plays a decisive role in the longevity of your Dutch oven. The cast-iron pot should always be stored in a dry and well-ventilated place. It is also advisable to place the lid of the pot at a slight angle so that the air can also circulate inside. This will prevent the patina from turning rancid.
- It is also crucial to allow the cast iron pot to cool down after you have used it. Especially if you pour cold water into the heated pot, this can quickly lead to a so-called thermal shock. This in turn can cause the pot to crack.
- Once the Dutch Oven has cooled down, clean it in warm water with a cloth or soft sponge. Coarse sponges or even steel wool or coarse brushes will quickly destroy the patina. The same applies to any kind of metal. For this reason, only use wooden spoons or plastic scrapers for a Dutch oven if you want to remove or take something out of it
- The usual household washing-up liquid is also not suitable for cleaning the Dutch Oven. Instead, use either simple soap, such as curd soap, or a ring cleaner that has been specially developed for cast iron.
- After you have cleaned your pot, first allow it to dry thoroughly. Then rub it evenly with oil or grease. In this case, you can also use rapeseed oil if necessary.