1
If you want to install a Wi-Fi repeater and integrate it into your network, there are two ways to do so. You can either install the repeater automatically or manually. In this practical guide, we’ll show you both methods.
Installing a Wi-Fi repeater using the WPS method
WPS stands for ‘Wi-Fi Protected Setup’.
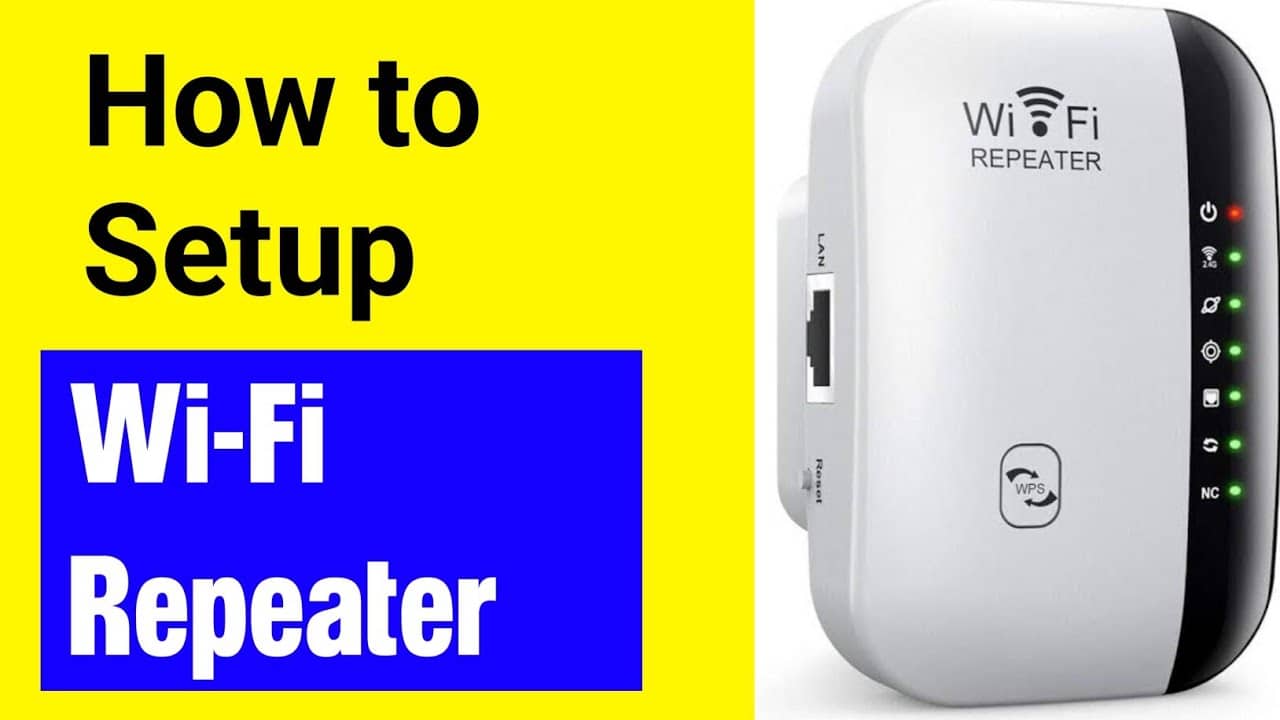
- Installation is quick and easy. Plug the Wi-Fi repeater into a socket and press and hold the WPS button on the device for a few seconds.
- When the LED indicator on the repeater lights up, press the WPS button on your Wi-Fi router within the next 2 minutes. You’ll need to hold this down for a few seconds too, until the LED indicator lights up.
- The repeater will then automatically connect to the router via Wi-Fi and will be installed.
- Not all repeaters have WPS. In this case, you can install the device manually.
Manual installation of the Wi-Fi repeater on Windows
This installation method uses the repeater’s user interface. We’ll show you the procedure using a Fritz repeater as an example.
- First, plug the Wi-Fi repeater back into the mains socket. Ideally, this should be near your computer. Alternatively, connect the repeater to your PC using a LAN cable.
- On a Windows computer, next click on the network icon. You’ll usually find this in the bottom right-hand corner.
- Select the Wi-Fi repeater here. It will appear as soon as the repeater is plugged into the socket. Disable ‘Connect automatically’ by unticking the box next to it.
- Then click on “Connect”. You will now need to enter the Wi-Fi key. You’ll find this on the underside of the repeater. The factory setting is usually “00000000”.
- Open your browser on your computer and go to the repeater’s user interface. You’ll find the required IP address in your repeater’s manual. If you’re using a Fritz repeater, you can also enter “http://fritz.repeater” into the address bar.
- Make sure you’re logged into the Wi-Fi network you want to connect the repeater to.
- Log in to the repeater’s user interface by first setting a password and confirming with ‘OK’. The setup wizard will guide you through the next steps.
- Select ‘Wi-Fi Bridge’ as the access type and confirm with ‘Next’.
- When you reach the “Repeater Wireless Network Selection” screen, tick the box next to the Wi-Fi network you wish to integrate the repeater into. Confirm again by clicking “Next”.
- Next, you’ll need to configure the repeater’s security settings. Select WPA encryption for this. To do this, enter your network’s password under ‘Wi-Fi network key’ and confirm again by clicking ‘Next’.
- A window titled ‘Apply settings’ will appear. Click ‘Finish’ here to complete the installation and setup of the repeater.
- However, it may take a few minutes for the repeater to connect to the router. Once this is done, you can plug the repeater into another socket of your choice.

Installing a Wi-Fi repeater on a Mac
The process of integrating a Wi-Fi repeater into the network on a Mac is not much different from that on Windows.
- To do this, first plug the repeater into a power socket and then connect it to your Mac using the LAN cable.
- Next, ensure that the LAN connection is listed at the top of the ‘Network’ section in System Preferences, meaning it has priority.
- Launch your web browser and enter http://fritz.repeater in the address bar. The rest of the procedure is the same as described in the section for Windows.