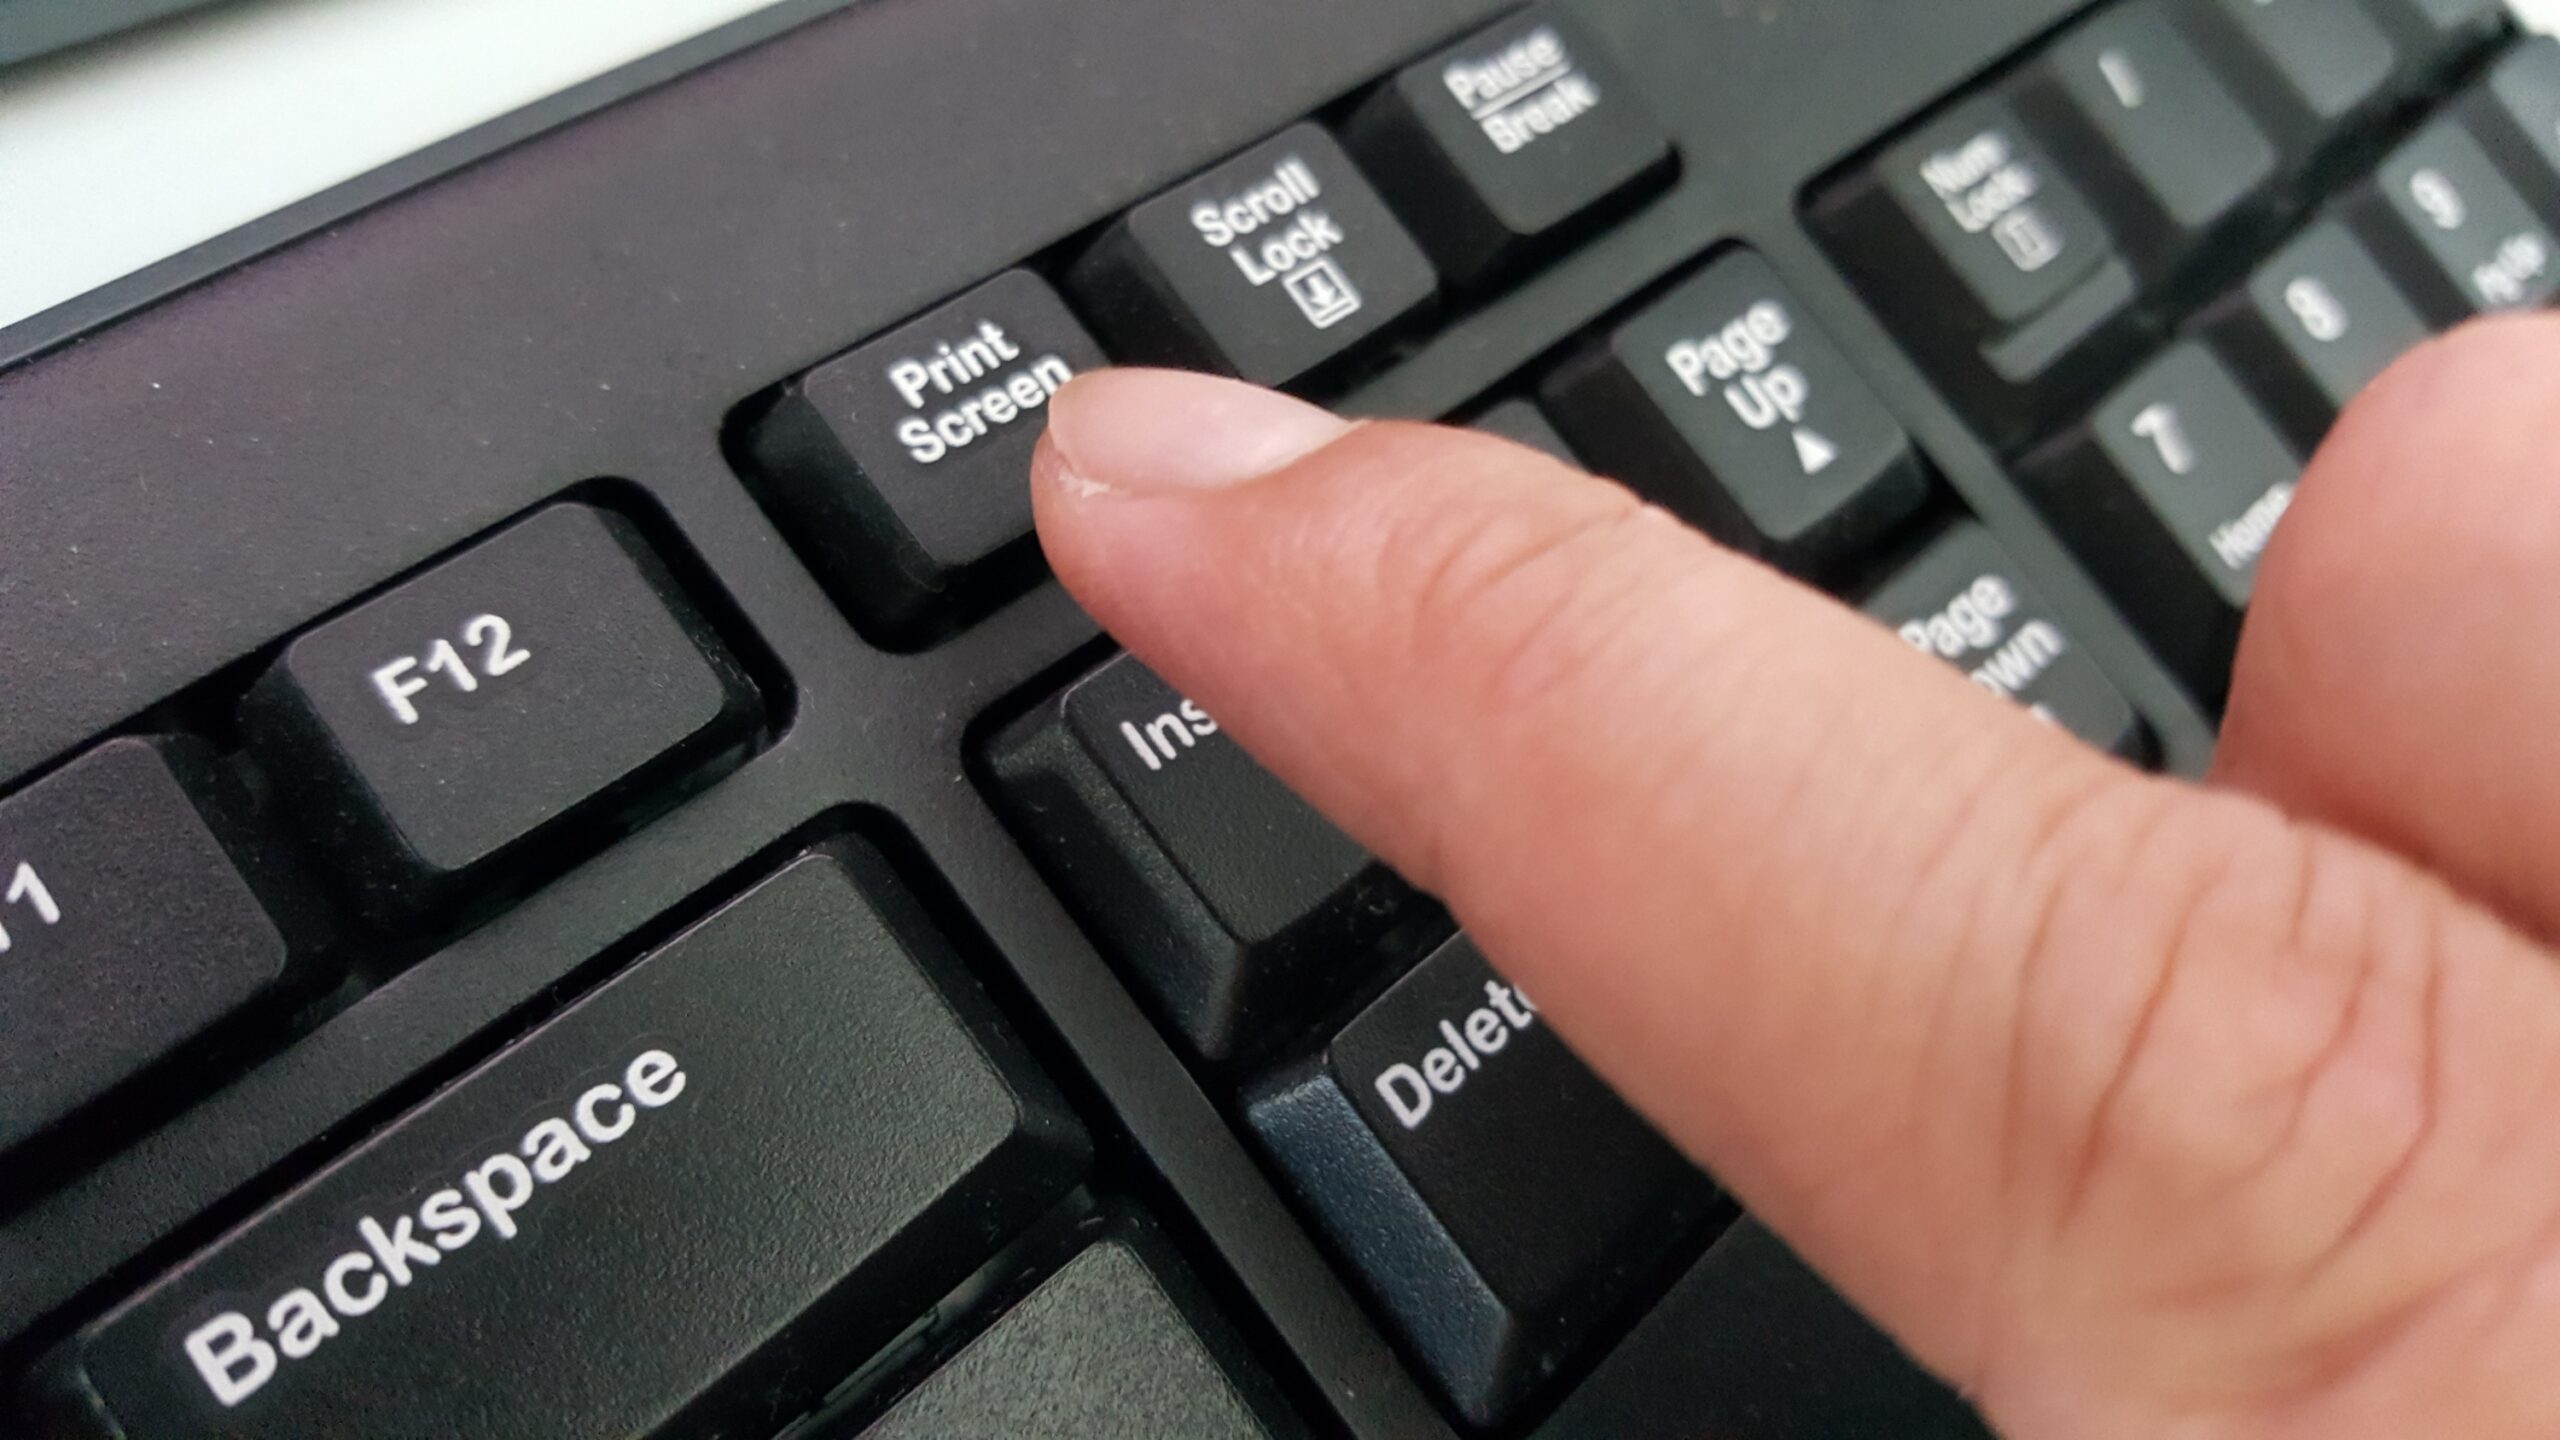
If you want to take a screenshot with Windows 10, the right key combination or a tool will help you. In this practical tip, we will show you all the variations.
Taking a screenshot in Windows – this is how it works
You can create a screenshot in Windows 10 very easily and quickly. We will show you the quickest way.
– Press the [Windows] and [Print] keys on your keyboard.
You will now find a folder called “Screenshots” in your Pictures folder. Here is the screenshot you just made.
If you have copied the screenshot to the clipboard, you can now open an image programme such as Paint and paste it by pressing the [STR] + [V] keys.
Snipping Tool Plus: Take a screenshot without pressing any keys
If you don’t want to take screenshots with keyboard shortcuts, there are other ways.
– The well-known “Snipping Tool Plus” also works under Windows 10.
– Download the free tool and unzip the zip file.
– Then click on the EXE file contained therein.
– In the tool itself, select whether you want to create a full-screen screenshot, a free section or a right section.
You can then save the screenshot to your hard drive by clicking on the Save icon.
