
236
In this practical tip, we explain how you can patch a network socket, because even in the age of Wi-Fi, many people still want and need a wired internet connection.
What you need to patch a network socket
Sometimes the WiFi is too weak or you don’t want to do without the stability of a wired network solution. In this case, you can also get to work yourself: With a few tools and materials, it’s not difficult at all to patch a network socket yourself. These are often even available for installation without tools, although it is much easier with tools.
- You will definitely need a network or installation cable. You can then lay these eight-core cables through empty conduits, through cable ducts, on the wall or under skirting boards.
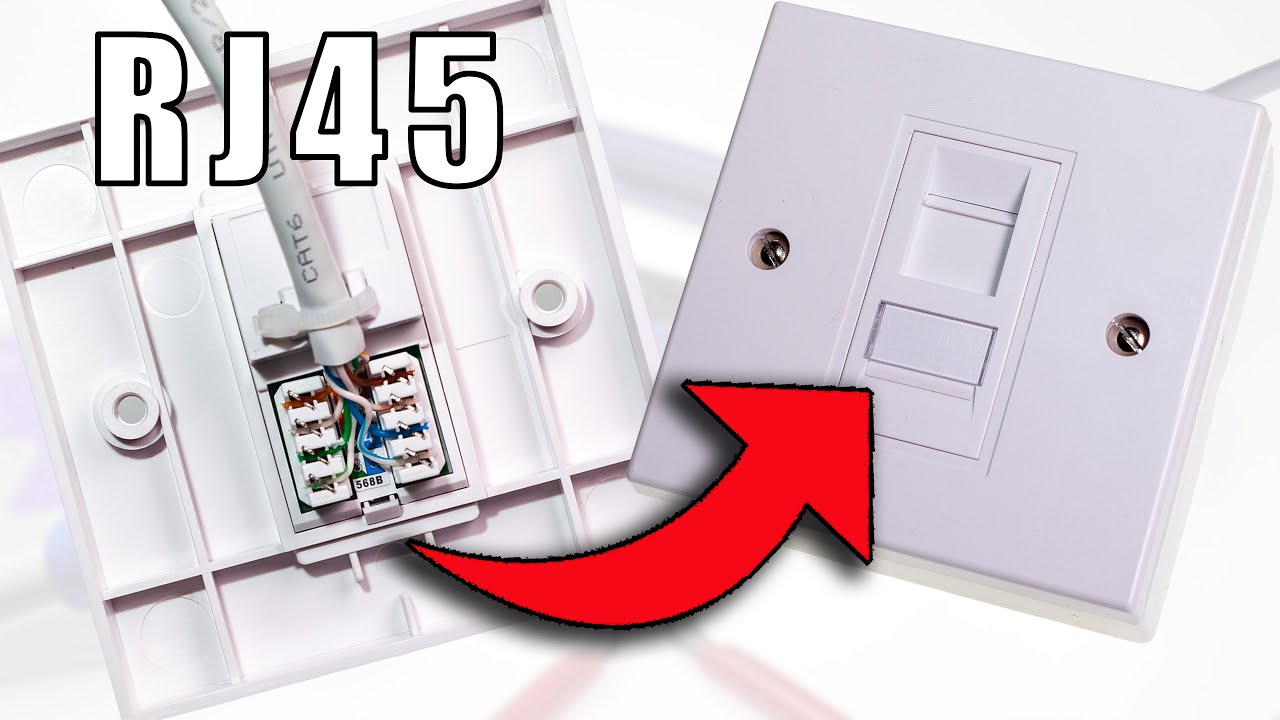
- You can choose between jacks or network sockets as end points. While the jacks only offer a connection for a network cable, the boxes are available as a surface-mounted or flush-mounted version.
- Make sure that your cables and end points belong to the same category (e.g. Cat 6a)
- If you buy endpoints for tool-free installation, an LSA tool, side cutters, insulating pliers and a screwdriver will still help you. However, you may need a crimping tool. A cable tester is also useful. There are also inexpensive sets available.
- If you are laying the cables through empty conduits, you will need a cable pulling aid.
How to patch the network socket
Patching the network socket is easy if you take a little time. You need to be particularly careful when stripping the cable. Otherwise, consider the option of a powerline solution as an alternative.
- Lay the cable first and leave enough slack at both ends.
- Insulate the outer sheath by about 5 centimeters.
You can bend the silver sheathing and wrap it around the cable. Four strands will appear. There are two cables in each of these strands. - Insert the strands into the network socket or jack. Make sure that the strands are long enough, as you will then have to guide them into the cores.
- Carefully remove the aluminum sheathing from the strands and sort them according to the color in the order indicated on the jack or socket.
- Decide on a patch sequence for the entire household.
- Now press the cable ends onto the terminal strip of the socket according to the specification. An LSA tool can help here. If necessary, a screwdriver will also do.
- The LSA tool cuts off protruding cable ends. Otherwise, use a side cutter.
- Now assemble the network socket and insert it or attach it to the wall.
- Now it’s best to test the correct cabling with a test device and you’re done.