
1.5K
In the following article, we will show you how to set up the WLAN router on a TP Link. You only need to meet a few requirements and you will receive a WLAN signal with just a few clicks.
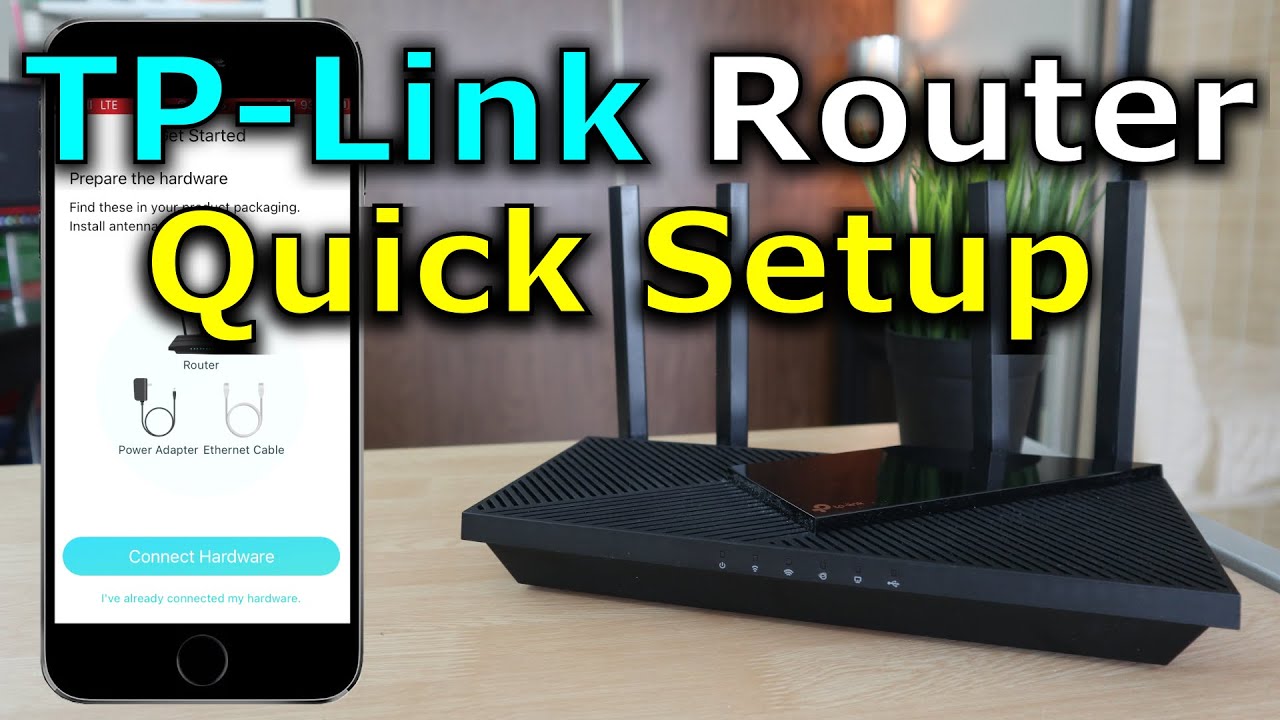
TP Link: Set up your router – this is how it works
For setting up the WLAN, you need the router to be set up and a synchronised DSL modem. You will also need your DSL access data and a computer that you can use to connect to the WLAN router. Proceed as follows for the setup:
- Click on “Wireless” in the left menu bar and then on “Wireless Settings”.
- In “Wireless Network Name” enter the name you want your WLAN network to have. For “Region”, select “Germany”.
- Enter the name of your WLAN network.
- Click on “Save” and confirm the next message by clicking on “OK”.
- Now the security settings follow. You will find them under Wireless -☻ Wireless Security in the side menu. Here you select WPA2-PSK for “Version” and AES for “Encryption”.
- In the “Password” field, enter a secure password for access to the router’s WLAN. Then click on “Save”.
- Last but not least, you must restart the router. This is easily done in the side menu under “System Tools” with “Reboot”.
Set up WLAN with App
Alternatively, set up WLAN on the TP Link router with the TP-Link Tether app for iOS and Android.
- Connect the router before opening the app. Once the router is connected, open the Wi-Fi settings on the smartphone and search for the network. You will find the name and password of the router on the bottom of the device.
- Log in to the network with these access data. Then open the TP-Link Tether app.
- You can now use the app to install and configure the router. The application guides you through the individual steps. For example, you can set your own network name and password.