1
Moss pictures are all the rage as natural-looking decorations. However, these little works of art aren’t exactly cheap. But you can make your own moss picture.
Moss – a natural decorative element
- Iceland moss, star moss, forest moss, ball moss and flat moss are particularly well suited. It’s important that you use only preserved moss if the piece is to be hung up indoors later.
- For your moss picture, you can make your own frame from simple roof battens and fit it with a backing panel, for example made of plywood. However, old trays, wall clock frames or drawers can also be repurposed.
- The moss will adhere particularly well to the base if you cover it with chicken wire. This provides extra grip for the adhesive and ensures that your moss does not come away from the base so easily.
- You will also need some moss adhesive. There are products available that have been specially developed for this purpose. However, it also works just as well – and is considerably cheaper – with hot glue or silicone.
- Where possible, work on a surface that can withstand the process, such as an old waxed tablecloth. It’s also advisable to wear gloves whilst doing this.
Applying the moss is very simple
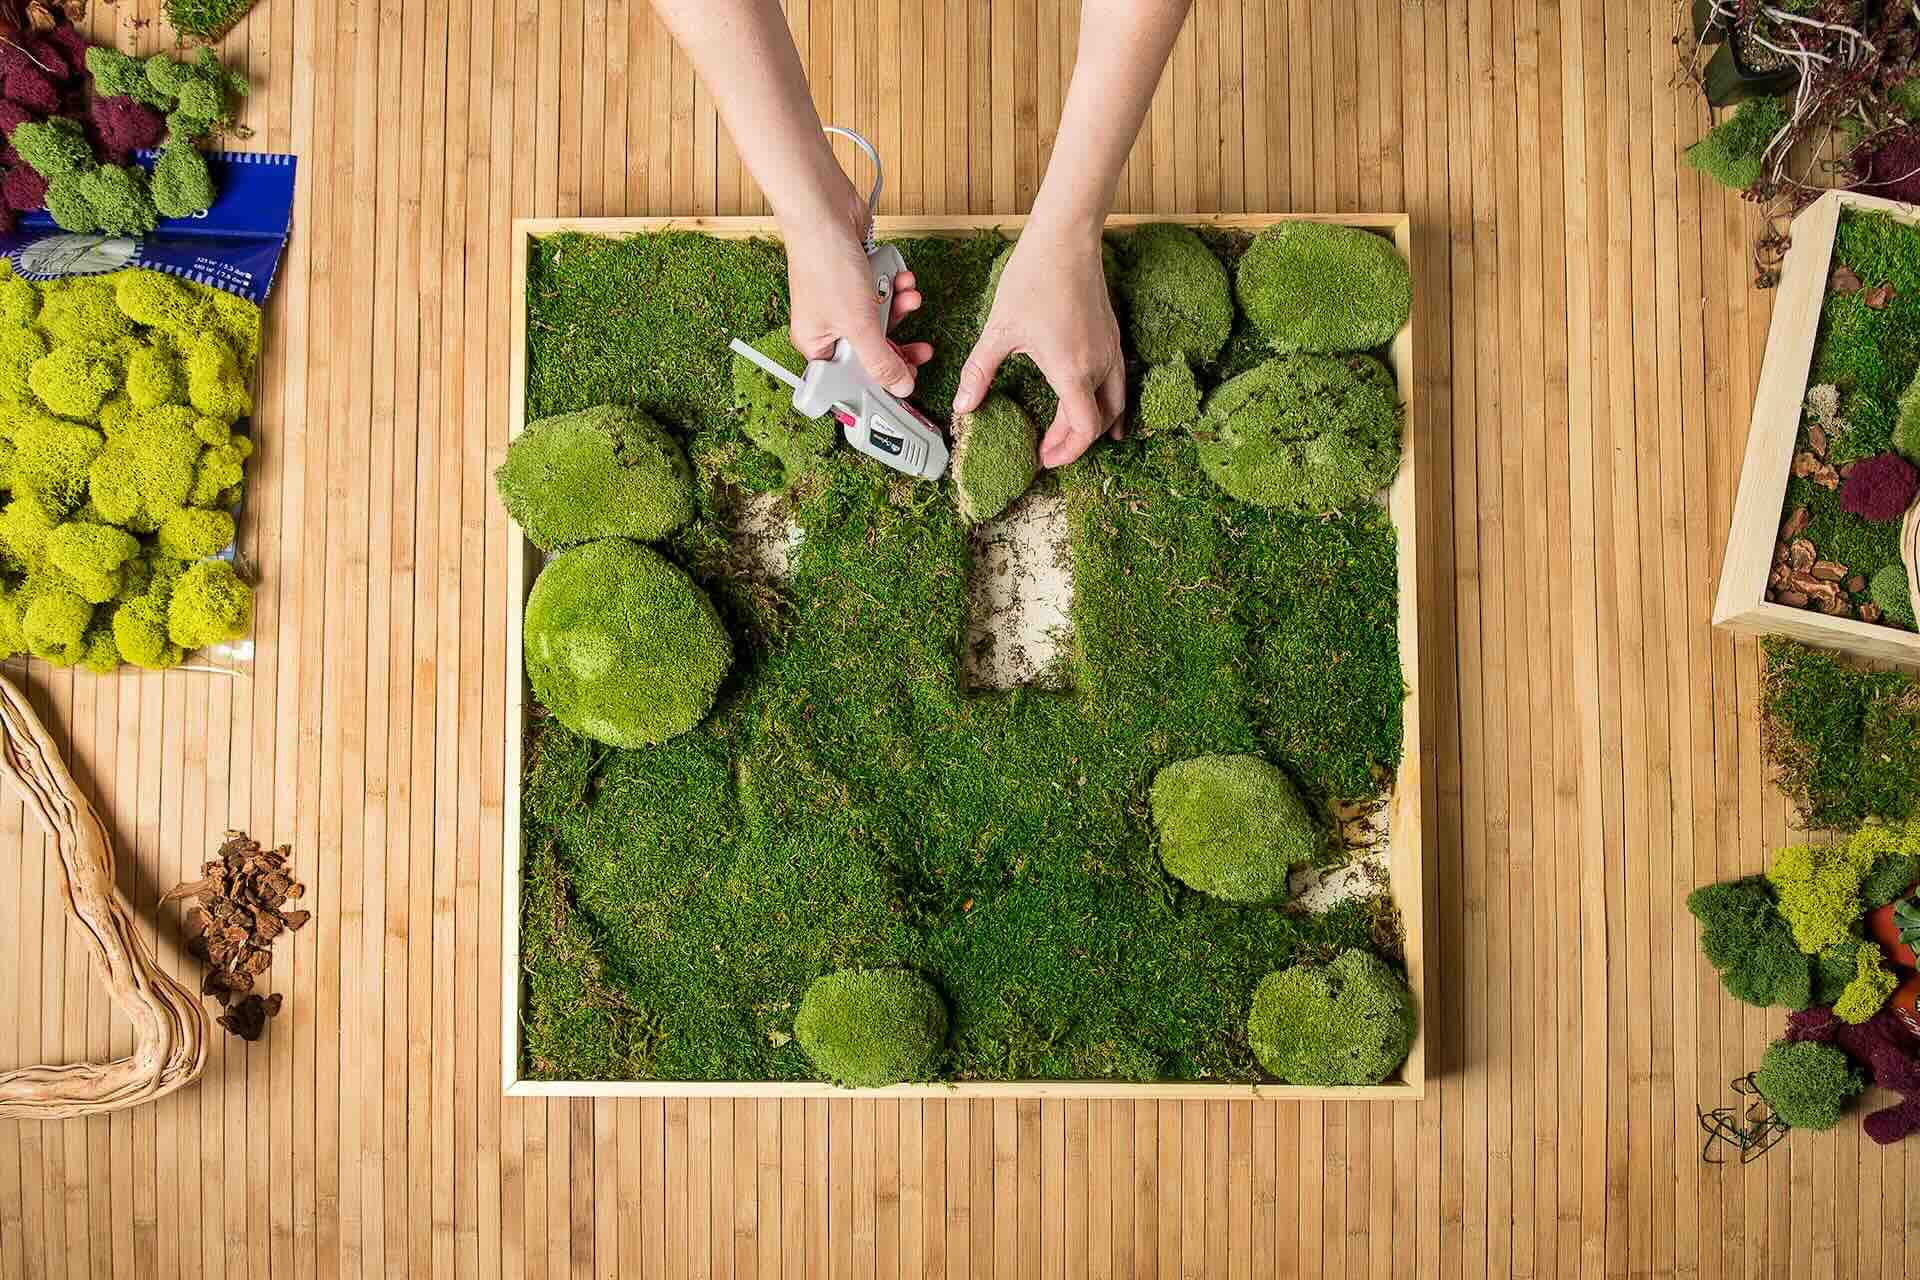
Once you have chosen a suitable frame and, if desired, wired it up, you can start designing your moss picture.
- First, place the pieces of moss onto the chosen object without using any glue and arrange the individual elements so that a harmonious design emerges.
- Then work your way along piece by piece, sticking the individual elements onto the surface. Especially if you are using hot glue, you should not be too sparing with the material. Take care not to touch the fresh hot glue, as there is a risk of injury.
- Press the moss firmly onto the base and ensure that the individual pieces are pressed tightly together without any gaps. Otherwise, it will look unsightly later on if the backing shows through anywhere.
- Of course, you can also add suitable pieces of wood or dried mushrooms as you wish. There are no limits to your imagination, provided the materials you choose are durable.

Preserving moss yourself
There are numerous varieties of preserved moss available to buy ready-made in a wide range of styles. In these craft mosses, the water has been removed and the moss preserved using a special salt solution. However, you can also bring moss home from a walk in the woods and preserve it yourself.
- To preserve the moss, first remove any dirt and foreign matter. Where possible, ensure that no soil remains attached to the moss.
- Place the pieces of moss in a mixture of glycerine and warm water for about an hour. The mixing ratio is roughly three parts water to one part glycerine. The moss should be completely covered.
- Once the moss has spent an hour in the glycerine bath, remove it and gently squeeze out the liquid. Then spread your pieces of moss out on baking paper or old newspapers to dry.
- If you wish, you can also dye your moss. In this case, add fabric dye, Easter egg dye or powdered food colouring to the glycerine mixture to achieve the desired shade.
- Please note that many types of moss are protected by law. Small quantities may be collected from the wild for private use, but not within designated conservation areas. Moss must not be collected for commercial purposes.