433
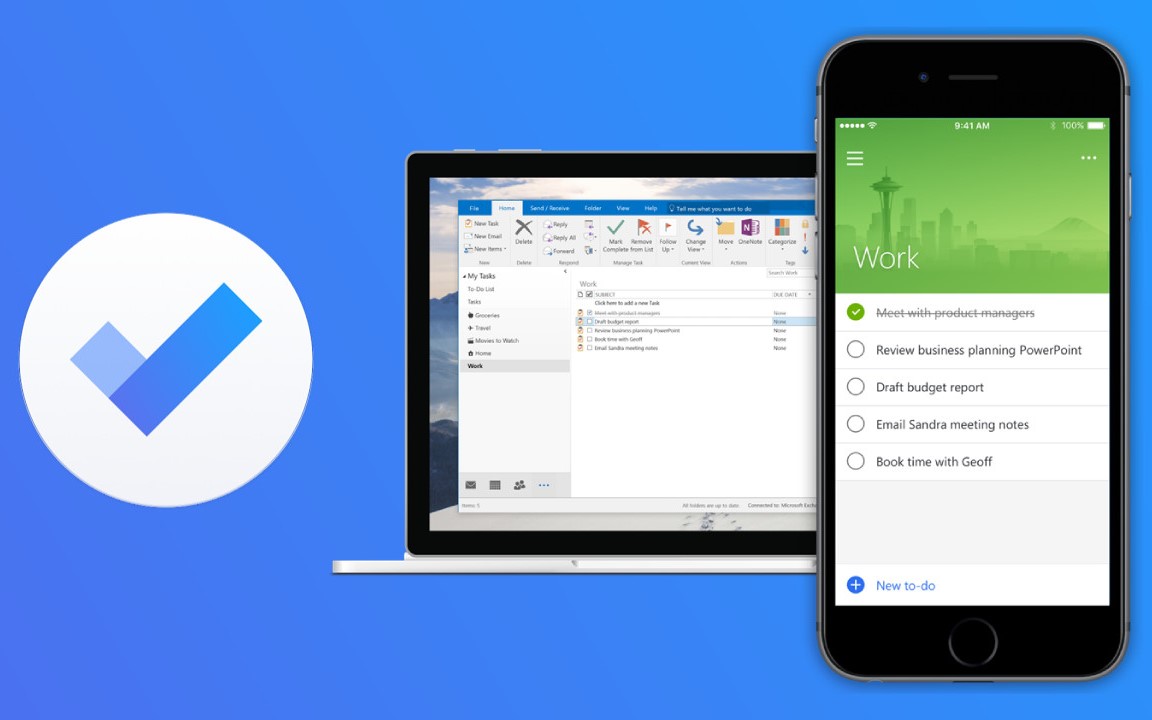
With Microsoft To Do you can keep track of your tasks. There are numerous display options and the app reminds you of your to-dos through notifications
How to work with Microsoft To Do
With Microsoft To Do, you plan your day and collect all your tasks in one place. This gives you a convenient overview of what you have to do. Plus, you can access it from any device.
- As soon as you open the app, you have to log in with your Microsoft account. You will then be given an introduction. You can categorise tasks by “personal” or “work-related” and share your lists. This way, other users can also view them and you can organise your work productively.
- If you want to create a new task, simply tap on the “Tasks” tab. This will be displayed in your overview after the introduction. Then go to the “plus symbol” at the bottom right. Here you can title your task and add both a due date and reminders. Via the “arrow symbol” the task becomes active.
- In your overview you can now see the number of your to-dos under “My day”, “Planned” and “Tasks”. If you manage an active task, you can attach reminders afterwards. Via the circle next to the title of your task, you can tick it off. This also minimises the number of to-dos in your overview.
This is what the lists can do in the app
In addition to the function of creating individual to-dos, you can also create lists. You can then also add tasks to these lists. This allows you to create a clear summary of associated tasks. Furthermore, you can also share them and assign them to colleagues.
- Use the “plus button” at the bottom right to add tasks to your list. You have the same customisation options here as when creating individual to-dos.
- After you have created your list, you can share it by clicking on the “male symbol” in the top right-hand corner. This works via mail, WhatsApp, Discord, Google Drive and many other channels. In addition, you have the option to duplicate, print, delete and sort your lists according to various categories.
- Once you have created your list, you will see it in your overview. After the tabs “My day”, “Important”, “Scheduled”, “Assigned to me” and “Tasks”, your lists are clearly separated by a line.
