742
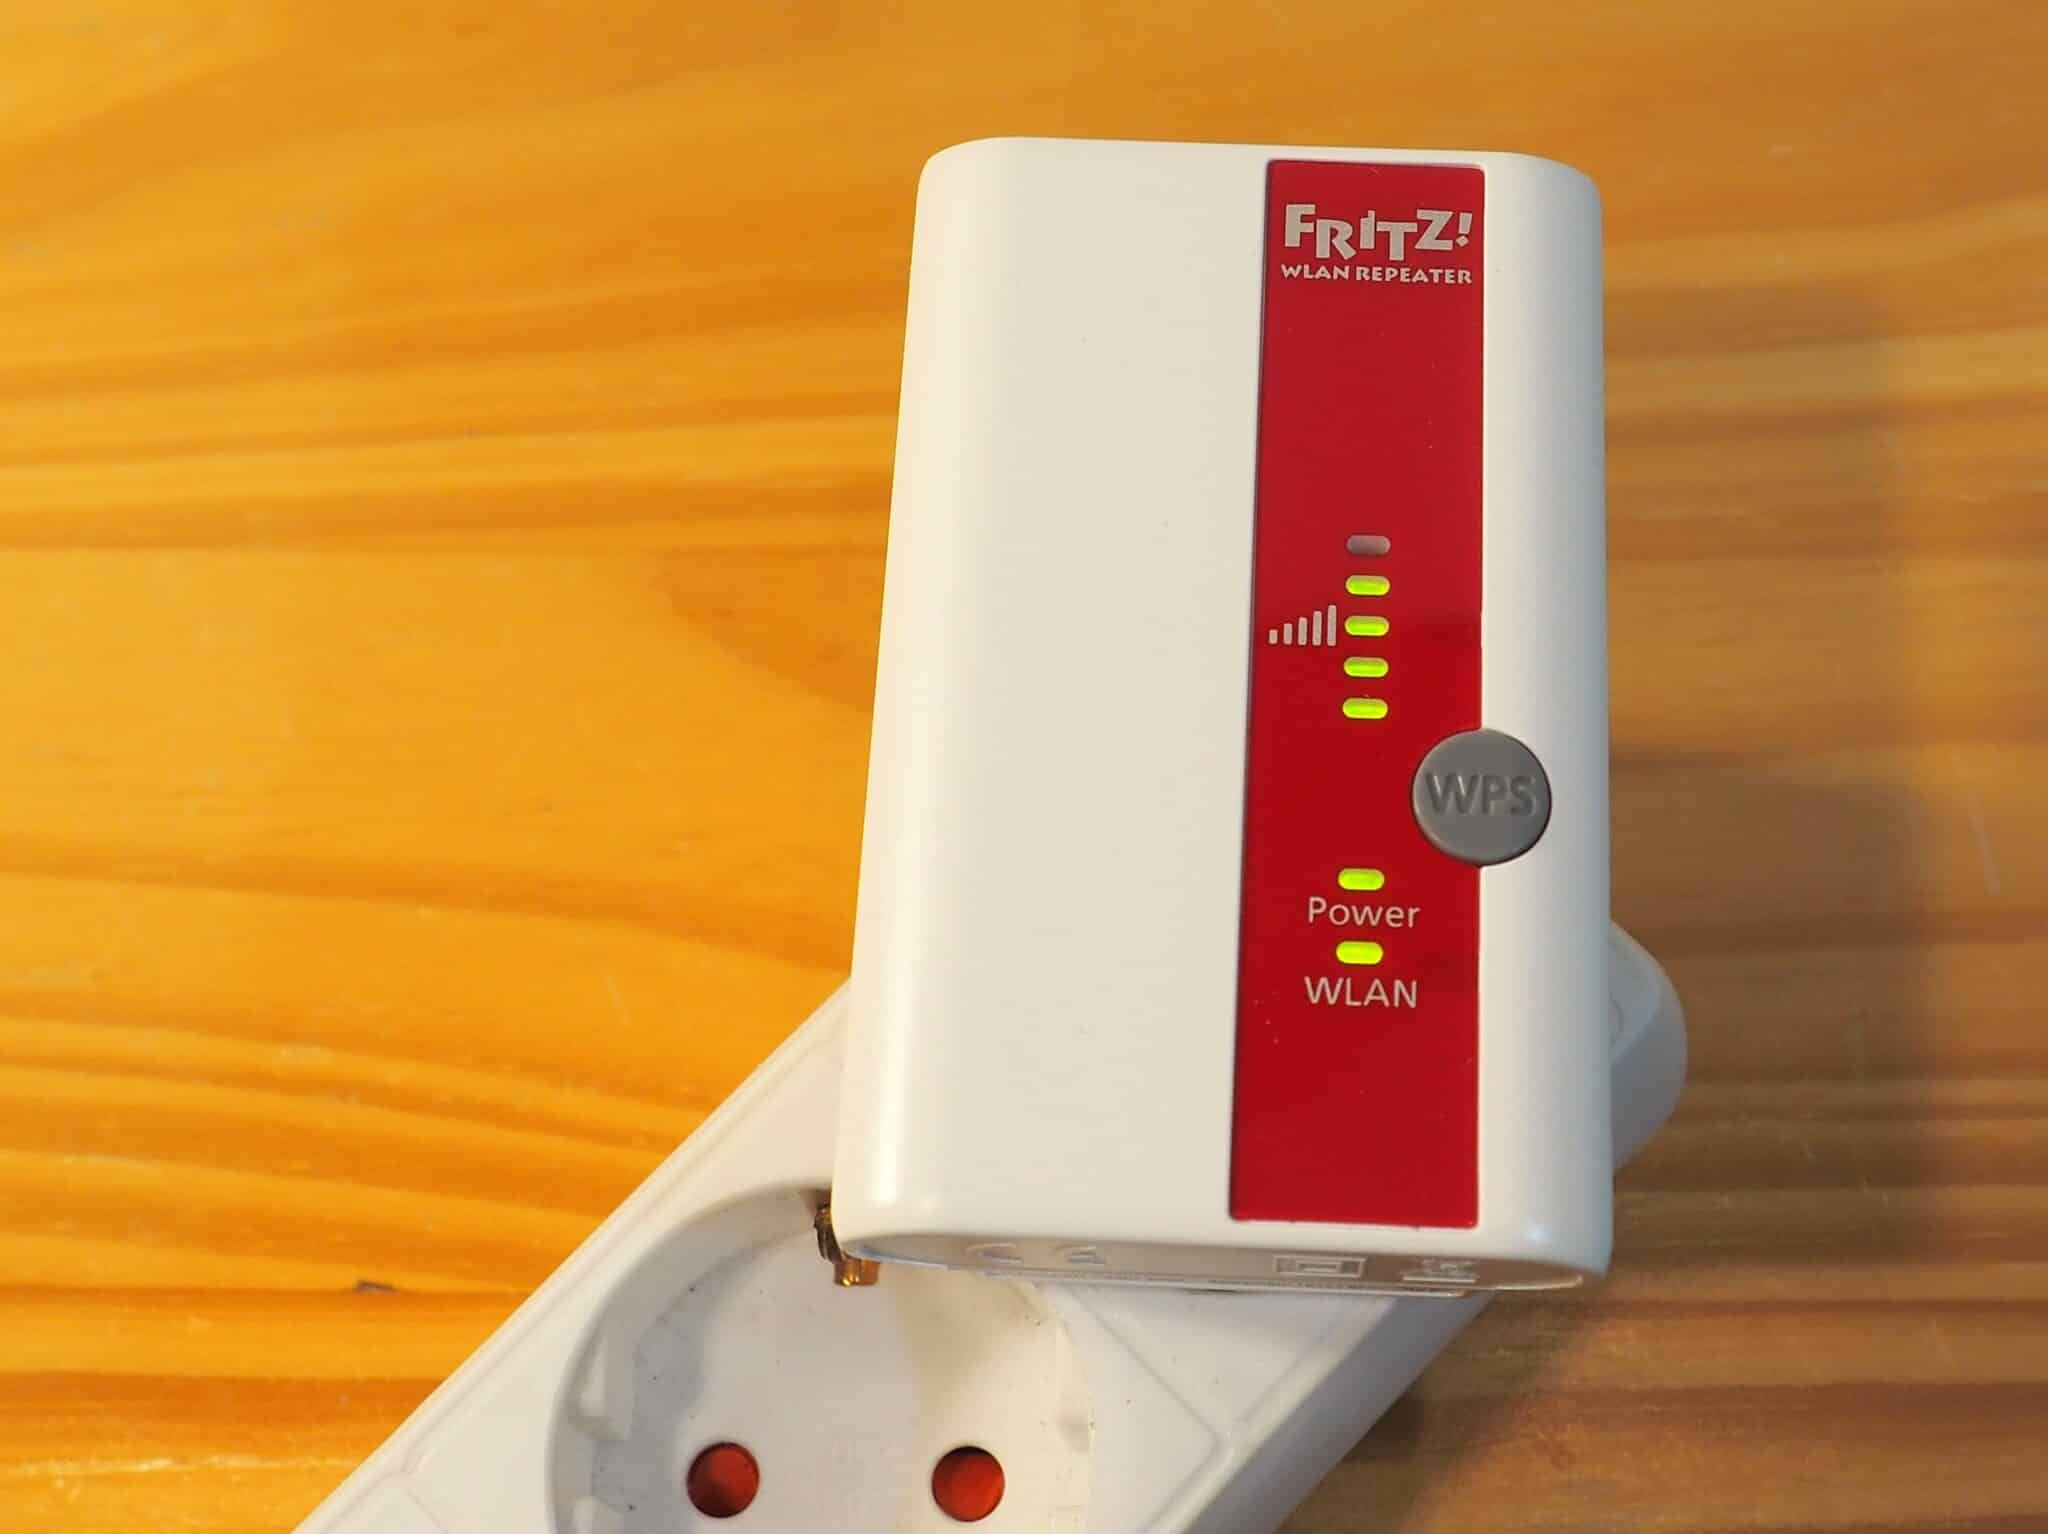
By setting up the Fritz WLAN Repeater 310 correctly, you can increase the range of your wireless network. We show you the steps you need to take to set it up with WPS and the wizard.
Set up the Fritz WLAN Repeater 310 using the WPS button
The WPS button is the fastest and easiest way to connect your Fritz WLAN Repeater 310 to your existing network. If your WLAN router does not have a WPS function, you will find instructions in the next paragraph.
- First plug the repeater into a wall socket within range of your existing WLAN router and wait until the power LED and the WLAN LED on the device light up continuously.
- Then press the WPS button on the Fritz WLAN Repeater 310 for about six seconds. The WLAN LED should flash.
- Now you must trigger the WPS function of your router within the next two minutes. Normally, this is done by pressing the WPS button for six seconds until the router’s WLAN light flashes.
- As soon as one or more signal strength LEDs on the repeater light up, the device is connected to your WLAN network.
Set up a WLAN amplifier manually
You can also set up the Fritz WLAN Repeater 310 without WPS.
- Wait until the Power LED and the Wi-Fi LED on the unit are solid.
- Plug the Fritz WLAN Repeater 310 into a wall socket, making sure that the device is within range of your existing WLAN network.
- Then take a WLAN-capable device such as your smartphone or notebook and connect to the “FRITZ!WLAN Repeater” network. Enter the zero (“00000000”) eight times as the password here.
- If the network does not appear, reset the Fritz repeater to factory settings.
- Then call up the user interface of the repeater by entering “http://fritz.repeater” or “http://192.168.178.2/” in the browser.
- Here you will be asked to set up a password for the web interface. This has nothing to do with your WLAN password, but is required for changes to the configuration of the repeater. Remember the password.
- The wizard will now guide you through the setup. Follow the instructions.
