656
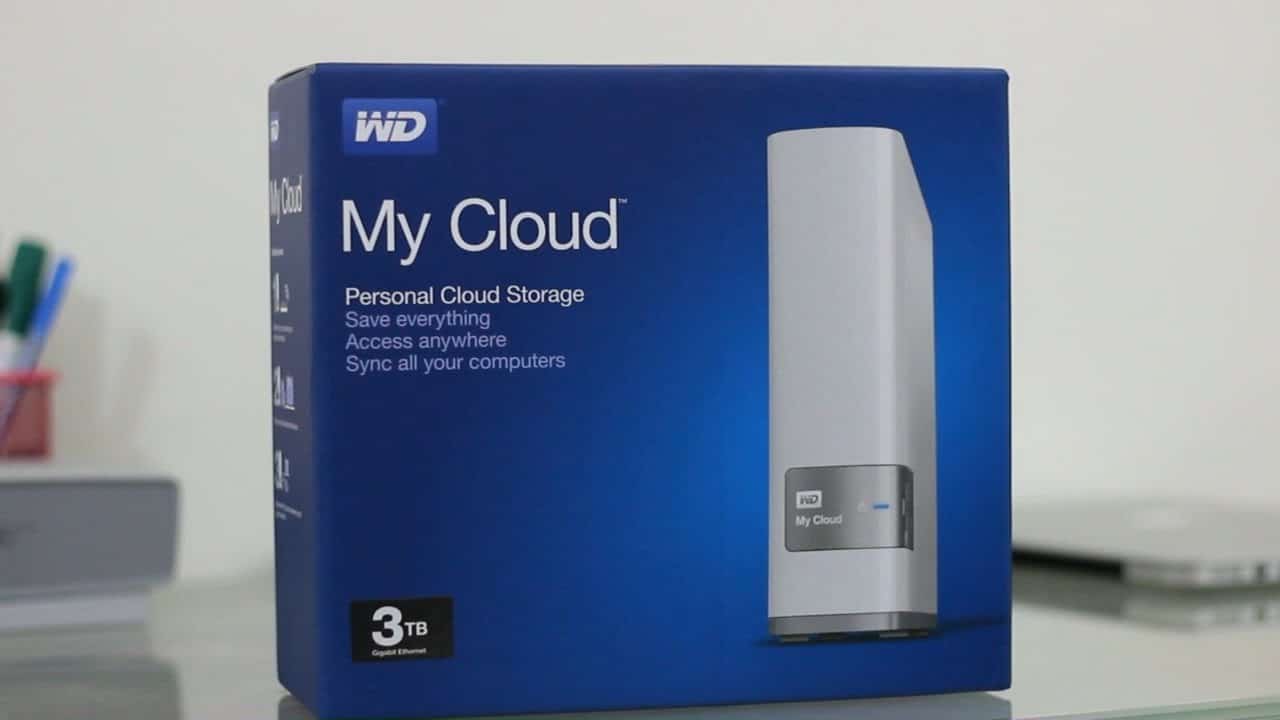
With the WD My Cloud, you have convenient storage for your home network. Here we show you how to set up access via Explorer from Windows 7.
Setting up WD My Cloud as a network drive in Explorer
Once you have connected and set up the WD My Cloud, the storage is immediately available to you on the network. You can navigate to individual folders on the Cloud in Windows Explorer and set them as a drive for access.
- Open the existing directory structure in Explorer by clicking on “Network” and click on “WD My Cloud” to see the folders and contents you have created.
- Right-click the folder you want to set a drive for in Explorer. In the context menu, click on the entry “Connect network drive”.
- In the next window, select a drive letter for the WD My Cloud, which you will use to access the storage in future.
- Check the box “Reconnect on login”. Finally, confirm your entries by clicking on the “Done” button.
- Click on the arrow in front of the entry “Computer” or under Windows 10 on “This PC”. Now the drive you have just created is permanently available to you.
- Important: These instructions only apply to WD My Cloud. The easiest way to set up a WD My Cloud Home in Explorer is via the My Cloud Home desktop app. After installation, log in with your My Cloud Home account details and select “Open in Explorer”. From now on, the Cloud will be displayed in Explorer.
- Further help: If the WD My Cloud integration does not work for you, there can be many individual causes. For example, it could be due to settings in Windows, the firewall or Windows network detection. Western Digital presents further troubleshooting options here. In addition, you can find detailed information about security and access changes for Windows 10 & 11 on this page. WD telephone support is available Monday through Friday from 9 a.m. to 6 p.m. at the toll-free number 0800-27549338.
