3.5K
Taking a screenshot with the Surface tablet from Microsoft is not difficult. We will show you how to do it in our article. There are several ways to do this.
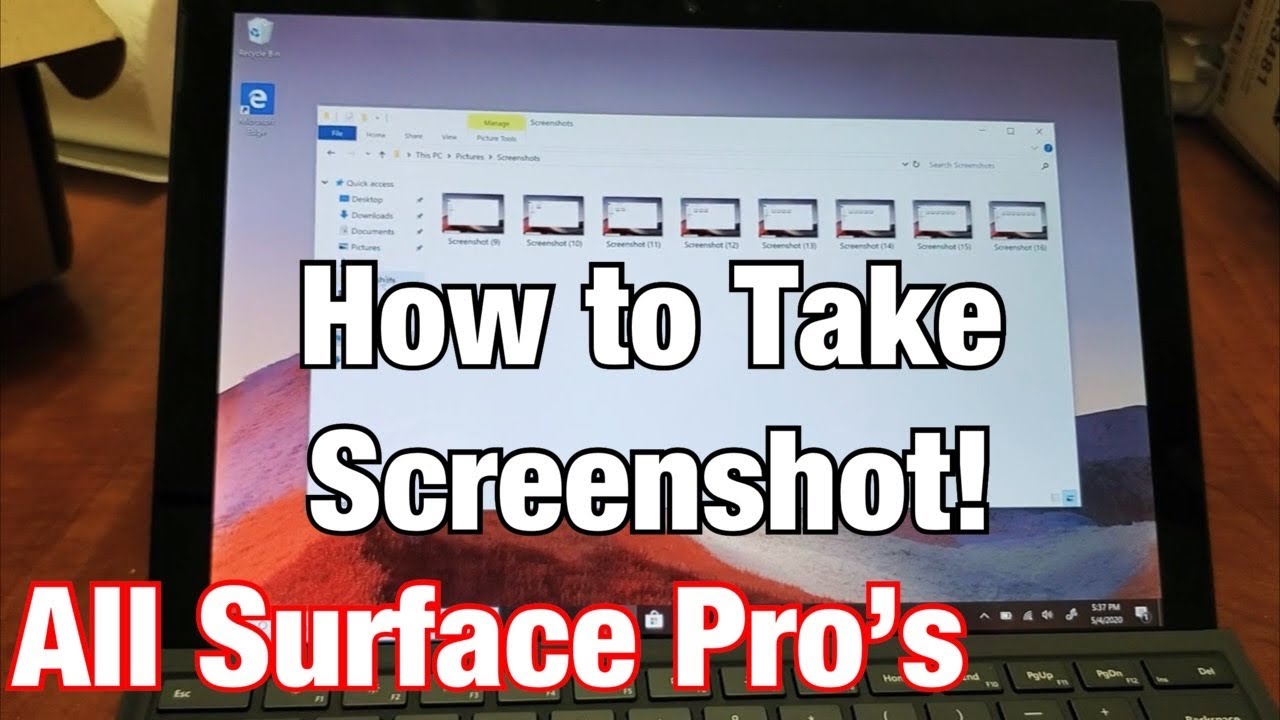
How to create a screenshot with the Microsoft Surface
With the Microsoft Surface, you take a screenshot by pressing different buttons and keys at the same time.
- To take a screenshot with the Surface, press and hold the [WINDOWS] button on the tablet’s keyboard while briefly pressing the volume down button on the left side of the tablet.
- If a keyboard is connected, the classic Windows variant also works, i.e. simultaneously pressing the [Windows] + [Print] keys.
- If you are using the Surface without a keyboard, you can take a screenshot by pressing the power and volume keys at the same time.
- The screenshots are saved in the Photos app. You will find them here in the “Screenshots” folder.
Screenshot with the Snipping Tool
Alternatively, you can use the Snipping Tool to take a screenshot on the Surface.
- In the tile view of Windows, press the key combination [Windows] + [Q] to display all apps
- Double click on the app to launch it. Instead of the entire screen, you can also use the tool to photograph a part of the screen and choose the location yourself.
- The Snipping Tool will probably be replaced by the “Cut and Sketch” tool in the future. This programme is started by pressing the [Windows] + [Shift] + [S] keys simultaneously.