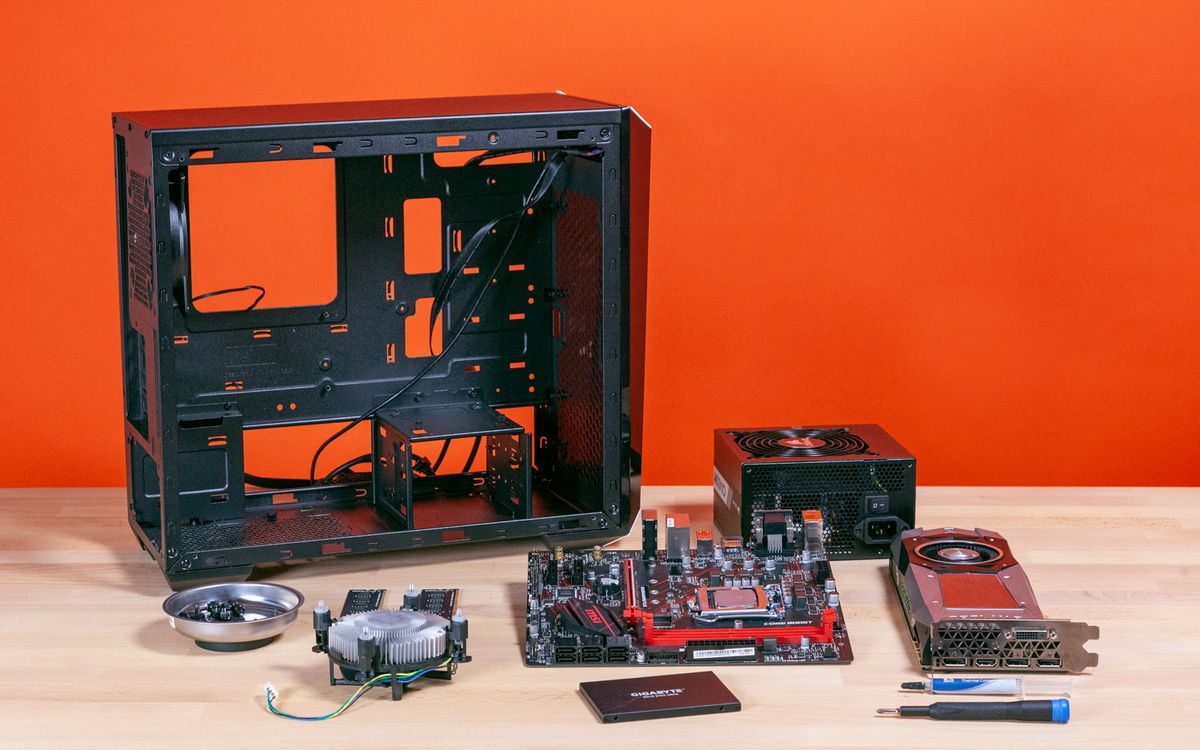
Building your own home computer can save you a lot of money. Individual parts are often significantly cheaper than a pre-built PC.
Building Your Own PC: Here Are the Components You Need
If you want to build your own PC, you’ll need the individual components. Make sure the components are compatible with each other. Plan your PC based on its intended use, e.g., gaming, office work, or multimedia.
- You need a case to install the components. Make sure you choose the right form factor for your project. The case must be large enough to accommodate all other components.
- The mainboard is often referred to as a “motherboard” and is the central element of your PC. Most models include a sound card. If not, you’ll need to purchase one separately.
- A processor is essential. Most models include a graphics unit that may be sufficient for less demanding graphics applications. A cooler is usually included as well.
- If you need more power—for example, for video games—you should also get a graphics card.
- Your custom-built PC also requires RAM.
- All modules are powered by the power supply. Make sure it provides enough power for your configuration.
- At least one hard drive or SSD must be installed for the operating system and data storage. For more capacity, you can install both components.
- An operating system is required to use the PC. If you don’t want to use Windows, look for alternatives.
- Depending on your budget and requirements, you can also purchase additional components such as a Wi-Fi module, a dedicated sound card, fans, or a DVD drive. Remember that you’ll also need peripherals such as a mouse and keyboard.
- With a PC configurator, you can check whether your selected components are compatible.
Building Your Own PC – Preparation
Before you assemble the components for your new PC, you should do some preparation.
- Do not assemble the PC on a carpet, as this can cause static electricity. Instead, clear a table with enough space.
- You should also discharge any static electricity before you begin. To do this, touch a radiator, for example.
- Also, have a small Phillips-head screwdriver ready.
Building Your Own PC – Installing the CPU and Cooler
The components are installed into the motherboard. Consult the manual to identify the appropriate slots.
- Remove the protective plastic cover over the CPU socket on the motherboard and lift the retainer.
- Carefully hold the processor (CPU) by the sides and insert it. Note: It can only be inserted in one specific direction. Pay attention to the small triangular mark on the motherboard and the CPU—if these are in the same corner, all the pins will fit into the socket. Close the lever to secure the processor.
- Apply a small amount of thermal paste (usually included) to the top of the processor and spread it carefully and thinly. Note: With boxed CPUs, thermal paste is sometimes already applied to the fan—however, this is often criticized by experts due to its allegedly low quality. If you prefer to use a brand-name product, you can remove the pre-applied paste with a little alcohol.
- Now plug the cooler’s cable into the corresponding connector on your motherboard. The manual will help you find the slot.
Build Your Own PC – RAM
Your custom-built PC also needs sufficient RAM.
- The RAM modules are simply inserted into the corresponding slots until they click into place.
- To ensure optimal use of the RAM, it must be installed in the correct slots.
- The slots are usually color-coded. Insert two RAM sticks into slots of the same color.

Build Your Own PC – Screwing the Motherboard into the Case
The heart of your custom-built PC is the motherboard. Exercise caution here so as not to damage it during installation.
- Now it’s time to install the motherboard in the case. To do this, you must first remove the back panel from the case and replace it with the panel included with the motherboard.
- Locate the mounting holes inside the case where the screws for your motherboard fit. Now screw in the standoffs.
- Next, place the motherboard onto the standoffs so that the connectors at the back fit through the panel you just installed. Now secure the motherboard with the standoffs.
- Now connect the various cables from the case to the corresponding slots on the motherboard. This step is important to ensure, for example, that the “On” switch actually boots up the computer. Refer to the motherboard manual.
Build your own PC – installing the power supply
In this step, you will learn how to install the power supply.
- The power supply is inserted into the designated slot in the case and secured with screws.
- The power supply must also be connected to the motherboard according to the manual.
- Of course, leave the power supply turned off while you’re still working on the build. Only turn it on when you’re ready to actually boot up the PC.
Build your own PC: Install an SSD
The SSD can be installed in various ways. With different formats, your PC can deliver performance in different ways.
- Installing an SSD is usually straightforward thanks to the designated slots in the case. Simply slide the storage device into the appropriate slot.
- Then connect the SSD to the motherboard and the power supply.
- An SSD with an M.2 form factor is one of the most common types of SSDs. They are extremely compact and have minimal cabling, so your PC benefits not only from performance and high transfer rates but also from good airflow. If you want to install an M.2 SSD, however, make sure it is compatible with your other components.
- While M.2 SSDs impress with their performance, if you’re looking for a more budget-friendly option, the tried-and-true SATA form factor is a good choice. Variants such as 2.5-inch or 3.5-inch are common and generally compatible with all components. Although their transfer rates are often lower, the difference is barely noticeable in everyday use.
Build your own PC: Installing a graphics card
A graphics card is essential, especially if you plan to use the PC for gaming.
- Locate the PCIe slot where your graphics card will be installed. Now remove the blanking plate covering the graphics card connectors on the back of the case.
- Insert the graphics card until it clicks into place. Screw the connector board to the case.
- Next, the graphics card must be connected to the power supply, if it requires an additional power source. Affordable or energy-efficient GPUs under 75 watts draw their power from the motherboard’s PCIe slot without additional cables.
Build Your Own PC – Final Steps
Now it’s time to actually use your PC. Once it’s plugged in, you’re ready to go.
- If the computer boots up, you can install your operating system by inserting the CD or plugging in the USB drive and restarting it.
- Install all drivers and then check whether all hardware components are recognized correctly.
- If the computer does not boot up, make sure all cables are properly connected. If you are unsure, unplug the cables and plug them back in according to the manual.