1.5K
Installing an Epson printer usually follows the plug-and-play principle, so you hardly have to do anything. If, contrary to expectations, there are still problems with the installation of the Epson printer, these can usually be solved quickly.
Installing an Epson printer – this is how it works
The printer drivers of major brand manufacturers such as Epson already come with the most common operating systems. Therefore, Epson printers can usually be installed without any problems using the so-called plug-and-play method.
- Thanks to the “plug and play” system, it is usually sufficient to connect the Epson printer to the computer using a USB cable. Operating systems such as Windows then automatically access the pre-installed drivers and select the appropriate one.
- The new search on the computer is of course only worthwhile if you have the driver on a CD or a USB stick. In that case, select the appropriate drive and Windows will do the rest for you
- Alternatively, let the operating system search online for the appropriate printer driver. Windows will download the appropriate driver and then install the Epson printer.
- If Windows cannot find a suitable driver, it will inform you with a corresponding message. You then have the choice of whether Windows should search for the appropriate printer driver online or on the computer.
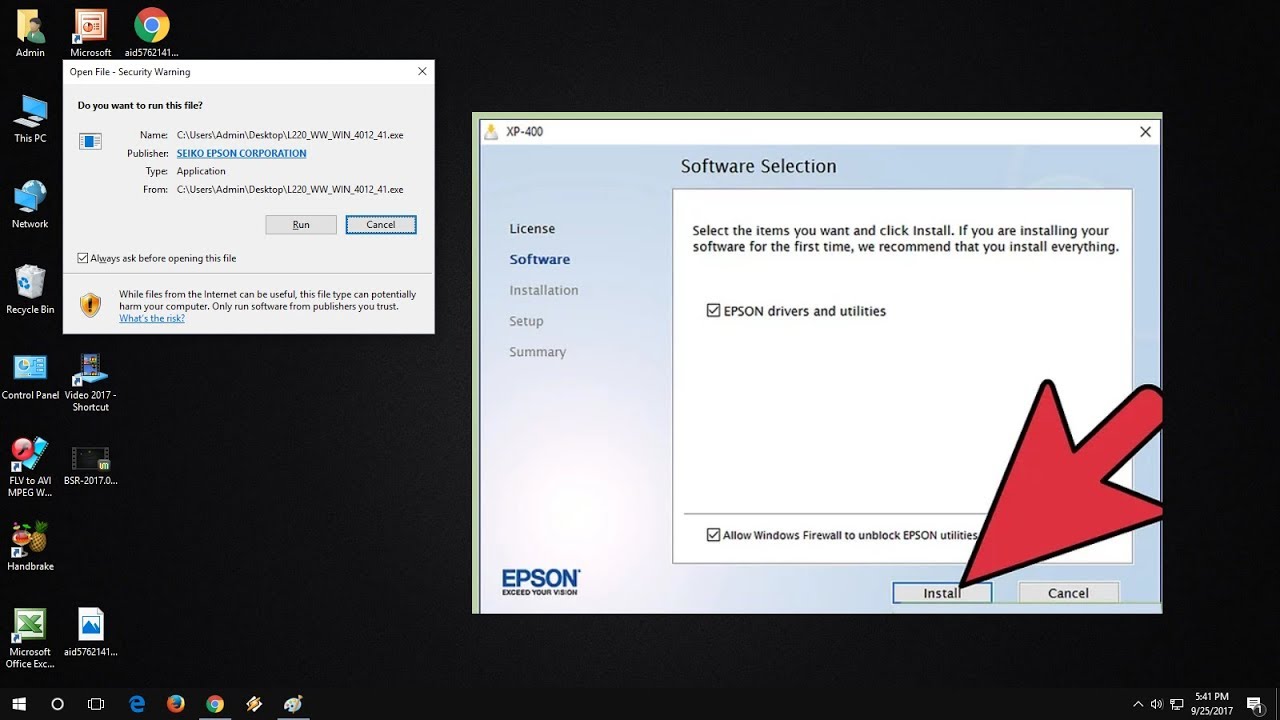
- If you want to install the Epson printer manually, go to Windows 10, for example, via the following path: Settings – Devices – Add Printer or Scanner. If you still need the appropriate printer driver from Epson, simply download it.