157
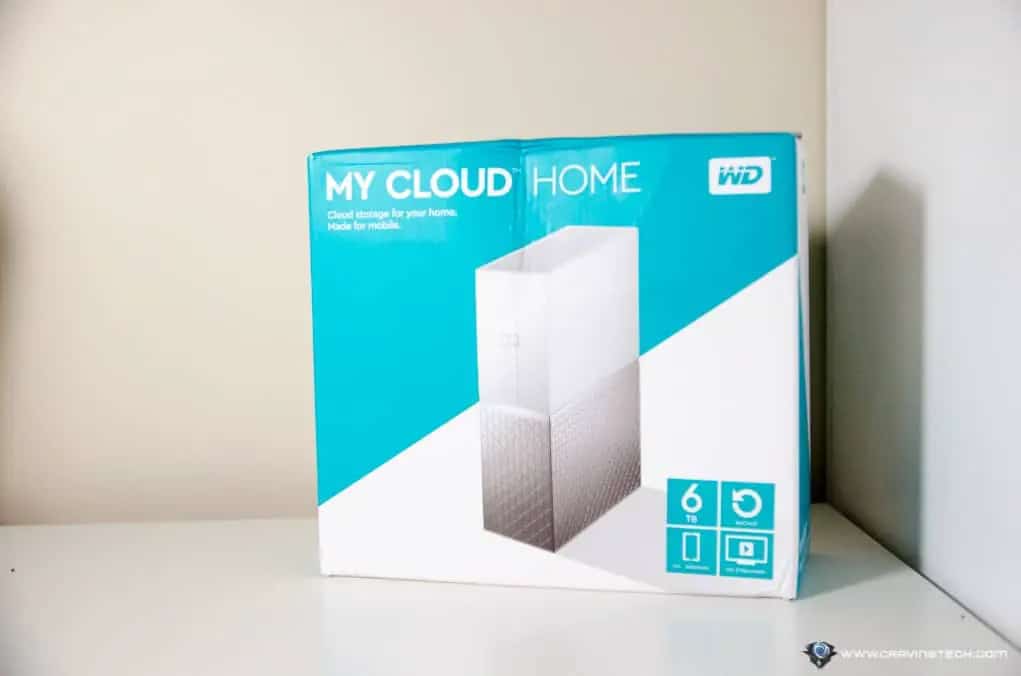
Setting up the WD My Cloud Home requires no special knowledge. Just a few steps are enough
Setting up the WD My Cloud Home: Instructions
To successfully set up your WD My Cloud Home products, connect them to the power supply beforehand. They usually switch on automatically as they do not have an on/off switch.
- Open a browser of your choice. Then go to the WD My Cloud website. There, click on Set up My Cloud Home to start the setup
- Log in with your Western Digital account or create a new user account. You will then be prompted to search for your device. Confirm the search
- If your device is found, including the security code displayed, click Connect. If desired, you can accept or reject the analytics from Western Digital.
- You must then enter and confirm the device code. You can find this either on the underside of the device or in the quick installation guide. Use Search to complete the setup
- You will receive confirmation via the All done page. You can then choose whether you want to continue using the web application or the mobile or desktop app.
WD My Cloud Home: Access via desktop app
After setting up your WD My Cloud Home, you can easily access it via Windows Explorer or Mac Finder.
- Switch to the extended menu display in the My Cloud Home mobile app. Open this via the three dashes at the top left. In this menu, click on Load desktop app
- In the next window, click on SEND. You will then receive an email to the email address you used for My Cloud Home. In this email, select the link that matches your operating system (Windows or Mac)
- Download the file and install it. Follow the on-screen instructions until you can run the analysis. You can either agree to this or refuse it and run it manually later.
- Now you can log in with your WD My Home account. In the desktop app, open My Cloud Home via the Open in Explorer/Finder button, depending on the operating system you are using.
