
1
Writing on an envelope by hand is easy, but printing it using Word looks much more professional.
Printing on envelopes using Word: step-by-step guide
- Open a new, blank Word document and click on the ‘Mailings’ tab.
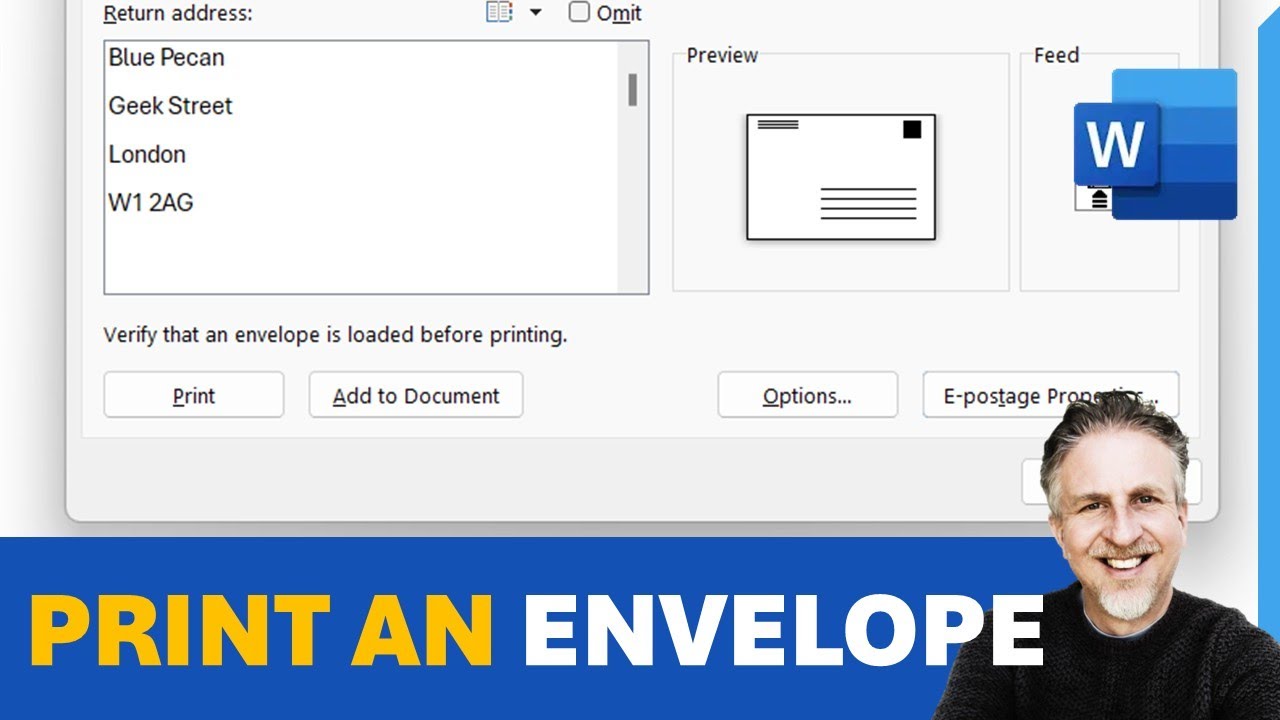
- Then click on ‘Envelopes’ and a dialogue box will open.
- In the dialogue box, you can now enter the recipient’s address. You can type it in manually or import it directly from your contacts.
- To add the sender’s address, tick the “Insert sender’s address” option or select it directly from your saved address book. If you do not wish to print the sender’s address, tick the box next to “Omit sender’s address”.
- Tip: The sender’s address can also be set up automatically in the Word options under “File” > “Options” > “Advanced” in the “Postal address” field.
Check the print properties
Once you have entered the addresses, you should check the print properties to ensure everything goes smoothly. Not all printers can print on envelopes; you should check this in the user manual beforehand.
- Click on “Options” at the bottom of the dialogue box.
- The first tab, ‘Envelope Options’, will open. Here you can set the envelope size – for example, ‘DL’ for DIN long. DL corresponds to the standard letter size, where a sheet of A4 is folded into thirds. C6 corresponds to an envelope where a DIN A4 sheet is folded twice down the middle.
- Select the desired printer from the printer list. Ensure that your printer is compatible with the selected envelope format.
- Under the ‘Print Options’ tab, you can set how the envelope should be fed into the printer.
- Once you have configured everything to your liking, you can print the envelope directly by clicking ‘Print’. The ‘Draft’ setting is sufficient for print quality. This way, you can save ink, although the text may be less legible.
- Tip: If you want to print personalised envelopes for several recipients, you can use mail merge fields. Click on ‘Start mail merge’ and select ‘Envelopes’. In the next step, select your list of recipients and add the mail merge fields for the recipient’s address and the sender’s details. This allows you to print individual envelopes for each recipient without having to enter the addresses manually.
Troubleshooting printing issues
Occasionally, errors may occur during printing. Common problems include:
- The printer is not feeding envelopes: Ensure that the printer supports the selected format and that the correct orientation is set. Check that the envelope has been loaded correctly (e.g. with the front facing up or down, depending on the printer model).
- The address is positioned incorrectly: Check that the envelope size is set correctly and that you are using the correct printer driver.
- Problems with mail merge fields: Ensure that all fields in the recipient list are filled in correctly. Errors in the Excel file or the contacts file may result in the fields not being displayed correctly.
- Delayed printing or paper jam: Test the printing process with a standard sheet of paper to ensure the printer is working properly before using envelopes.