158
To set up automatic forwarding for incoming emails in Outlook, all you need to do is create a rule. However, there are a few things you should keep in mind.
Outlook: How to Set Up Forwarding
To automatically forward emails in Outlook, follow the step-by-step instructions below. These instructions apply to Outlook 2021, but the process is nearly identical in other versions such as Outlook 2016 or Outlook 2019:
- Open Outlook and go to the Home tab.
- Now click on Rules at the top of the ribbon.
- Select Manage Rules and Alerts.
- Then click New Rule on the left.
Create a rule for automatic forwarding
Set up the forwarding rule as follows:
- Under the section Create a rule without a template select Apply rule to messages I receive .
- Now specify the criteria under which the message should be forwarded, for example, by selecting a specific sender or subject. If you simply want to forward all messages, do not select any option here.
- In the next step, check the option Forward this to a person/public group.
- In the lower window, click on the blue text a person/public group.
- Now select a contact or enter the corresponding email address directly in the field below To , and confirm by clicking OK.
- After that, you can specify which messages you want to exclude from the rule—for example, a particularly important message or emails containing specific words in the text.
- In the final step, it’s recommended that you leave the selected options as they are.
- To finish, click Finish. Automatic forwarding is now set up.
- Note, however, that forwarding only works as long as Outlook is running on your PC. If your PC is turned off for an extended period (such as while on vacation), you should set up forwarding directly with your email provider.
- If you’re using the new Outlook for Windows 11, you cannot set up forwarding through the settings. Instead, use your email provider’s forwarding feature.

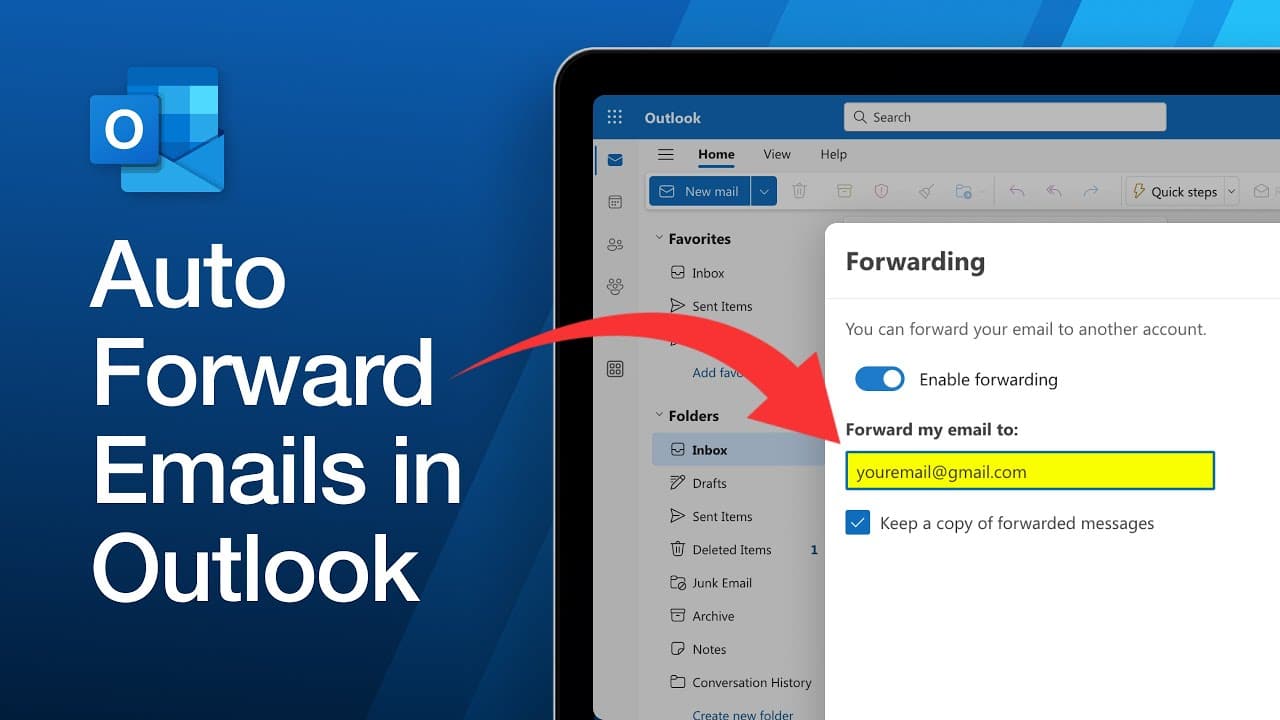
Set up forwarding for Outlook.com on the web
- Sign in to your account.
- Click the gear icon in the top-right corner of the menu bar to open the Settings .
- In the Email section, select Forwarding and IMAP. Tip: You can also go directly to the forwarding settings.
- Click the toggle next to Turn on forwarding to enable the feature. Enter the email address to which you want to forward all incoming emails. If desired, you can also keep a copy of all messages in your Outlook.com inbox.
- Click Save to enable forwarding.
Forwarding work emails is generally not permitted
While automatically forwarding emails for personal use is usually unproblematic, the same does not apply in a professional setting. When forwarding emails from company accounts, there are important technical and legal restrictions you should be aware of.
- In most cases, direct forwarding within the company is permitted and works without issues, whereas external forwarding is restricted or even completely disabled.
- To this end, administrators in Microsoft 365 or Microsoft Exchange, for example, can prevent automatic forwarding to external email addresses using special filters and policies.
- In such cases, forwarding emails is usually prohibited for security and data protection reasons. For example, criminals could use a compromised user account to forward messages without being noticed.
- But automatic forwarding is also problematic in light of the GDPR, as it can be considered unauthorized data processing without the sender’s consent. A violation could have serious professional consequences.
- Users usually recognize such a block when they see a corresponding notification or error message while attempting to set up forwarding, or at the latest when trying to forward the emails.