3
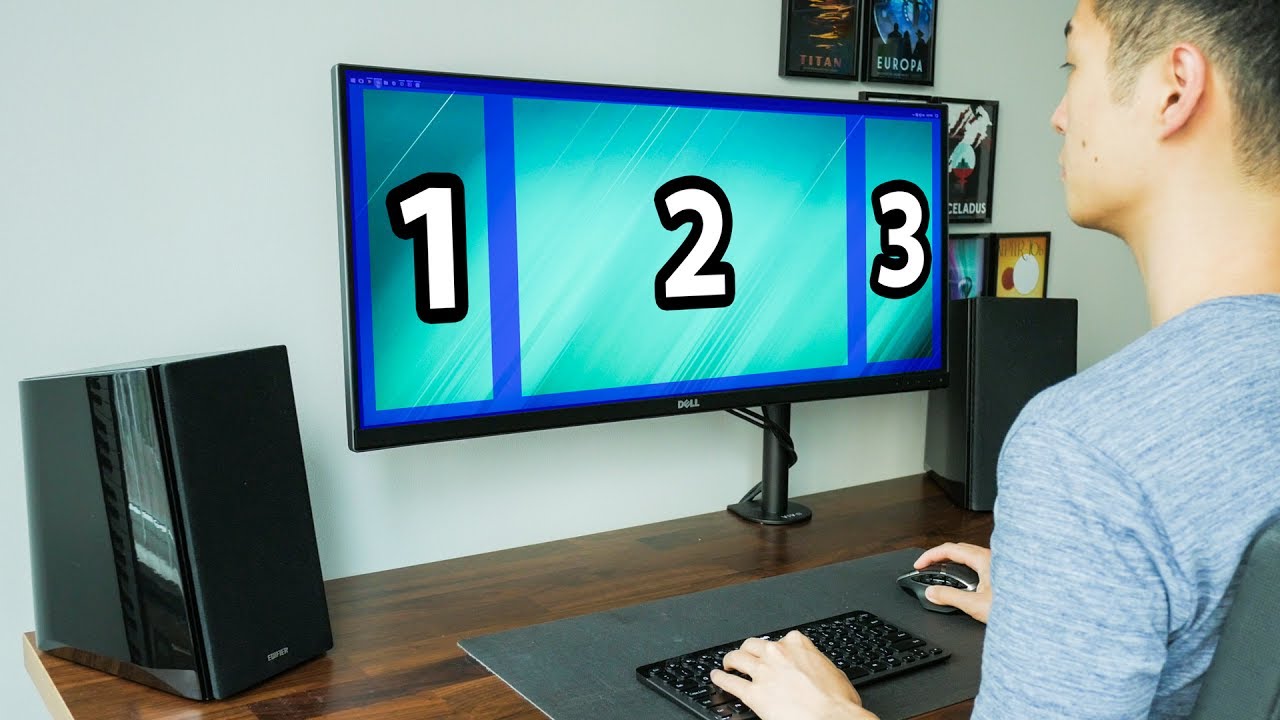
There are several ways to use your ultrawide monitor in split-screen mode. In this practical tip, we’ll show you what options are available.
Ultrawide monitor in split-screen mode: Windows Snap
The simplest way to use split-screen mode is already built into Windows 10 and requires no additional software installation. The feature, which was already included in Windows 7, has been enhanced and now offers more options.
- To dock a window to the left or right of your screen, simply drag the window’s title bar to one of the two sides of your screen using drag-and-drop, then release it.
- The window you’ve moved will automatically fill half of your screen.
- On the other half of the screen, you’ll be shown suggestions for other open programmes that you can open on that side.
- You can also arrange your programmes on your screen using your keyboard. To do this, simply use the Windows key together with the arrow keys to move or minimise a window.
Advanced window arrangement with FancyZones
Various programmes offer the option to arrange your windows beyond the limitations of Windows Snap. This includes the ‘PowerToys’ Windows tool developed by Microsoft itself, which, in addition to window arrangement, incorporates other interesting and useful features into your system in a resource-efficient manner.
- With PowerToys, you can create and save as many window layouts as you like under the ‘FancyZones’ tab.
- You can call up your chosen layout at any time using a customised keyboard shortcut.
- This allows you to create a window layout that is ideal for your work on the computer.
- Alternatives to FancyZones include DisplayFusion, WindowManager, WindowGrid and AquaSnap.

Splitting an ultrawide monitor into several virtual screens
If Windows’ Snap feature isn’t enough for you, you can use tools such as ‘DisplayFusion’ to customise your screen even further.
- Download DisplayFusion and install the programme.
- Launch the programme and select ‘Settings’ from the left-hand panel.
- Then click on ‘Screen Configuration’ to open the screen configurator.
- Select “Splits and Spacing” to split the screen.
- Here you can change your screen’s properties. This allows you to add as many “splits” as you like, which the system will treat as separate monitors.
- Confirm your change by clicking “OK”.
- Now each of your virtual monitors has its own Windows features, such as the taskbar and the ability to display windows in full-screen mode.